Wondering how to post images or maybe change your avatar or maybe something else?
You can find that and a lot of other useful tips for using the forums in the HydrostreamForums Knowledge Base.

To visit the HydrostreamForums Knowledge Base CLICK HERE

1980 Viper Rebirth

Restoring your Hydrostream or just giving it a small makeover? What better place than to show off your project. Big or small.
User avatar

Topic Author
AdamDK
Moderator
Moderator
Posts: 327
Joined: Jul 19, 2016 6:58 pm
Location: Oshawa, Ontario (near Toronto)
Has thanked: 45 times
Been thanked: 72 times
Contact:

Re: 1980 Viper Rebirth

Post: # 23096Post AdamDK »

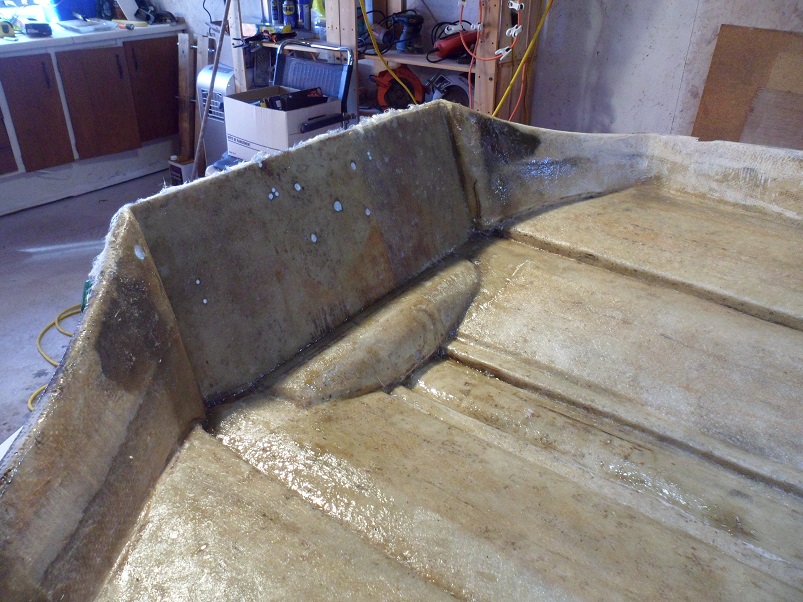
Well I had a week off work, but since the house I'm in is for sale, we had viewings and stuff scheduled that interrupted my working time throughout the week. Suffice to say I didn't get as much done as I hoped, but its a start.

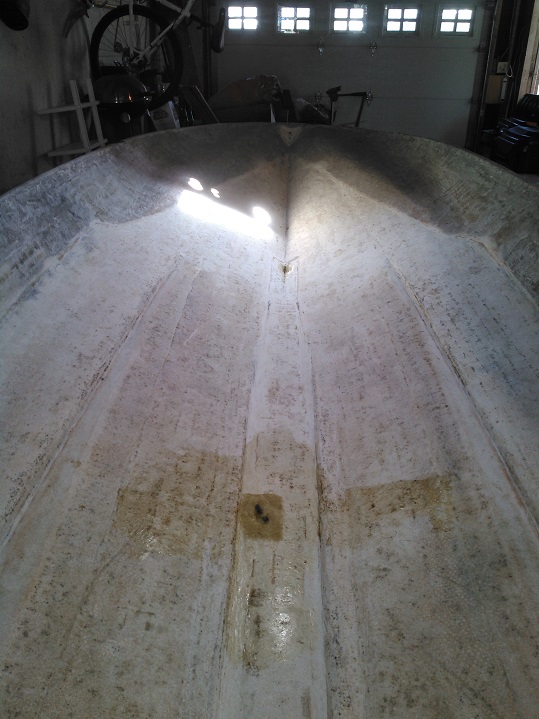
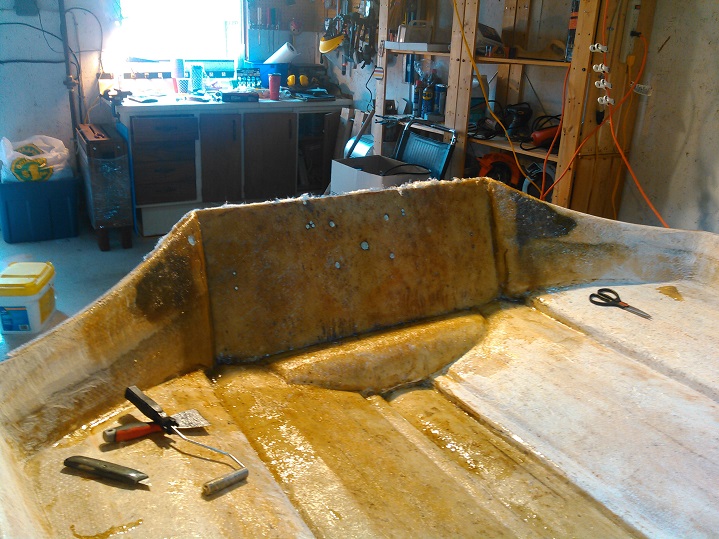
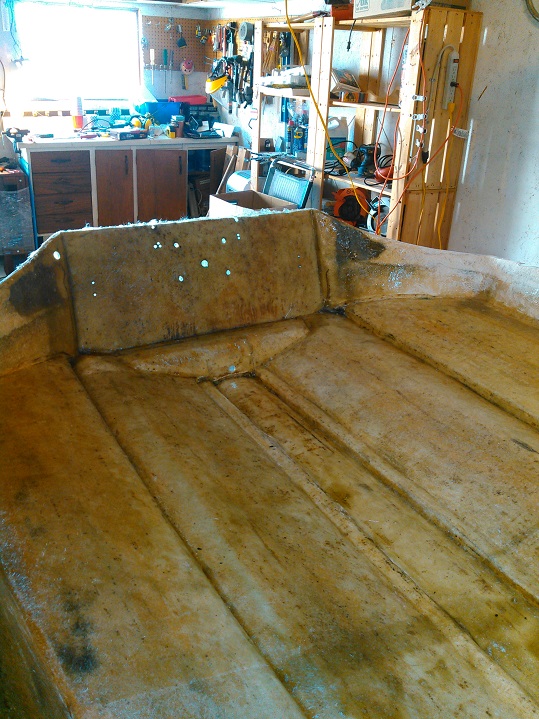
First I patched the holes in the pad with some CSM.
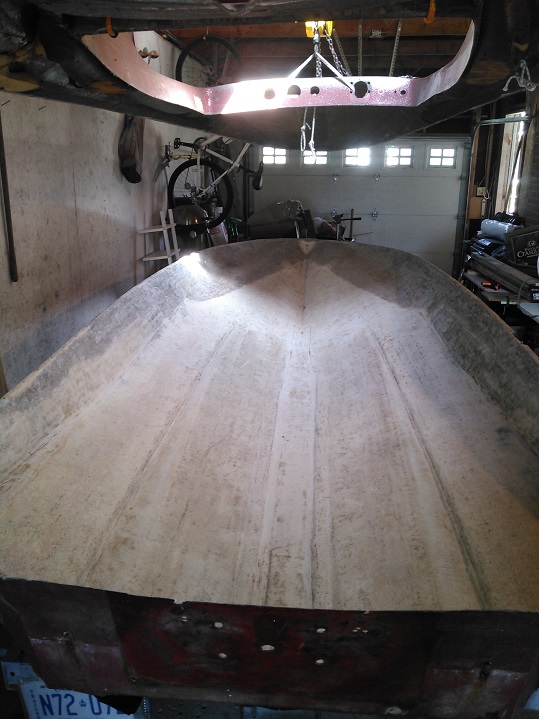
Image

Image

Image

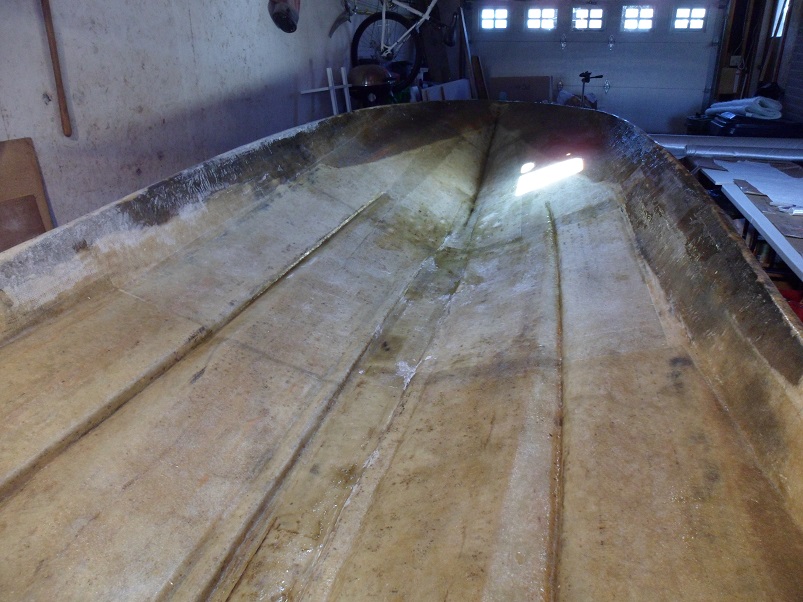
Then started laying down the 1.5oz CSM on the hull.
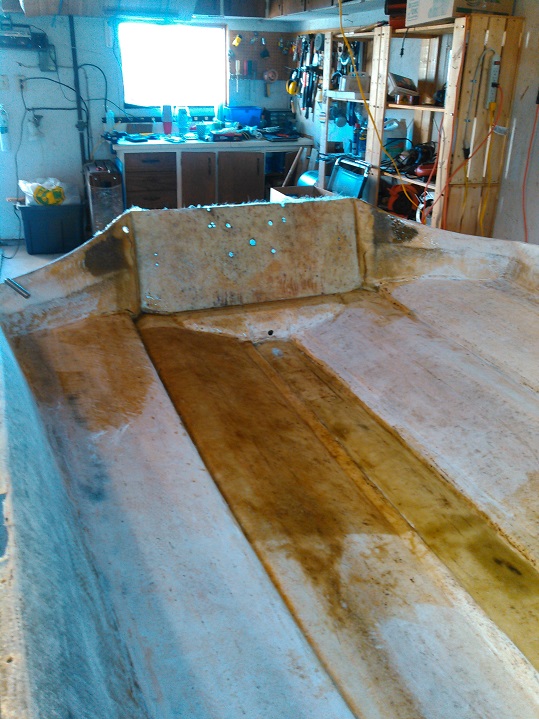
Image

Image

Image

Image

Image

Image

Image

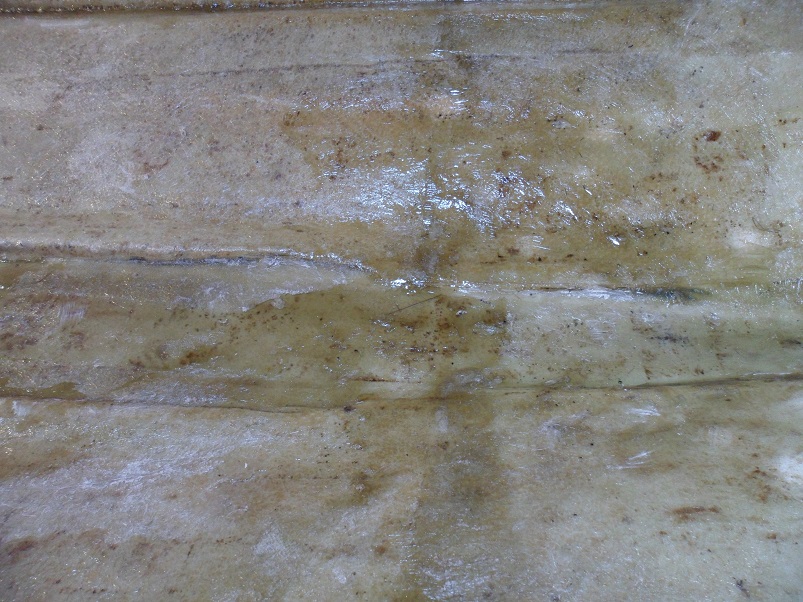
Now due to the nature of laying the CSM and trying my damndest to get the air bubbles out, I did create some clumps and lumps in the mat that the 1708 hates.
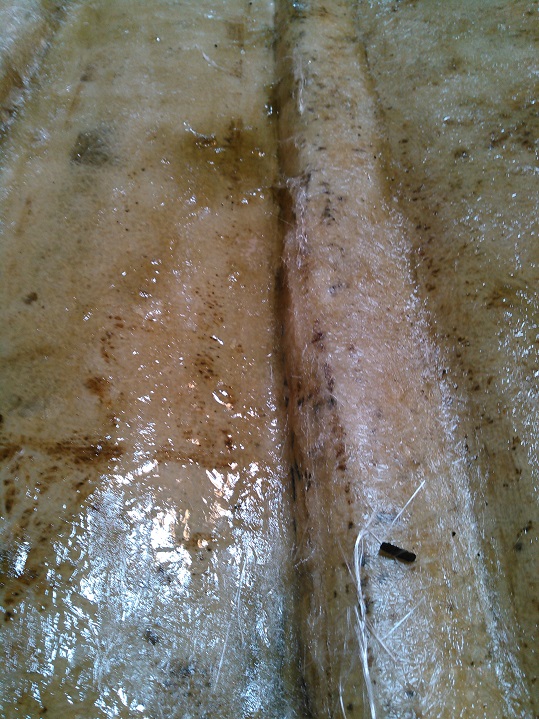
Image

I bought a carbide rasp attachment for my oscillating tool and had to grind down the bumps.
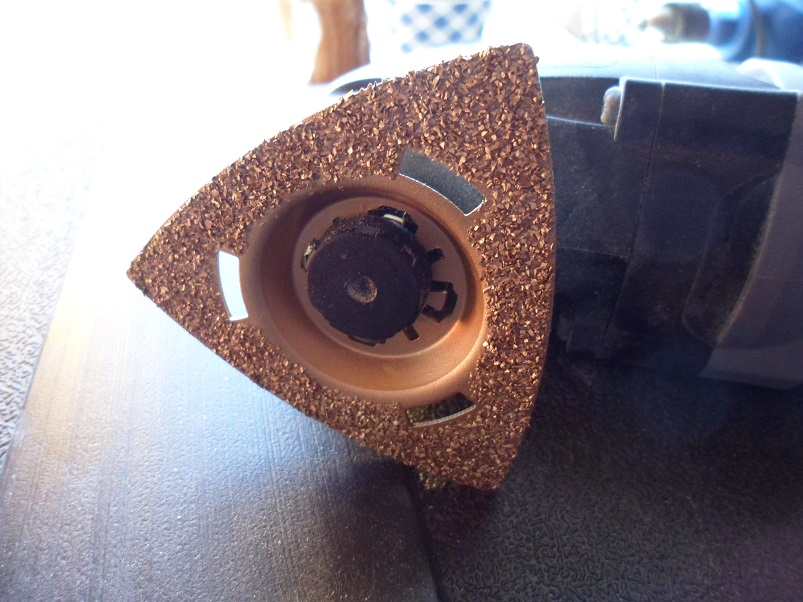
Image

18 yard roll of 50" wide 1708 biaxial. When I bought it I wanted 20 yards, but the roll only had 18 on it so I had said screw it. I'll use this for now and if I need more I'll get more later.
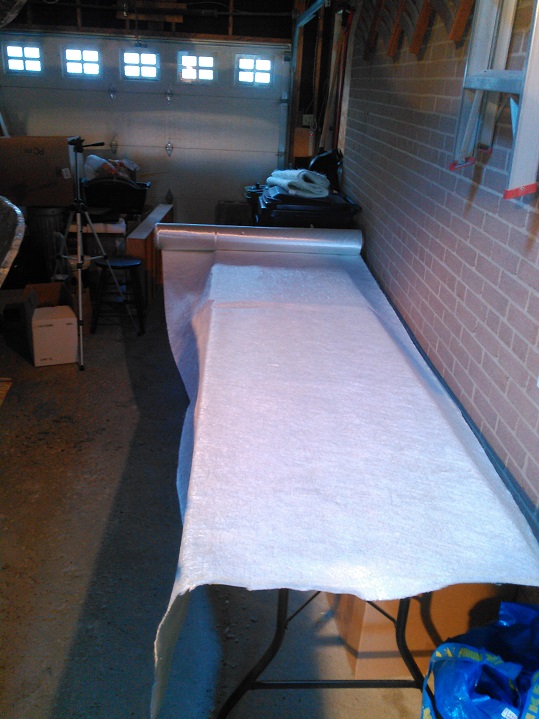
Image

Image

Image

Image

Image

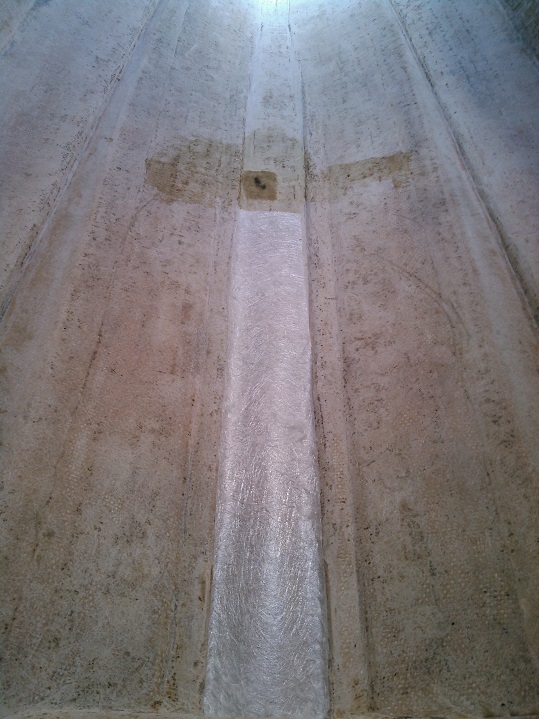
So basically I put a strip of CSM up the pad from the transom up the where the "V" starts.
Then I put down (in sections) a layer of CSM over the entire hull, including the transom.
I then added a second layer of CSM on the transom with about 4 inches of overlap on each side.

A couple days later I tried laying the first strip of 1708 and discovered that it hates bumps and pointy sharp sections of mat. That's when I had to grind them all down.

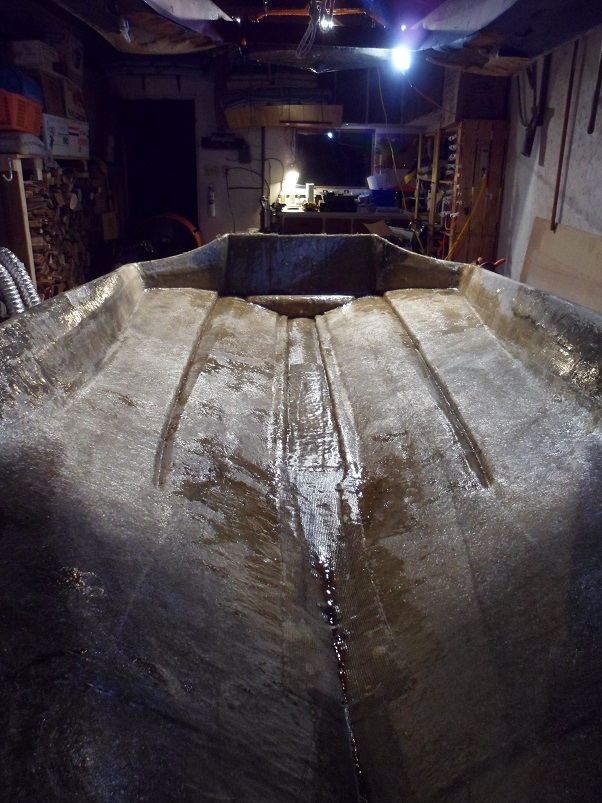
I've got 5 strips of 1708 laid down the pad, with about 2-3 inches of overlap on each strip, from the transom all the way up to the tip of the bow.
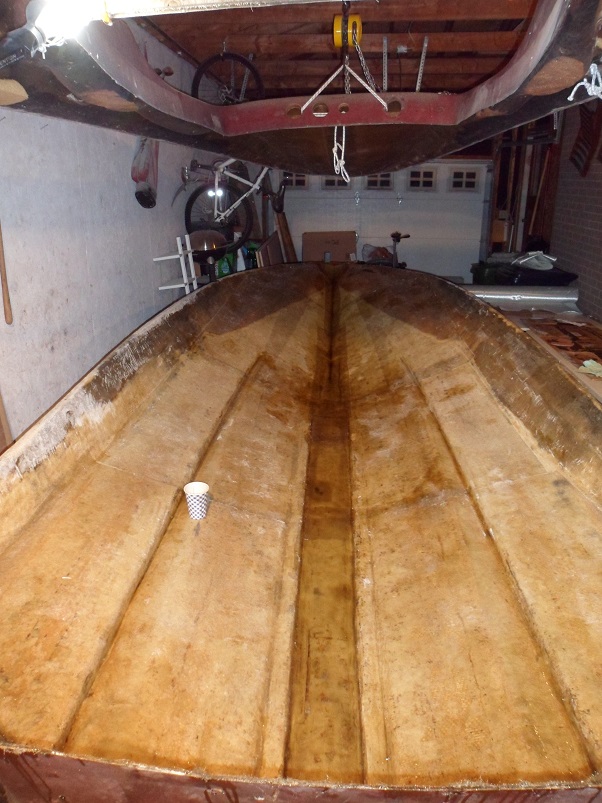
Image

1708 on the transom - this was fun....note the sarcasm.
I put a section down on the port side with about 4 inches overlap on the side "wing", and cut at the bottom to go over that curved transom "notch".
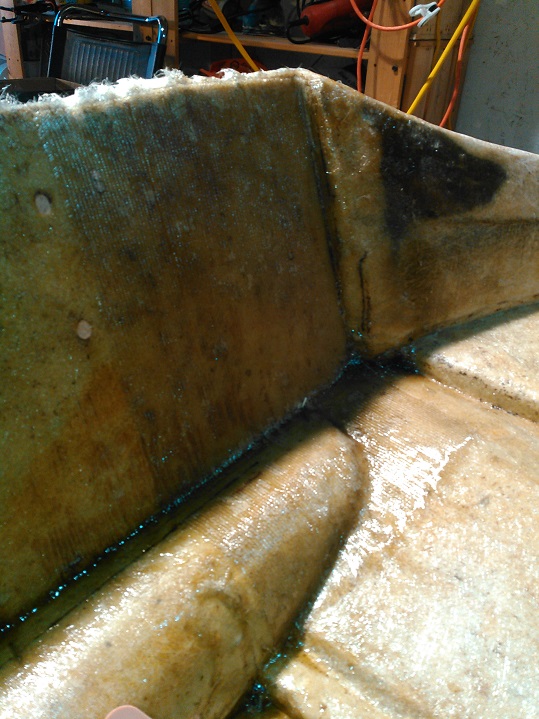
Image

Then another piece centred in the transom with about 1 inch overlap on the port piece. Then another piece with 1 inch overlap on the centre and 4 inches overlap on the starboard side "wing".

The second layer was in 2 sections - each starting at the outer edges of the previous motor mounting holes and onto the "wings" right to their respective corners.
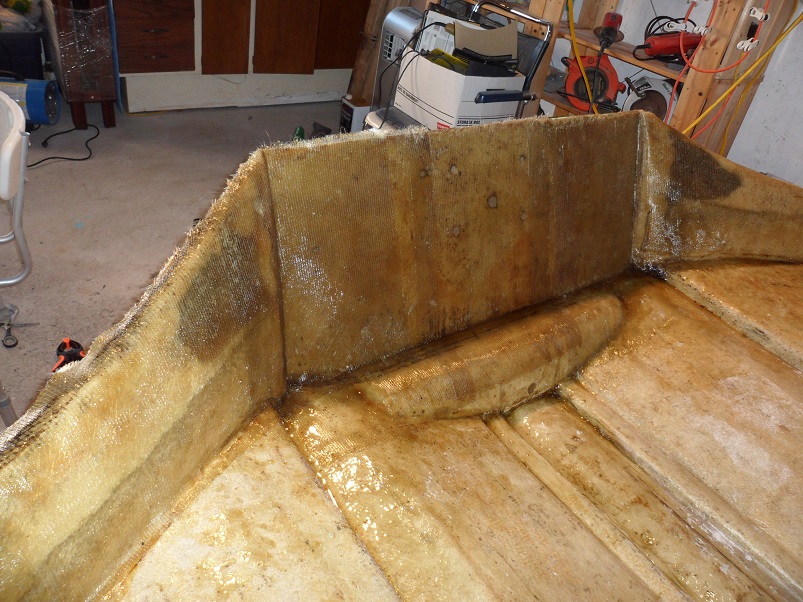
Image

Then finally a 3rd layer of 1708 across the entire transom with about 3 inches overlap onto each side wing and the transom notch.
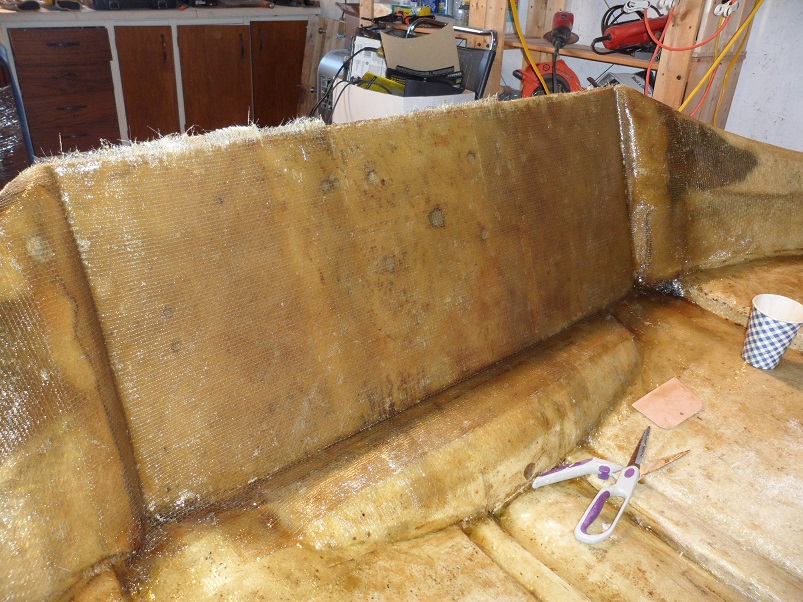
Image

Overkill? Probably. But I want to build this thing like a tank.

Not pictured: On Tuesday I picked up a 4ft x 8ft sheet of 3/4" marine grade plywood (13-ply) for my transom; and two sheets of 4ft x 10ft 3/4" exterior grade mahogany plywood (11-ply) for my stringers and floor.

Hopefully this coming week I can get the rest of the hull covered with the 1708, and then prep for the balsa core bagging.
User avatar

alaskastreamin
Hydrostream know it all
Posts: 512
Joined: Feb 10, 2012 8:01 pm
Location: Sitka Alaska / Okanogan,WA
Has thanked: 5 times
Been thanked: 158 times
Contact:

Re: 1980 Viper Rebirth

Post: # 23097Post alaskastreamin »

Both Explorer and chrome won't show the pictures.
Ron Pratt
Okanogan, WA
Viper/ 2.5L 200 Merc (SOLD)
1991 "the last" Virage/ 15" 280
2003 9’ Mini Virage/ 15 hp Honda 4-stroke
1989 Voyager/ 300 Promax
1989 HST / 2.5L 200 Merc
http://www.prattcustoms.com
User avatar

Topic Author
AdamDK
Moderator
Moderator
Posts: 327
Joined: Jul 19, 2016 6:58 pm
Location: Oshawa, Ontario (near Toronto)
Has thanked: 45 times
Been thanked: 72 times
Contact:

Re: 1980 Viper Rebirth

Post: # 23098Post AdamDK »

Firefox is the only good browser. Internet Exploder sucks, and Chrome just sends all your data to Google.

[ Post made via Android ] Image
User avatar

Hippie459MN
Site Admin
Site Admin
Posts: 3970
Joined: Mar 25, 2009 7:31 pm
Location: Nowthen, MN
Has thanked: 349 times
Been thanked: 81 times
Contact:

Re: 1980 Viper Rebirth

Post: # 23101Post Hippie459MN »

All pictures working perfectly fine here in MN on chrome on my phone, Firefox and Chrome on my desktop. :up:

[ Post made via Samsung Galaxy S5 ] Image
-Kevin
Project Vulture | Project Vector | Project Vamp | Project Vixen
The Vulture Wish List | Project CobraJet

1977 HydroStream Vulture - Worlds longest ongoing project. :eek:
1982 Hydrostream Vector
1982 Hydrostream Vamp
1973 Hydrostream Vixen
1976 CobraJet Jet Boat - Outboard conversion project
1976 Pontoon - aka The Family Truckster
User avatar

Topic Author
AdamDK
Moderator
Moderator
Posts: 327
Joined: Jul 19, 2016 6:58 pm
Location: Oshawa, Ontario (near Toronto)
Has thanked: 45 times
Been thanked: 72 times
Contact:

Re: 1980 Viper Rebirth

Post: # 23105Post AdamDK »

Sunday May 13th 2018:

Started laying the 1708 down on the hull. I got the port side done the hard way....folding and wetting out, folding and wetting out, etc.
I tried a different method on the starboard side, and I have to say it was much easier.

With my pre-cut piece laying mat side down, I slathered the resin all over the top (cloth side). I then rolled it onto a piece of 2" diameter plastic plumbing pipe. The excess resin was soaked up by the mat side. Once I had it all rolled up, i moved it to the boat and unrolled it, rolling and squeegeeing out the excess resin as I moved it along.

Image

Image

Image

Image

Image

Image

Image

So now that's done, finally.

Next I'm going to be building a resin trap with a mounted vacuum gauge in preparation of infusing my balsa core. I know i don't need it, but I like doing little projects like this. I've got all the parts for it already, just have to put it together.

I do have several spots in the 1708 with air pockets. I couldn't get them out no matter how much rolling i did. So before I infuse my core, I'm gonna slice them open so they'll get filled with resin under vacuum.
User avatar

Hippie459MN
Site Admin
Site Admin
Posts: 3970
Joined: Mar 25, 2009 7:31 pm
Location: Nowthen, MN
Has thanked: 349 times
Been thanked: 81 times
Contact:

Re: 1980 Viper Rebirth

Post: # 23106Post Hippie459MN »

Looking awesome! :up: Can't wait to see the whole bagging set up and process.
-Kevin
Project Vulture | Project Vector | Project Vamp | Project Vixen
The Vulture Wish List | Project CobraJet

1977 HydroStream Vulture - Worlds longest ongoing project. :eek:
1982 Hydrostream Vector
1982 Hydrostream Vamp
1973 Hydrostream Vixen
1976 CobraJet Jet Boat - Outboard conversion project
1976 Pontoon - aka The Family Truckster
User avatar

Topic Author
AdamDK
Moderator
Moderator
Posts: 327
Joined: Jul 19, 2016 6:58 pm
Location: Oshawa, Ontario (near Toronto)
Has thanked: 45 times
Been thanked: 72 times
Contact:

Re: 1980 Viper Rebirth

Post: # 23129Post AdamDK »

Saturday May 26th 2018:

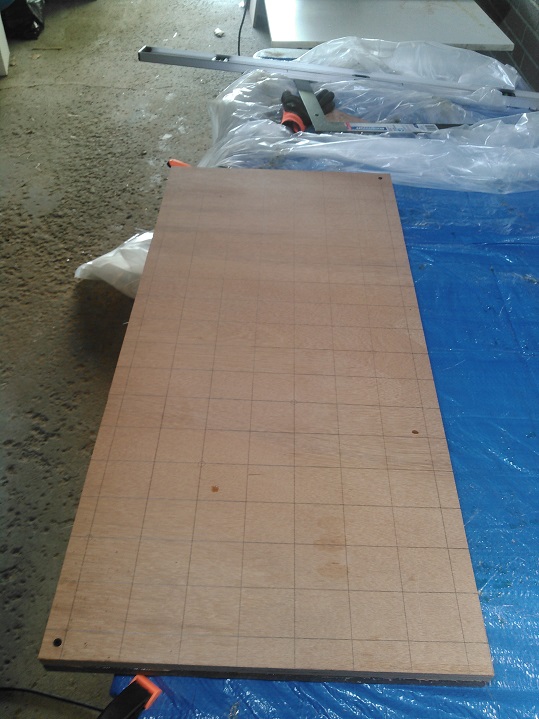
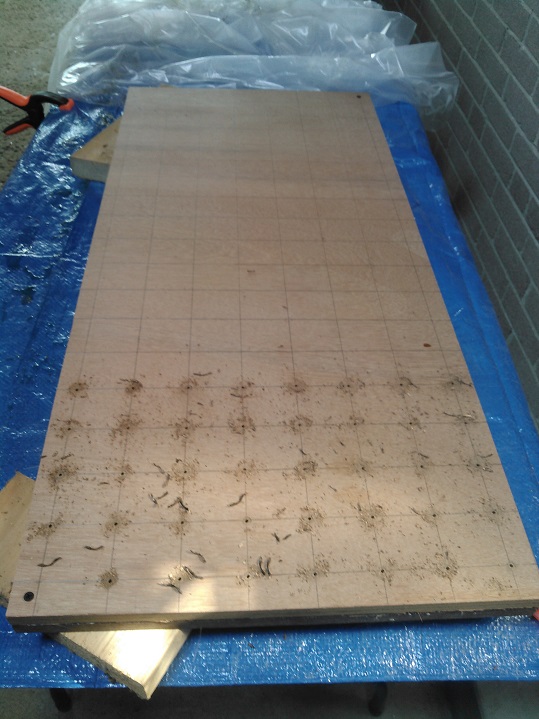
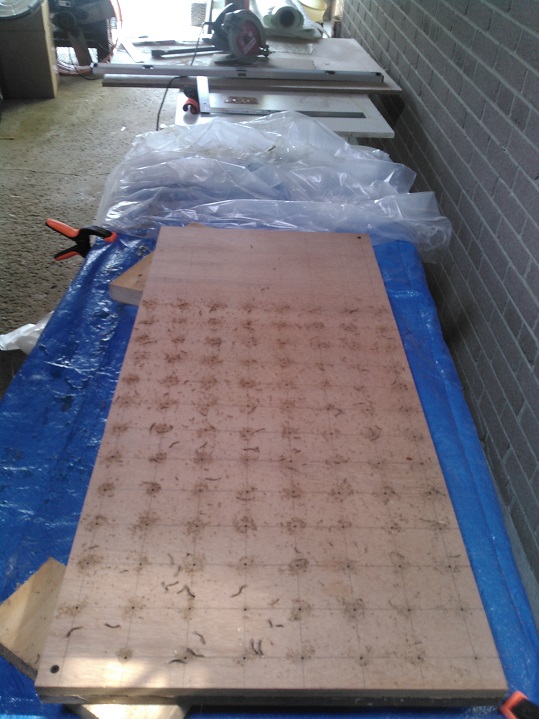
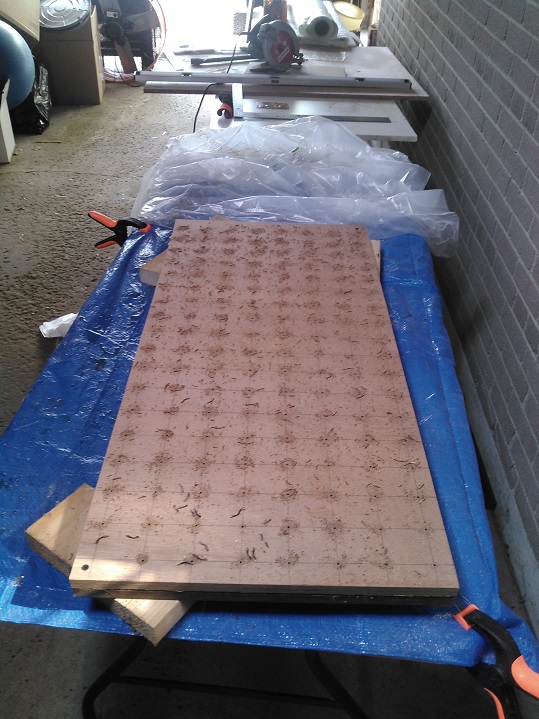
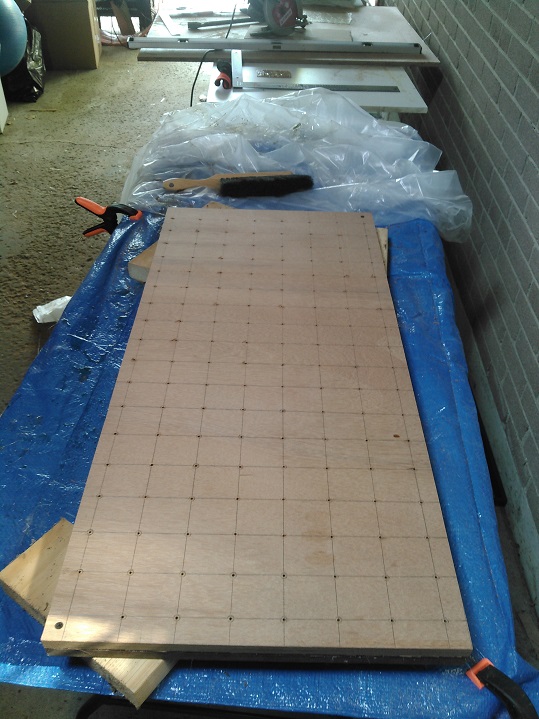
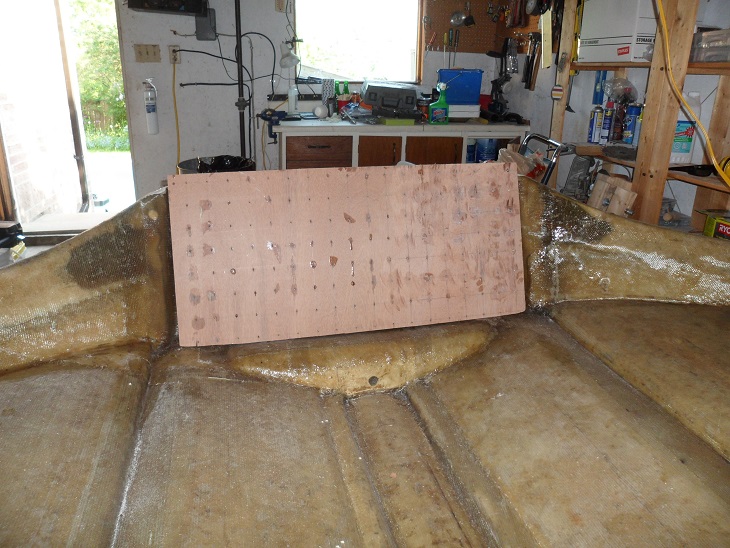
Measured and cut my transom today. Using 3/4" marine-grade 13-ply BS1088 plywood.

Using a straight-edge, I penciled on a 2 inch square grid.
Image

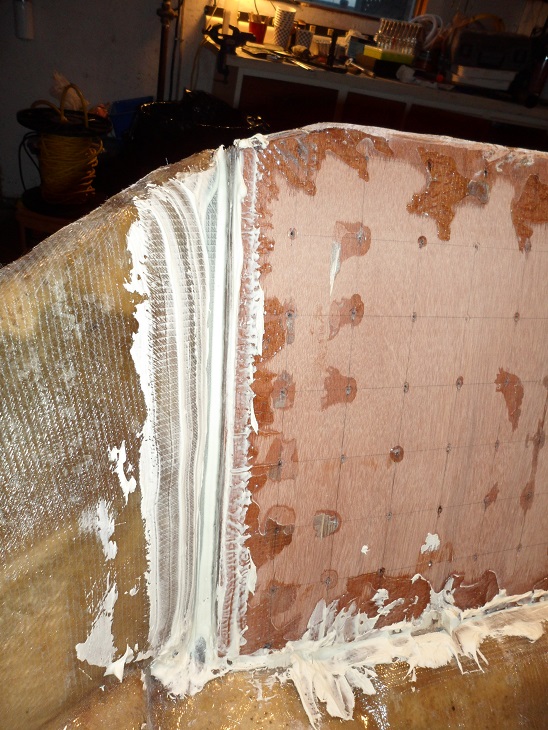
I then proceeded to drill holes as per the grid with a 1/8th inch bit..
Image

Image

Image

Image

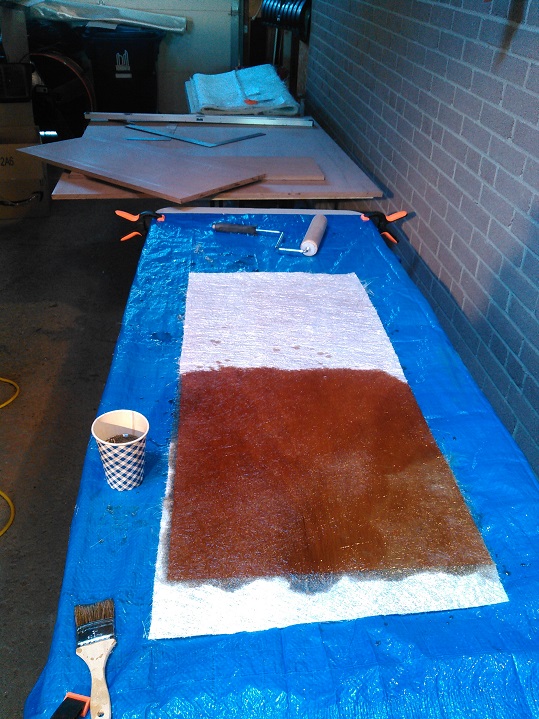
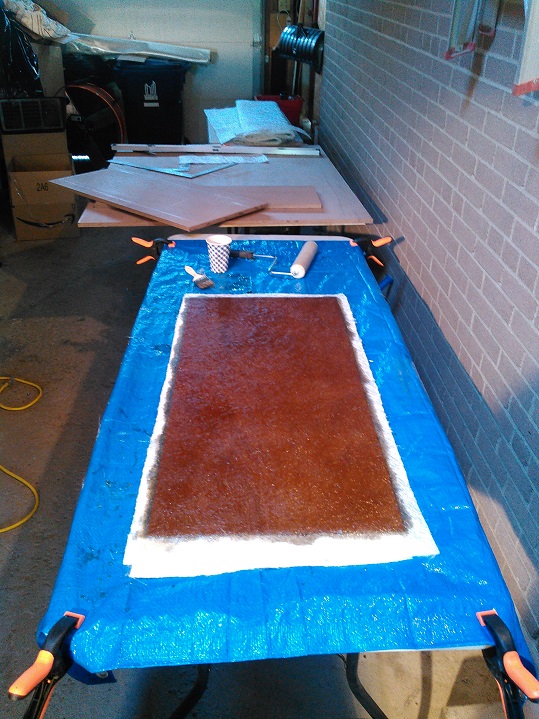
I soaked the transom with resin, laid on a piece of 1.5oz mat, wetted that out. Added a second piece of mat, wetted that out..
Image

Image

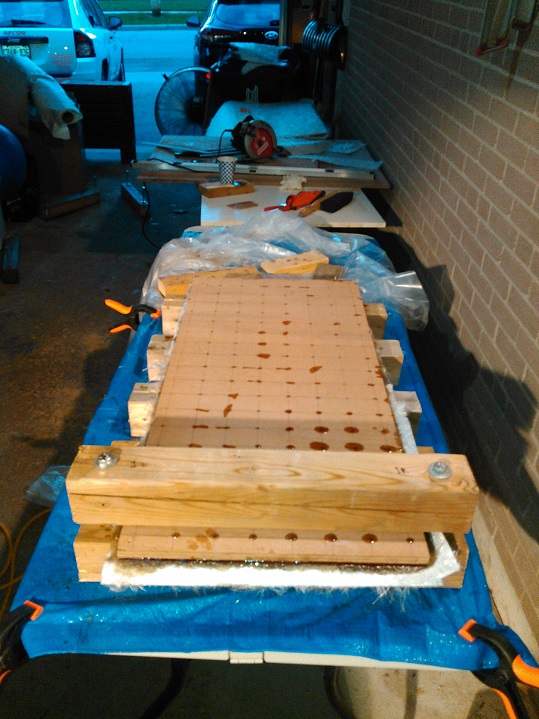
I soaked the underside of the other piece of transom and laid it on top, getting the edges lined up.

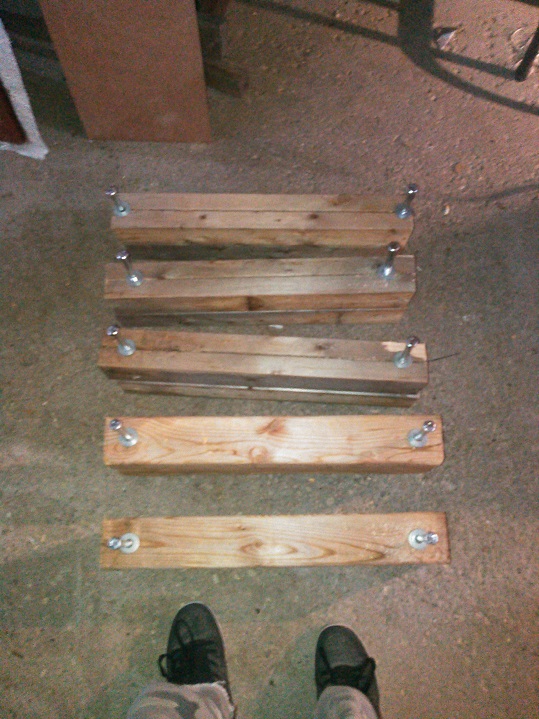
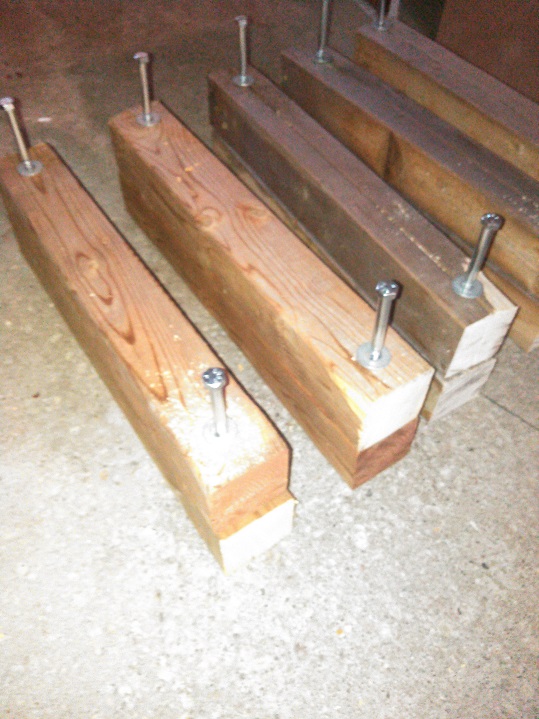
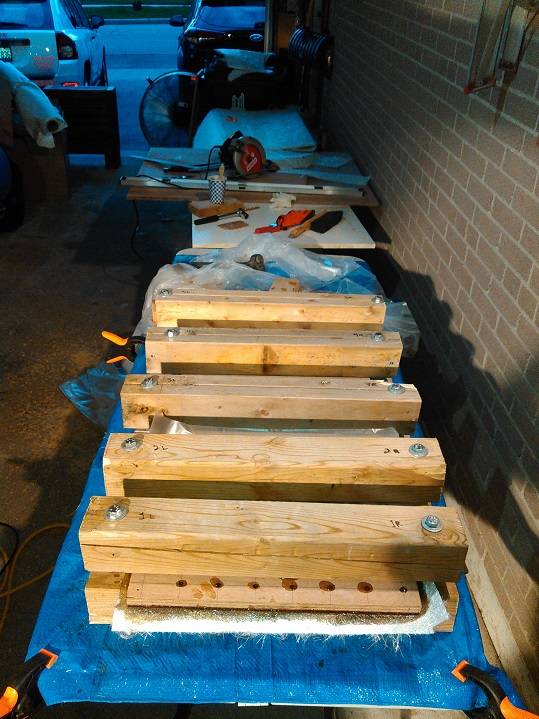
I built 5 clamps using 4x4s and sandwiched 2x4's and 1/2"dia-8" lag bolts.
Image

Image

First I used 1-1/4" drywall screws in the first row of holes to make sure the plywood wouldn't slide as I attached the clamps.

Image

Image

Image

Tomorrow:
-trim the glass edges.
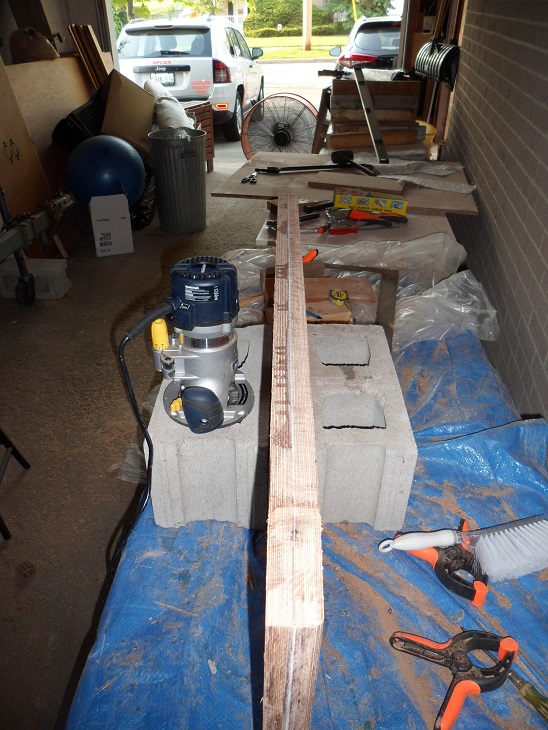
-use a router to cut a radiused edge along 3 sides of the transom (because my transom skin on the hull has a radius along the sides and bottom due to adding glass layers.)
-test fit the transom.
-bond and clamp the transom using ATC Core-Bond.
User avatar

Topic Author
AdamDK
Moderator
Moderator
Posts: 327
Joined: Jul 19, 2016 6:58 pm
Location: Oshawa, Ontario (near Toronto)
Has thanked: 45 times
Been thanked: 72 times
Contact:

Re: 1980 Viper Rebirth

Post: # 23147Post AdamDK »

June 2nd-June 6th, 2018:

After letting the transom cure for a few days, it was time to fine-tune the fitting.
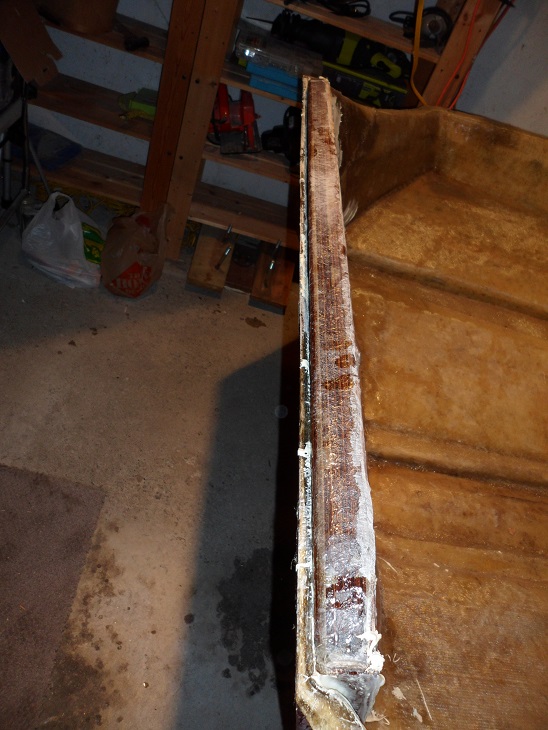
Image

I used a circular saw to bevel the bottom edge of the transom to match the angle.

Image

Image

Notice how the top of my transom skin is slightly bowing out. This would be an issue later as I'll explain.

Image

Then went to work on the bottom corners with my grinder to match the contours.

Image

Image

Image

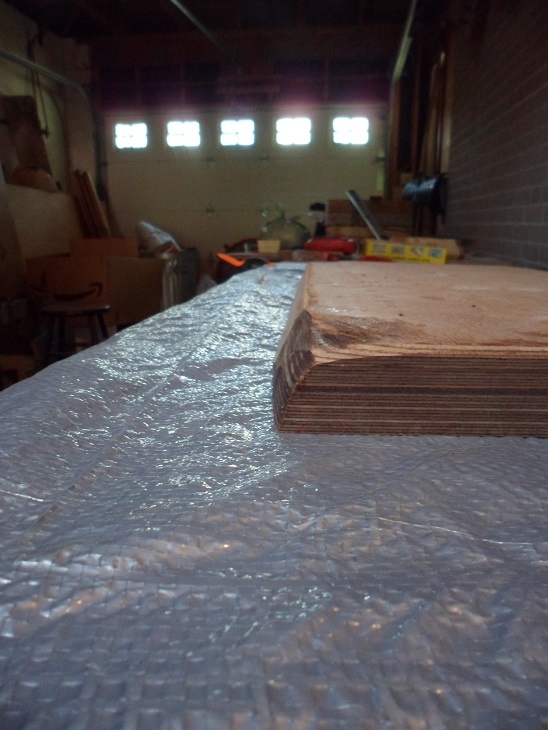
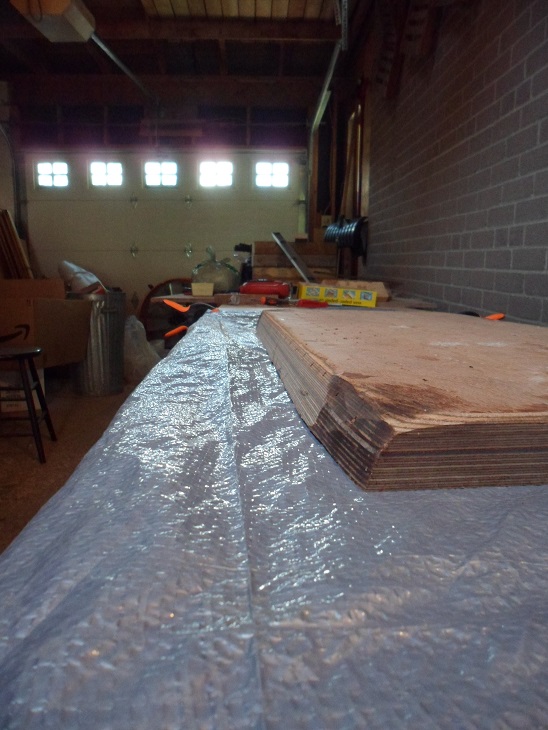
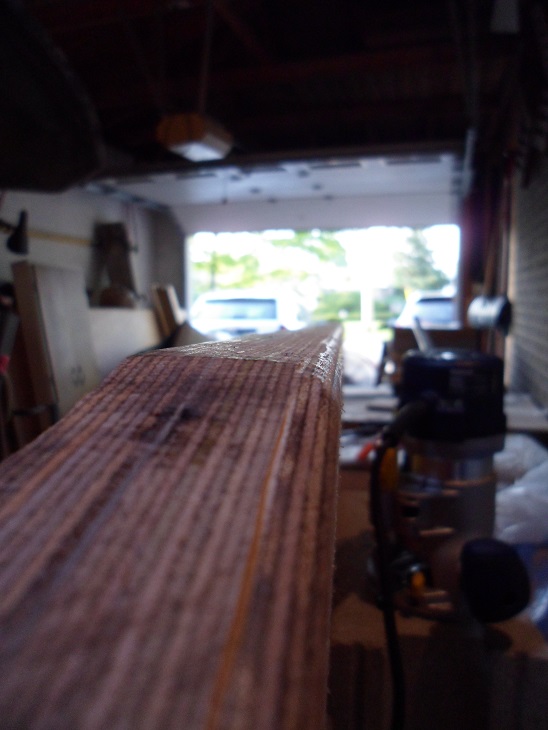
Due to the added glass layers on the transom skin, I had a curved radius along the sides and bottom. I used my router with a 1/4" radius roundover bit. I rounded both edges along the top (to allow easier laying of glass in the future), both side edges (transom skin-side), and along the bottom (transom skin-side)

Image

Image

Once I had the transom fitted as best I could, back on the table it went.

I resin primed the back side...let that sit for 2 hours while it got tacky, then laid on another 2 layers of mat.

Image

Image

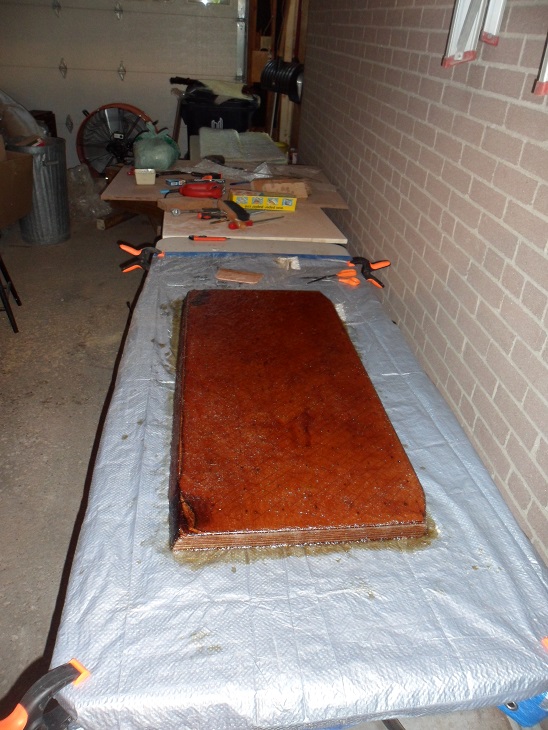
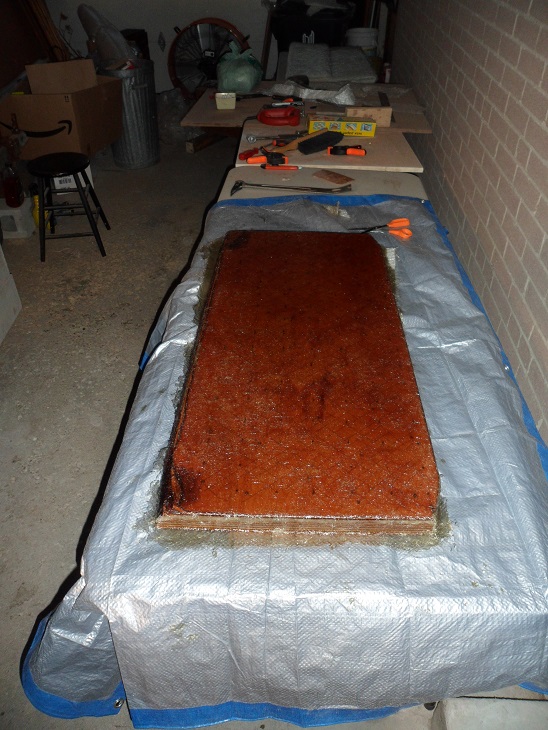
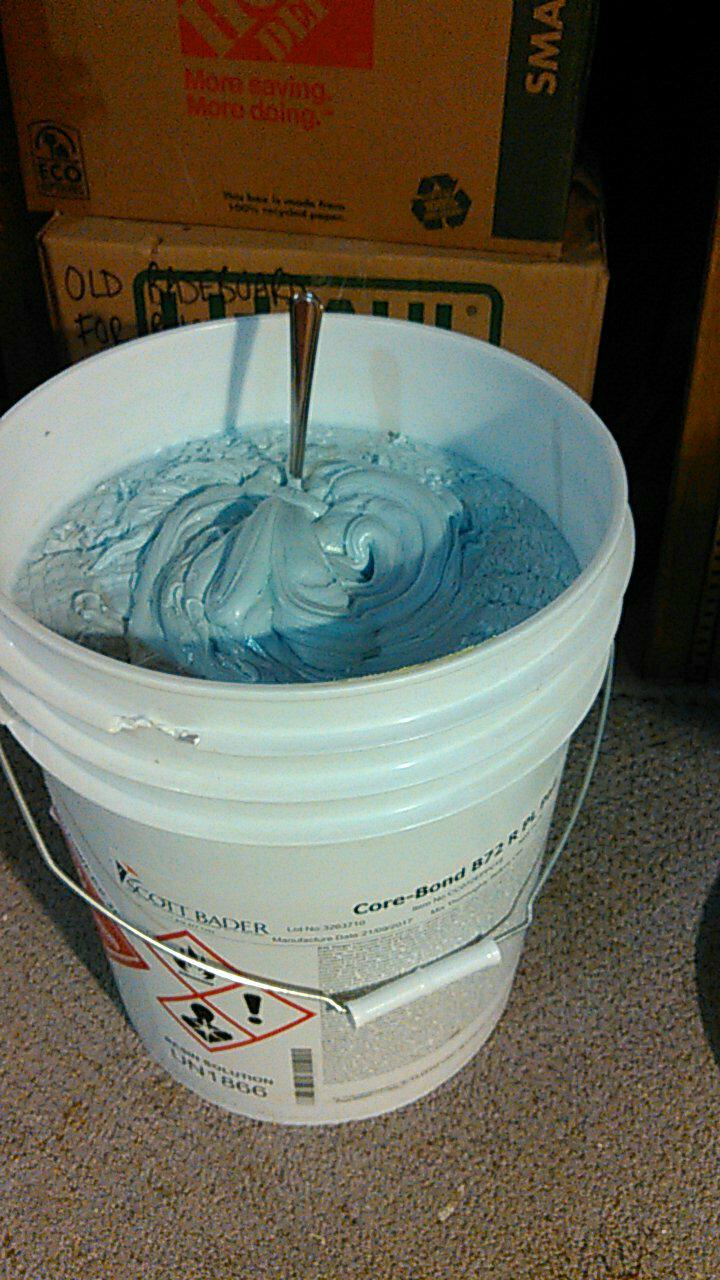
Using Scott Bader ATC Core-Bond B72 R (regular), I troweled that onto the transom skin.
And yes, I catalyzed it with 2% MEKP as per instructions.

Image

Image

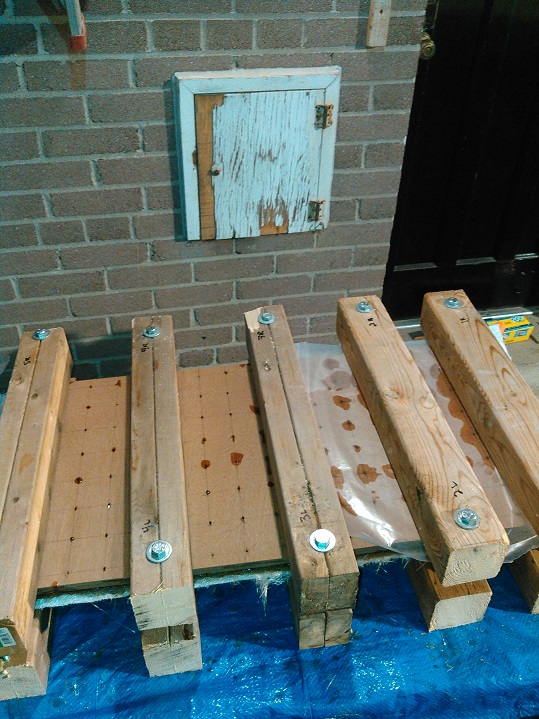
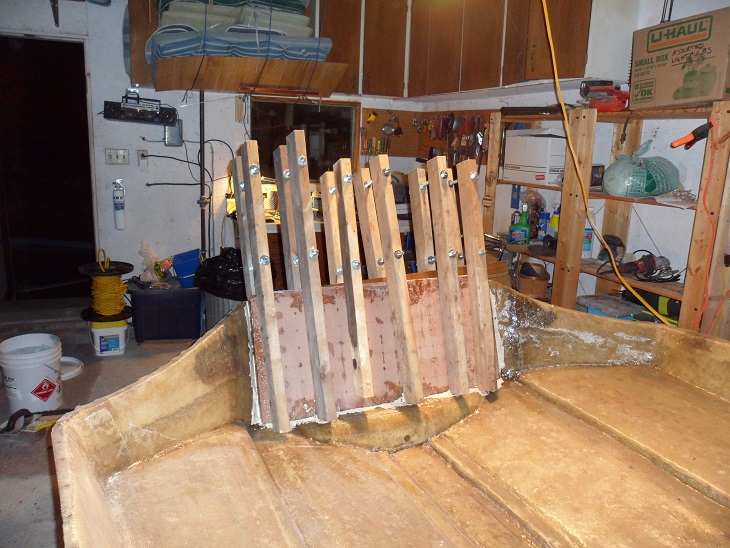
I constructed 6 clamps with 2x4's, 12" length 1/2" threaded rods, washers and nuts.
For fun, I wanted to see how much clamping pressure I could create.
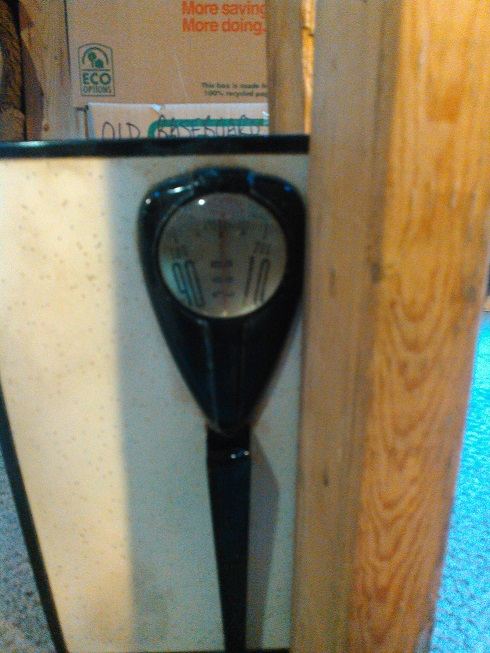
Tested it on the bathroom scale.

200 pounds, and I figure I could probably tighten it further.

Image

Image

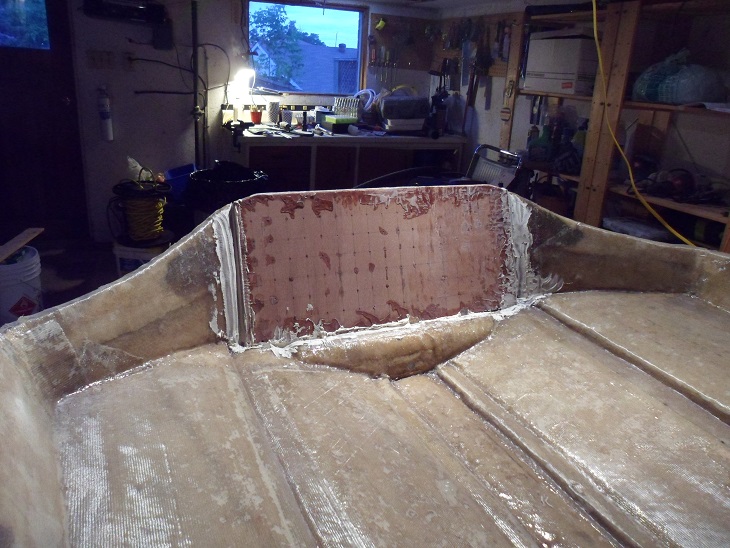
Two days later, I removed the clamps.

Image

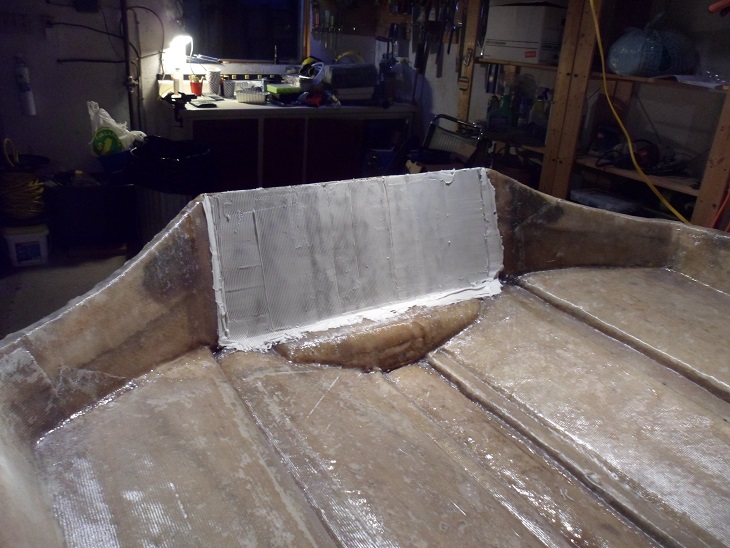
Image

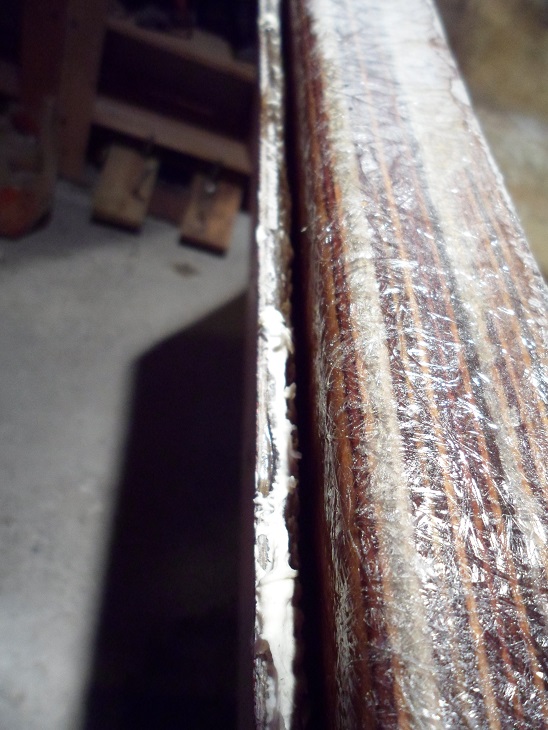
My transom skin is a quarter inch thick.....so as you can see, it was really difficult to get the top of the transom skin flush with the new transom. I clamped the hell out of this, to the point where the washers on my clamps started embedding themselves into the wood.

Image

Image

But the gap seems to be maybe 2 inches deep, so I'll have to pick up some large syringes and squirt resin into there to fill the void. And some heavy duty C-clamps to see if I can flatten it.

-----------------------------------

Next, grinding/sanding down the clumps of corebond, and finishing off my supplies shopping to bag my balsa core.
User avatar

Hippie459MN
Site Admin
Site Admin
Posts: 3970
Joined: Mar 25, 2009 7:31 pm
Location: Nowthen, MN
Has thanked: 349 times
Been thanked: 81 times
Contact:

Re: 1980 Viper Rebirth

Post: # 23149Post Hippie459MN »

Looking good. :up:
-Kevin
Project Vulture | Project Vector | Project Vamp | Project Vixen
The Vulture Wish List | Project CobraJet

1977 HydroStream Vulture - Worlds longest ongoing project. :eek:
1982 Hydrostream Vector
1982 Hydrostream Vamp
1973 Hydrostream Vixen
1976 CobraJet Jet Boat - Outboard conversion project
1976 Pontoon - aka The Family Truckster
User avatar

YDOC462
HSF Lifetime Supporter
Posts: 901
Joined: Apr 11, 2010 12:57 pm
Location: beaumont, tx
Has thanked: 23 times
Been thanked: 5 times
Contact:

Re: 1980 Viper Rebirth

Post: # 23195Post YDOC462 »

great work!!
81 vector....complete restore....1991 7 pedal 200 slightly modded
ALWAYS under construction

Image
HYDROSTREAM HELLIONS
https://www.youtube.com/watch?v=YHE8wWZsFpw
Post Reply

  • Random Topics
    Replies
    Views
    Last post

Who is online

Users browsing this forum: No registered users and 109 guests