Page 11 of 13

Re: 1980 Viper Rebirth

Posted: Aug 16, 2019 8:05 pm
by AdamDK
I think Drew is holding back on the Venom. July 1st weekend there was a run up and down the lake....on their way down he was in last place being beaten by a Seadoo.
I have video proof on my phone. Ask Hippie, I showed him.

Re: 1980 Viper Rebirth

Posted: Aug 16, 2019 8:09 pm
by idvette
I have videos shot from that boat with the previous owner driving. It's been over 100mph, and feels effortless doing it. Drew may need more seat time to get comfortable in it, but the potential is there!

[ Post made via Android ] Image

Re: 1980 Viper Rebirth

Posted: Aug 16, 2019 8:12 pm
by idvette
Here's an older one


[ Post made via Android ] Image

Re: 1980 Viper Rebirth

Posted: Sep 22, 2019 9:46 pm
by AdamDK
Friday Sept 20th, 2019:

Apologies for the delay. Busy weekends happened.

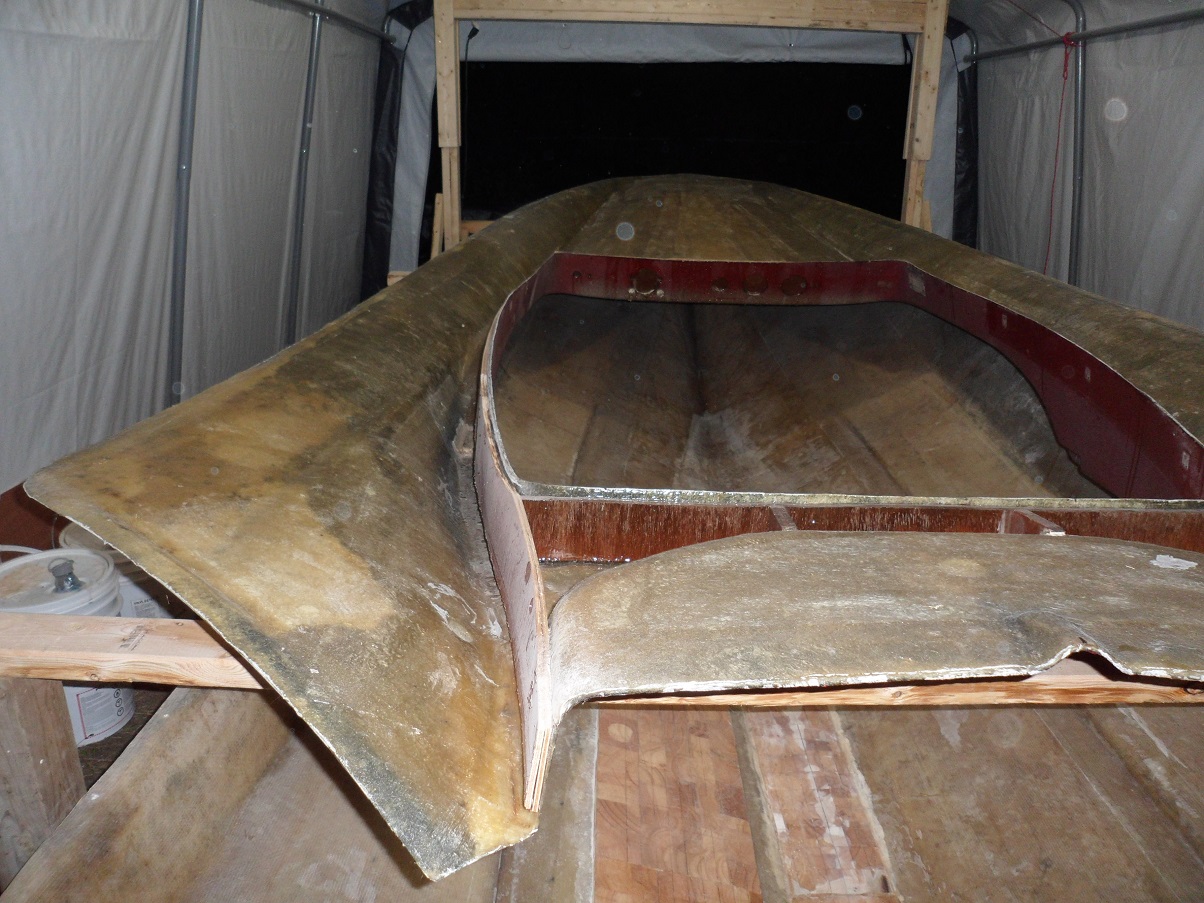
After I had finished grinding the deck, I laid down overlapping strips of 1.5oz CSM over the entire deck's underside. except for the dash. I left that bare for when I clamped in the new plywood.

Image

Image

Image

Image

Image

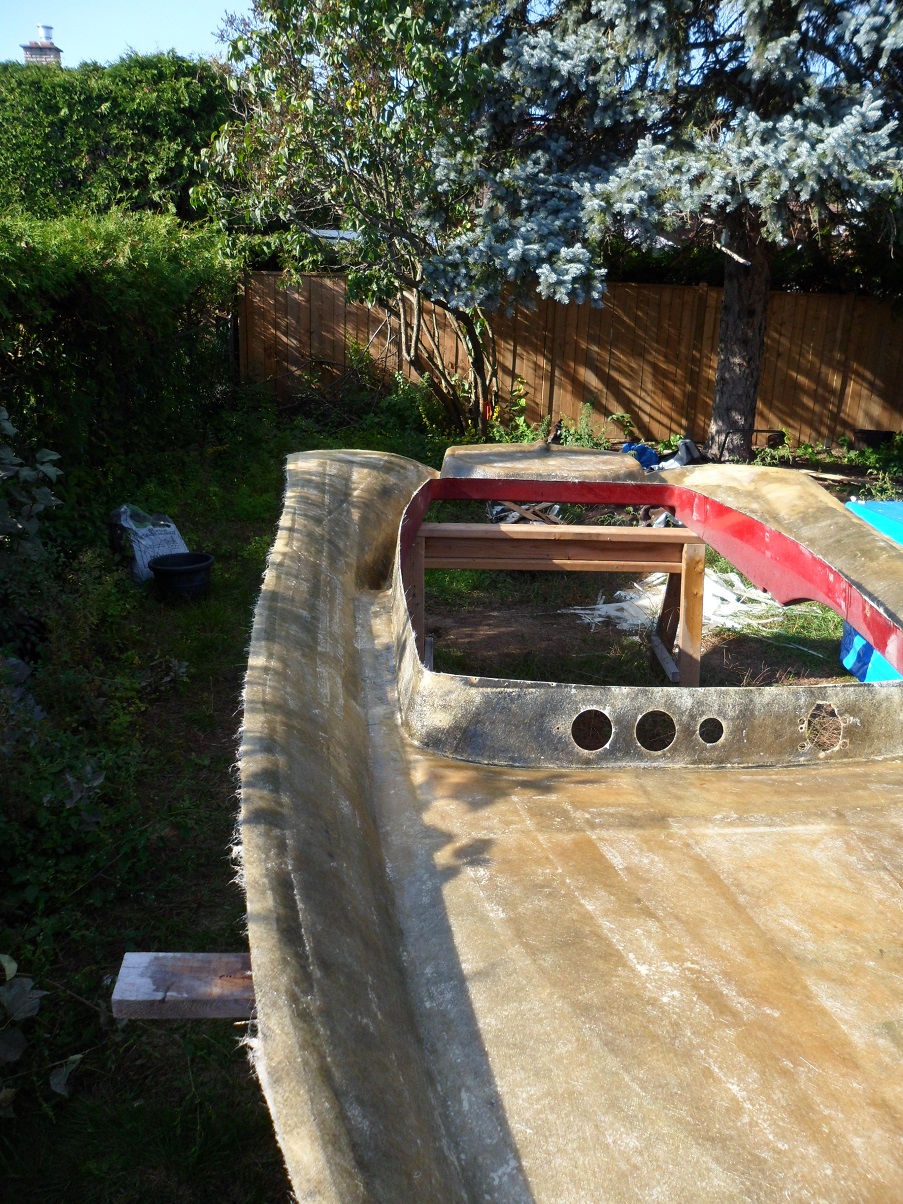
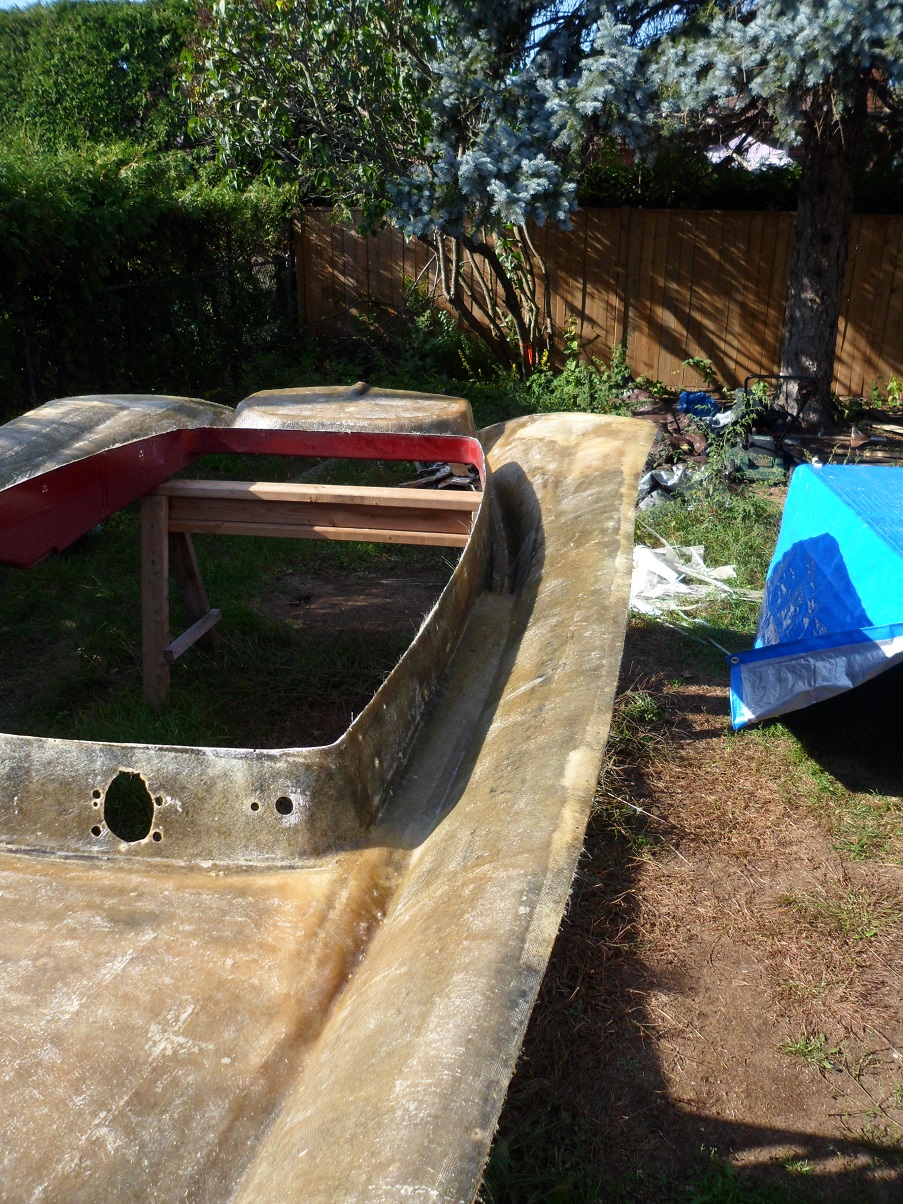
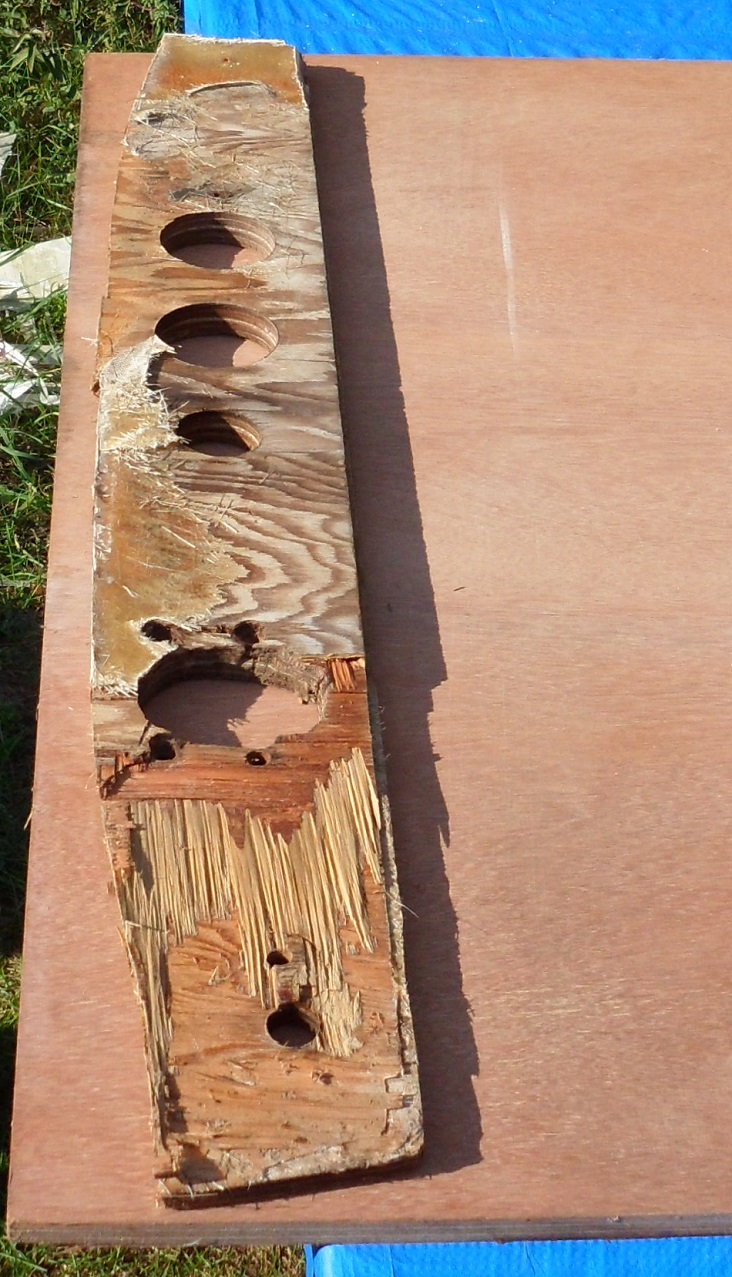
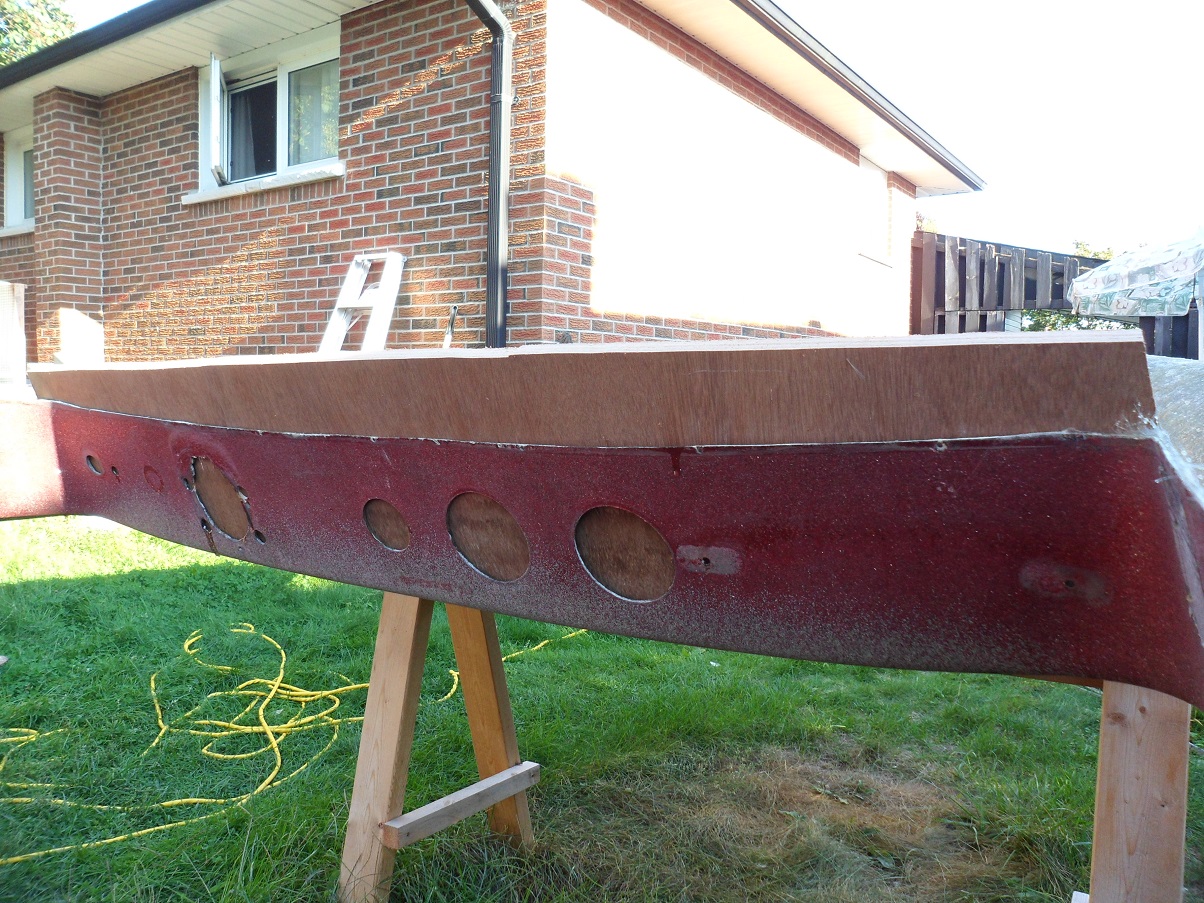
Next, using my old dash as a rough template, I cut a new one out of 3/4" marine plywood, and trimmed it down accordingly to fit.

Image

Image

Image

Image

Image

Image

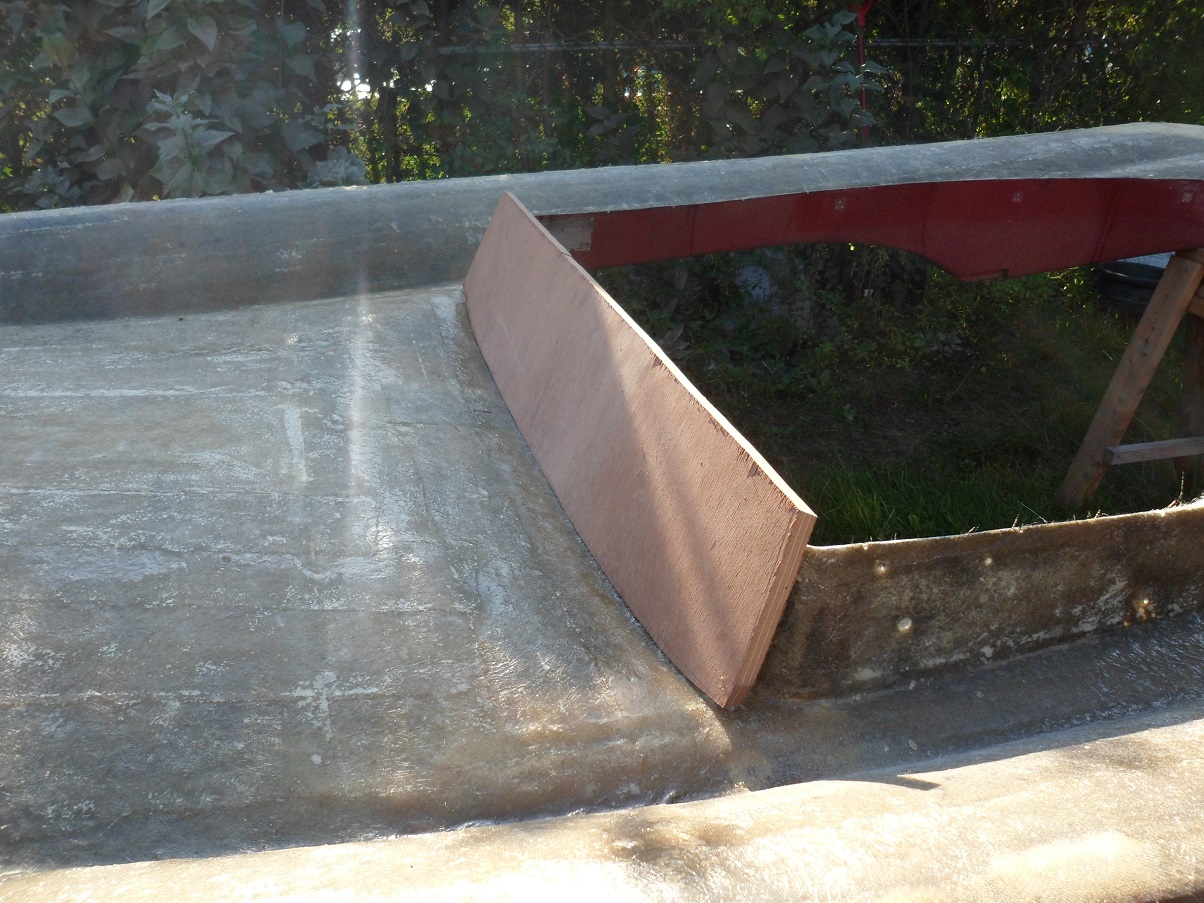
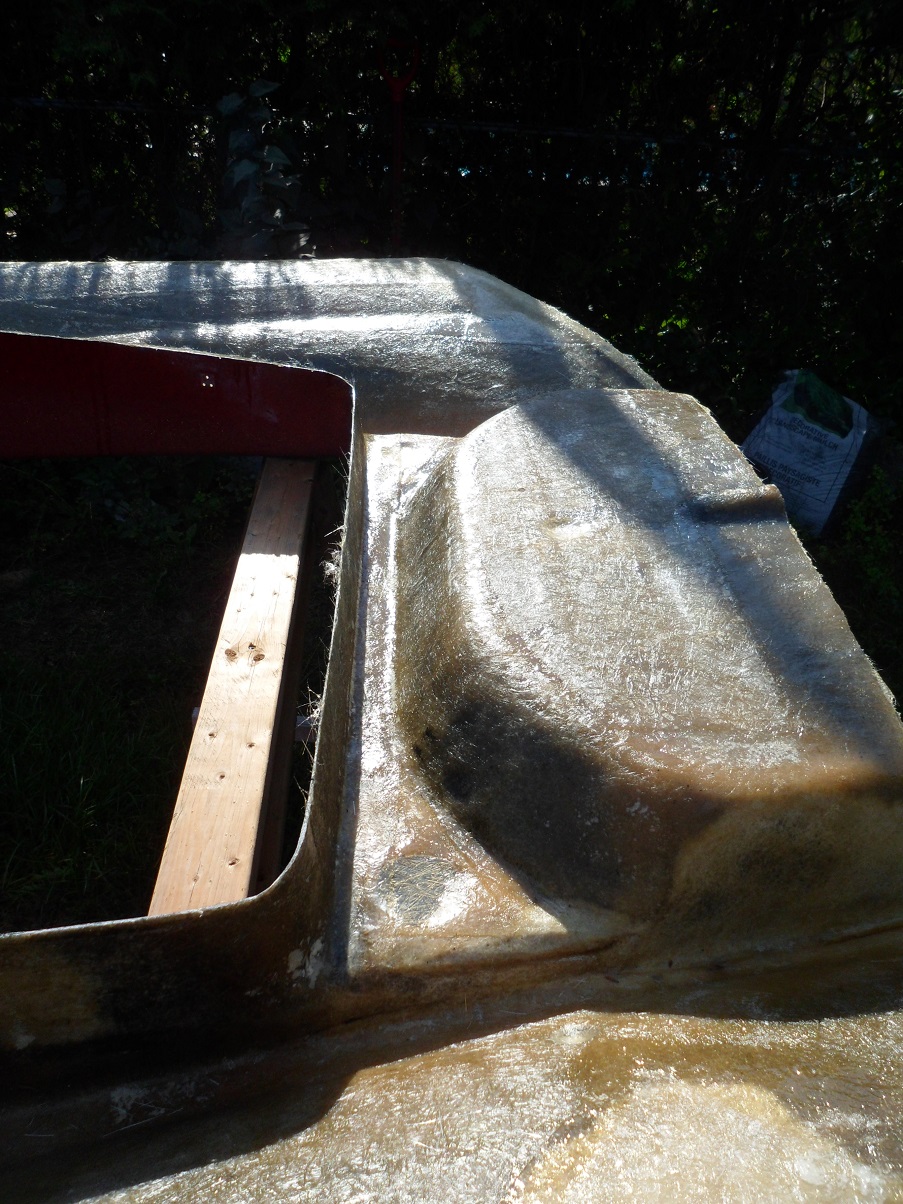
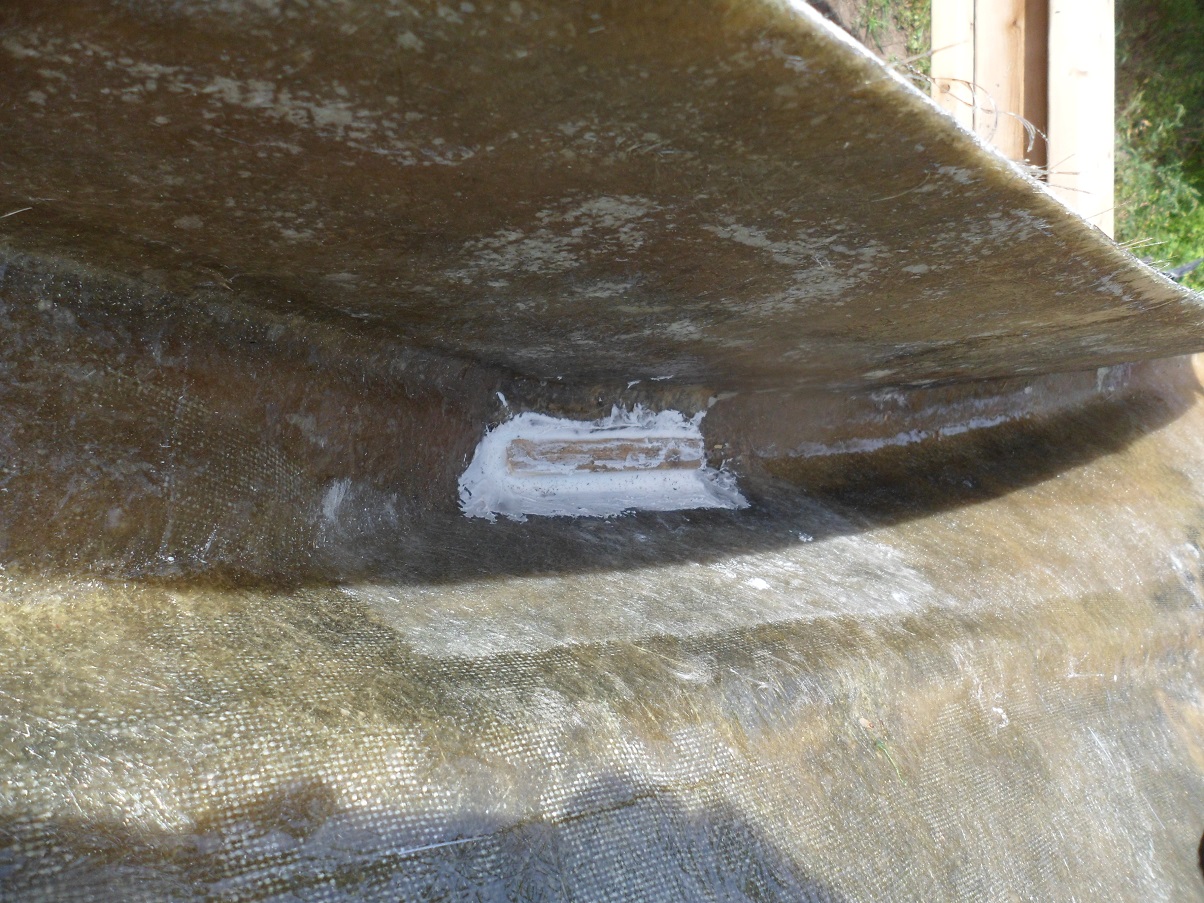
I "primed" the dash with resin and doubled the catalyst (4%), and let that sit. In the meantime, I whipped up a batch of CoreBond, and put in "wedges" in the notches where the windshield frame screws in to.

Image

Image

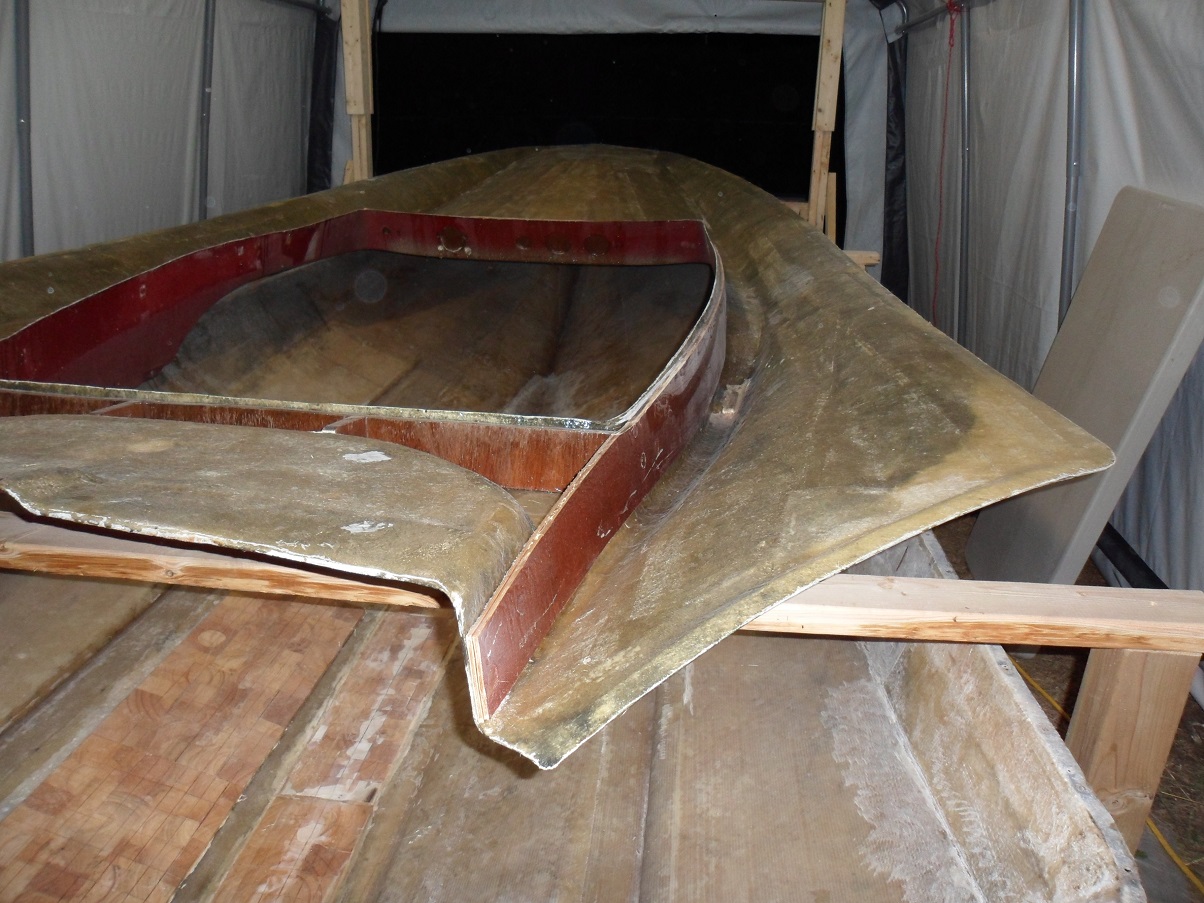
Back to the dash, I laid on 2 layers of 1.5oz CSM, and clamped her into place.

Image

Image


Was busy all Saturday, so this is what I got done today:
Sunday Sept 22nd, 2019:

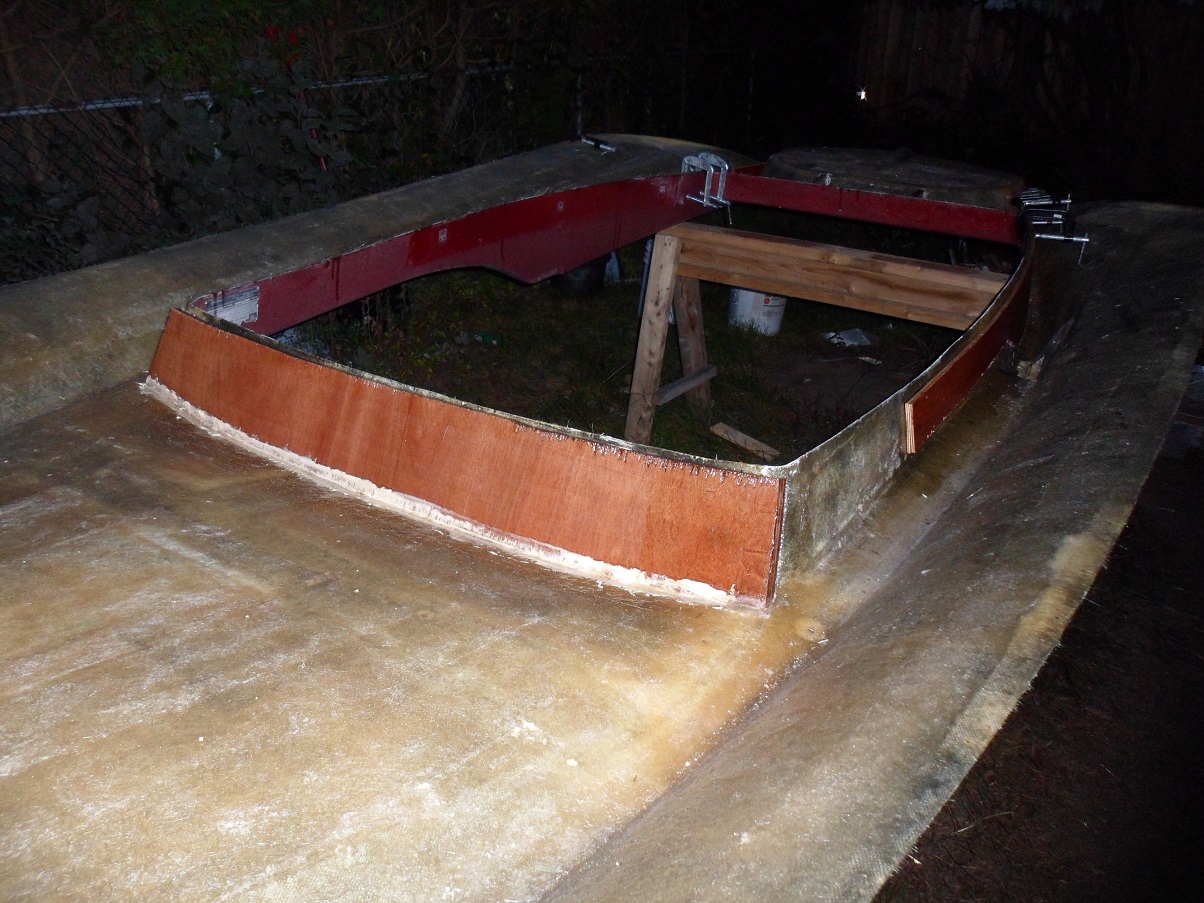
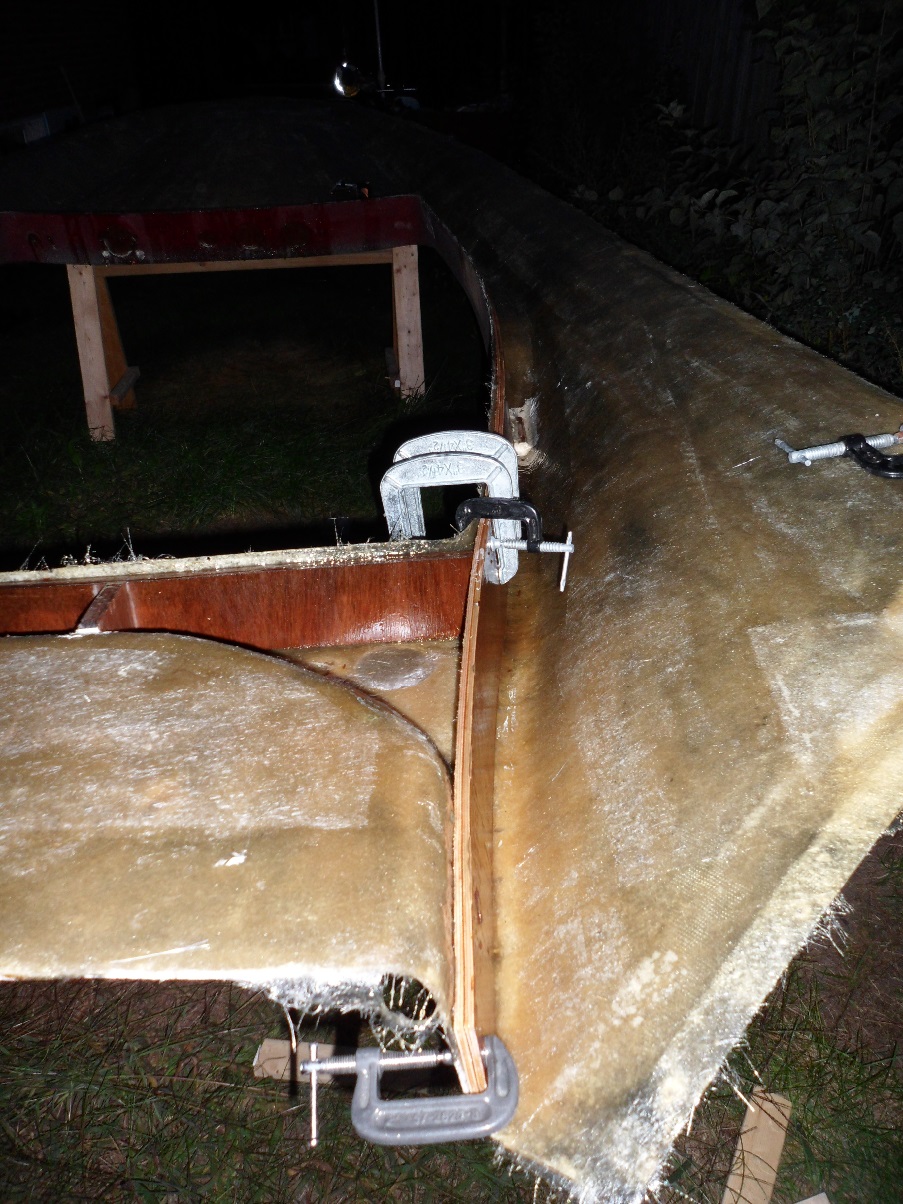
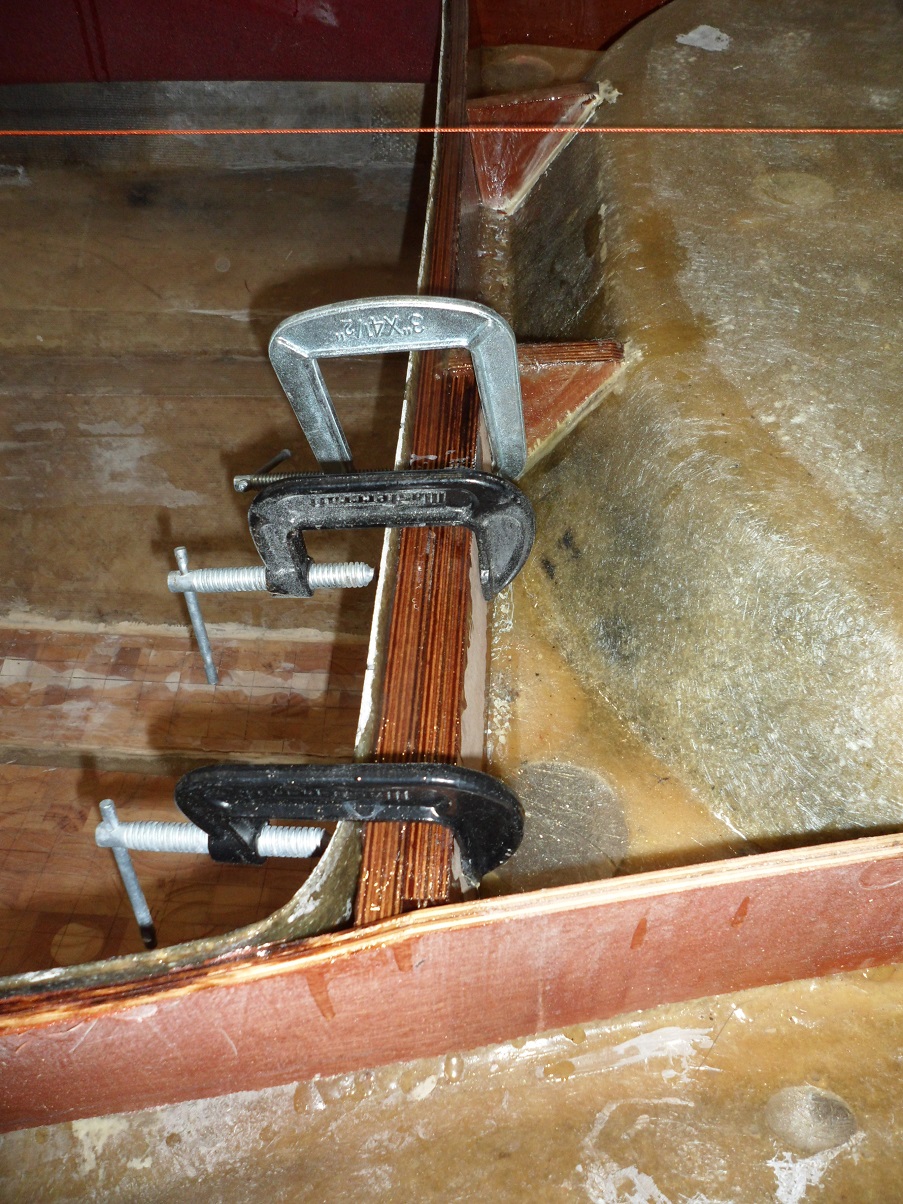
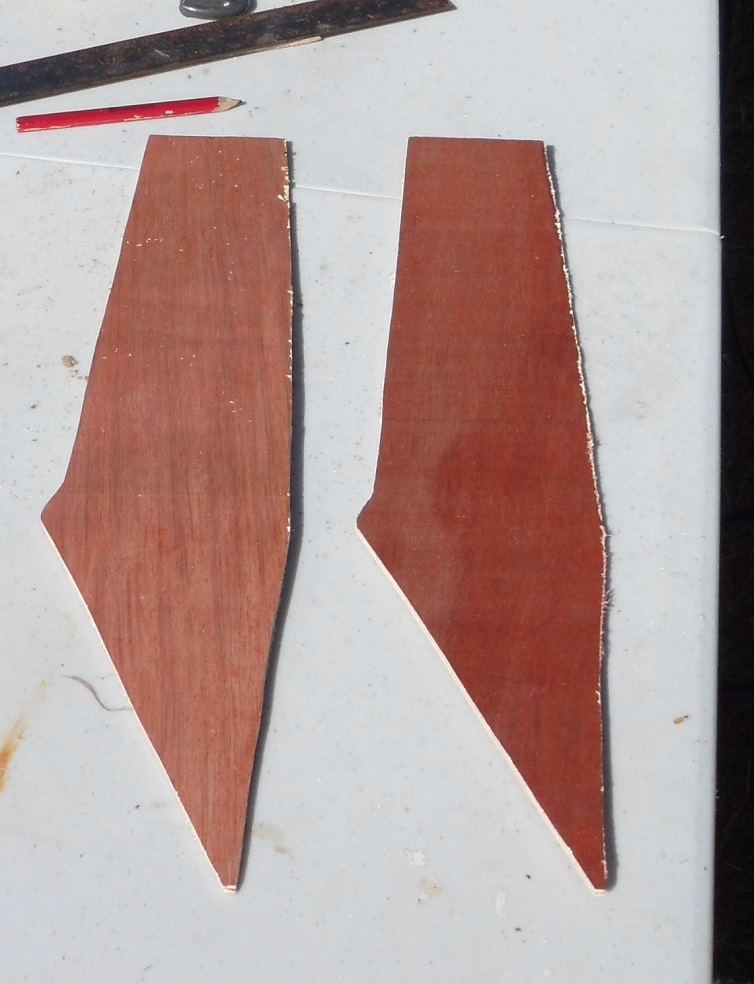
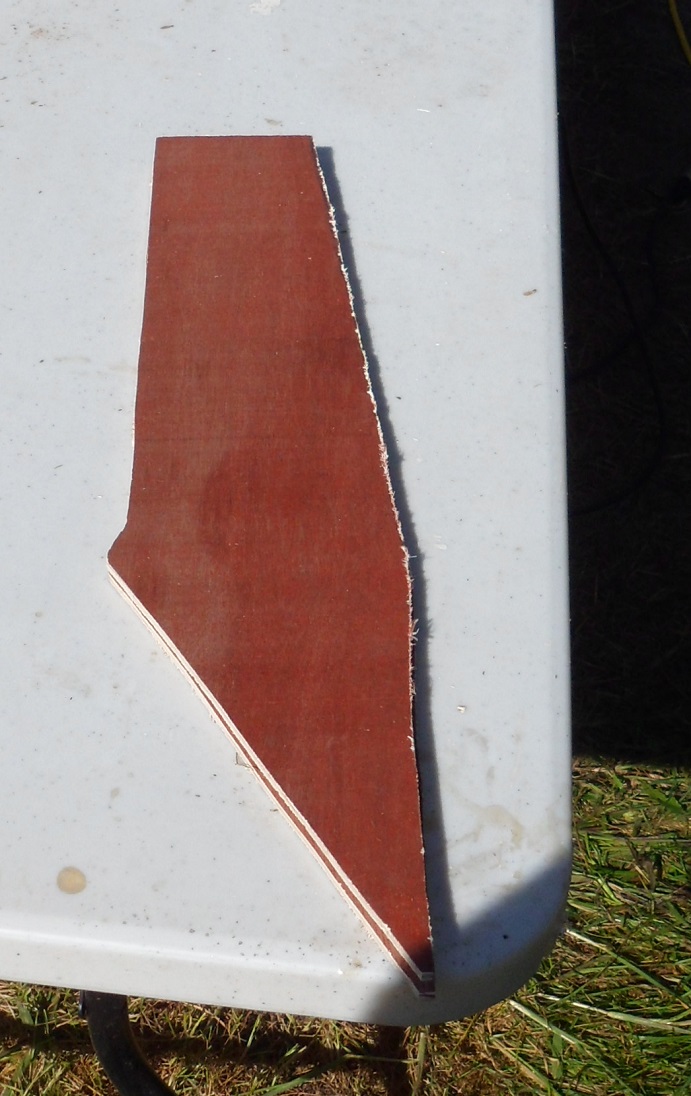
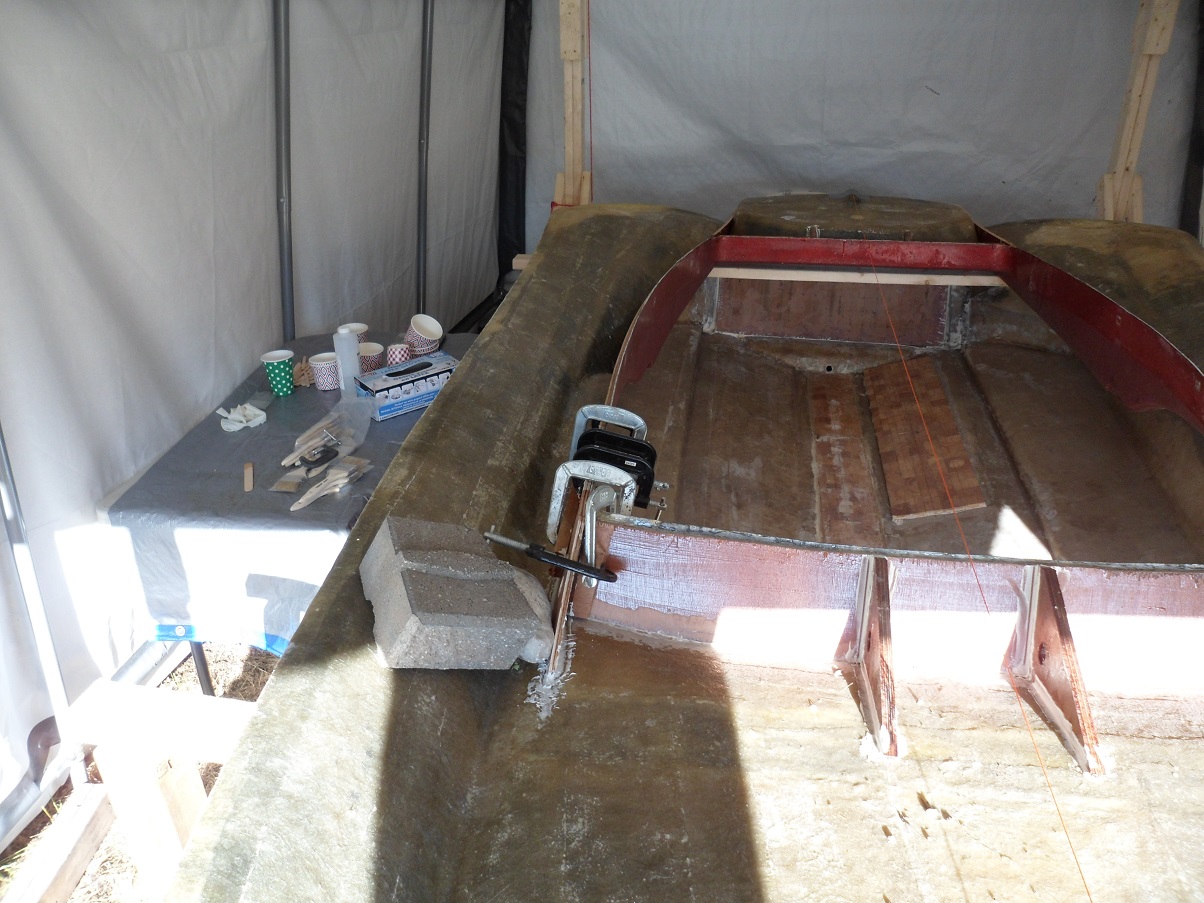
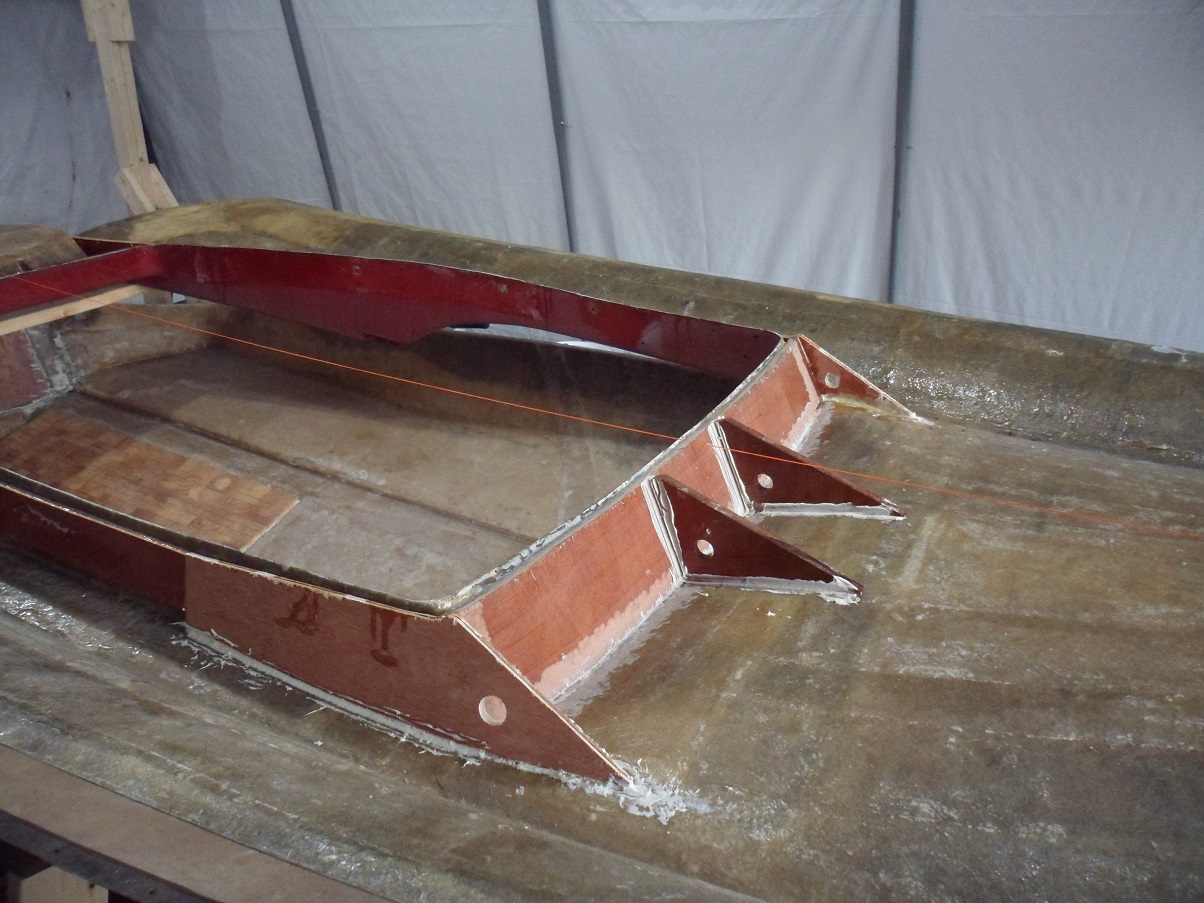
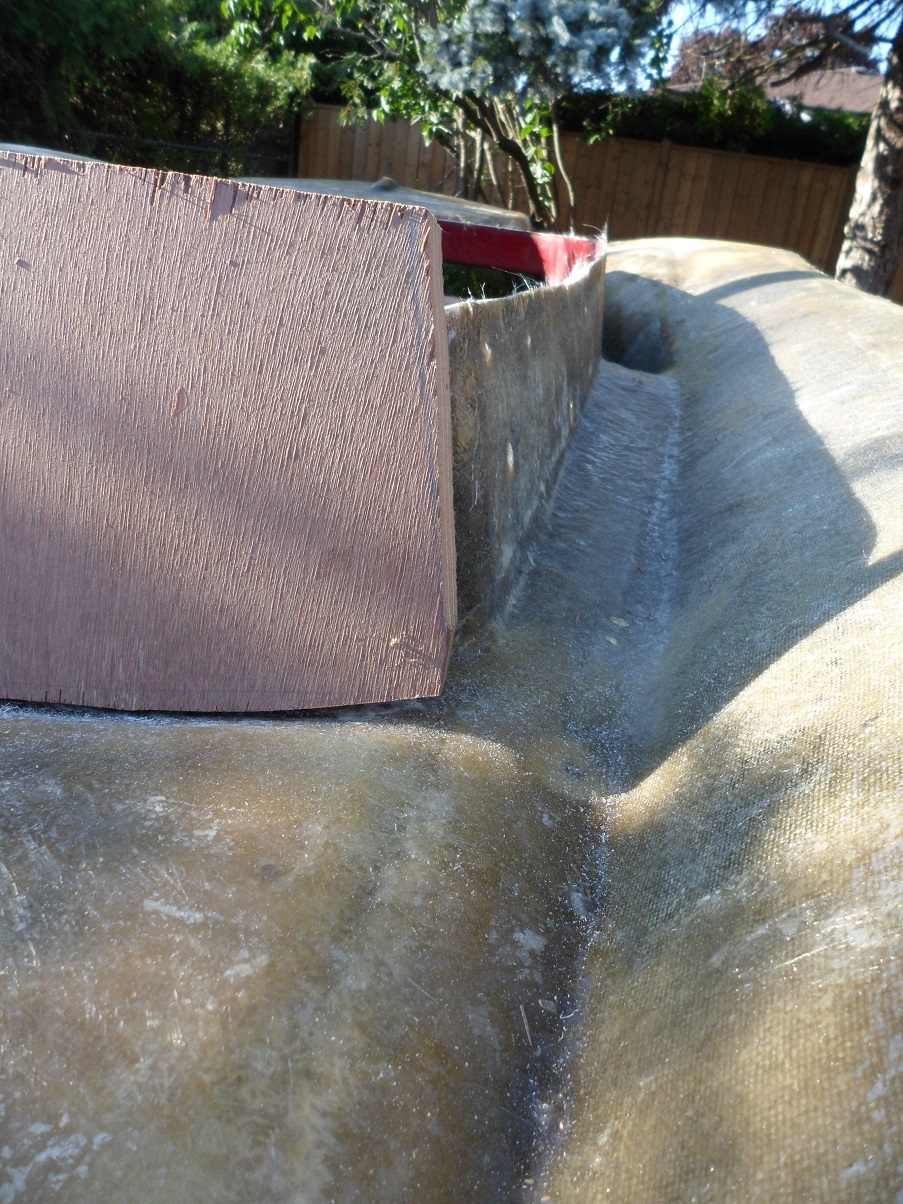
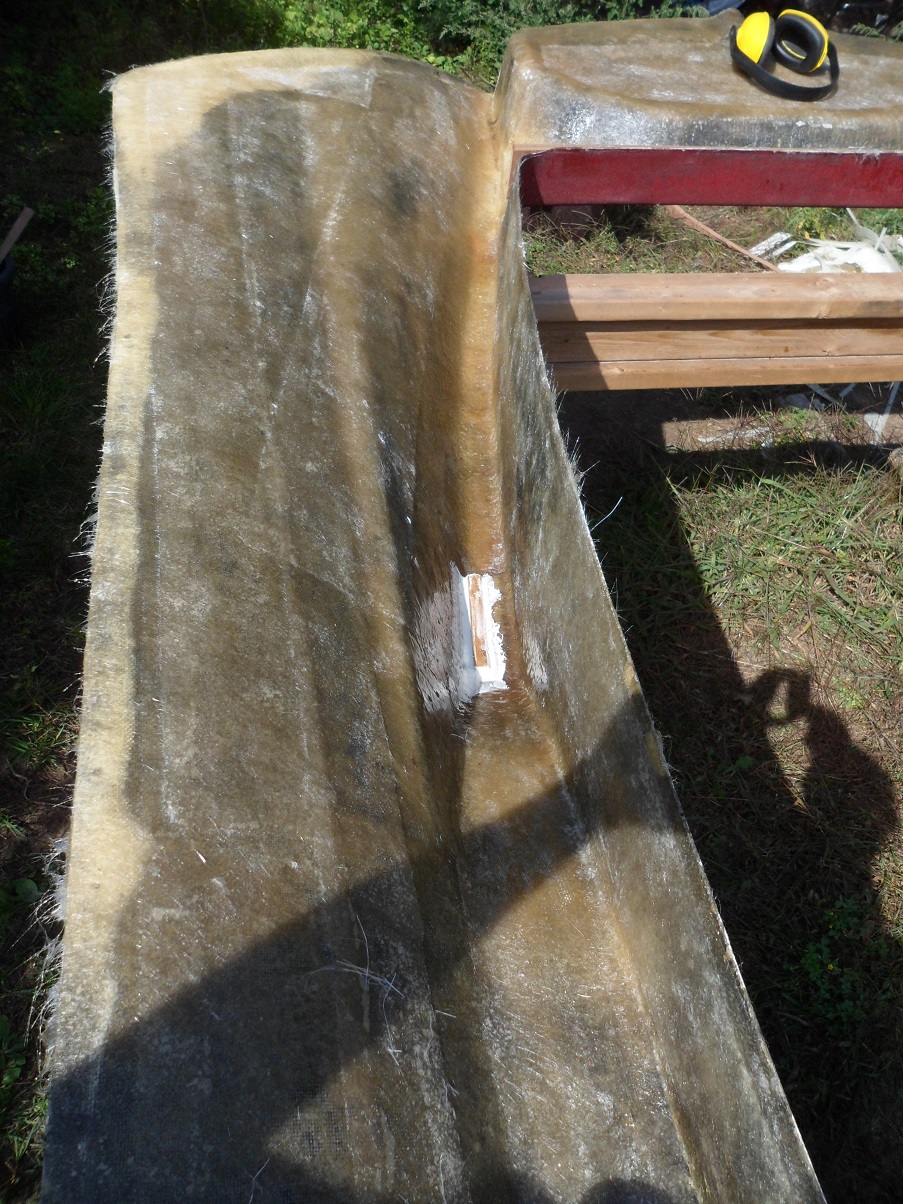
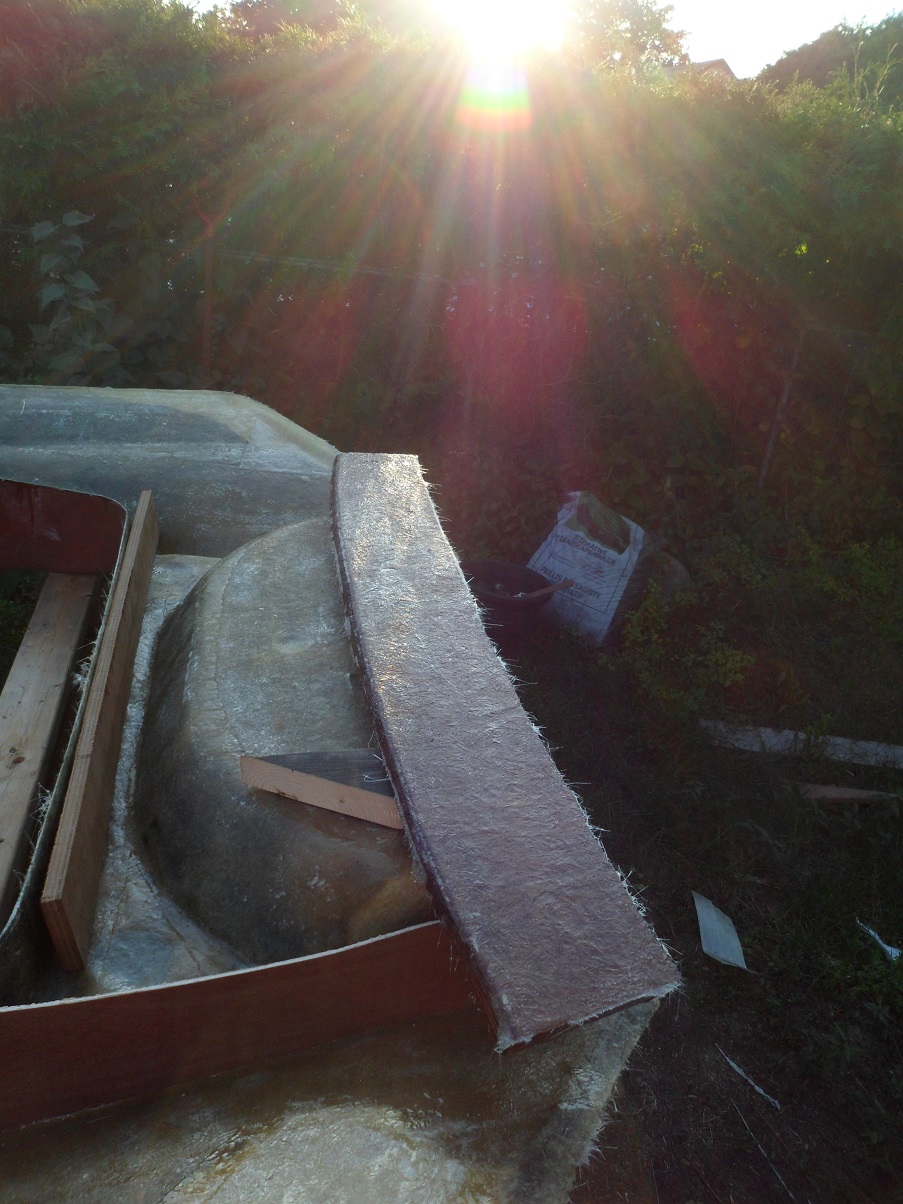
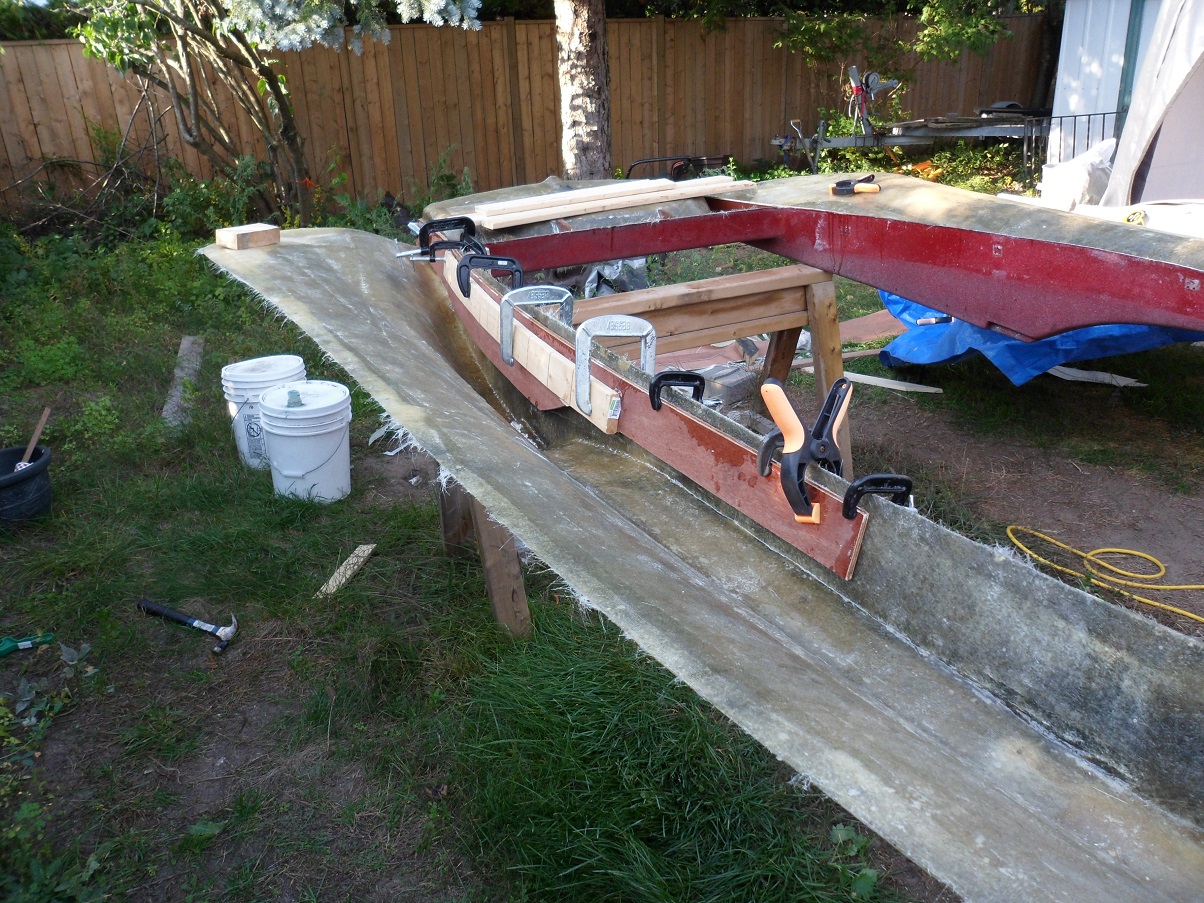
I cut out strips of 1/4" exterior mahogany plywood for the sides. I'll be laying on 2 layers of them for a 1/2" combined thickness. This will be replacing the 1/4" (or 3/8") strip of original plywood.

Here they are at their full 8 foot length, but i decided to trim off the forward foot as I plan on adding extended gussets on both sides of the dash.

Image

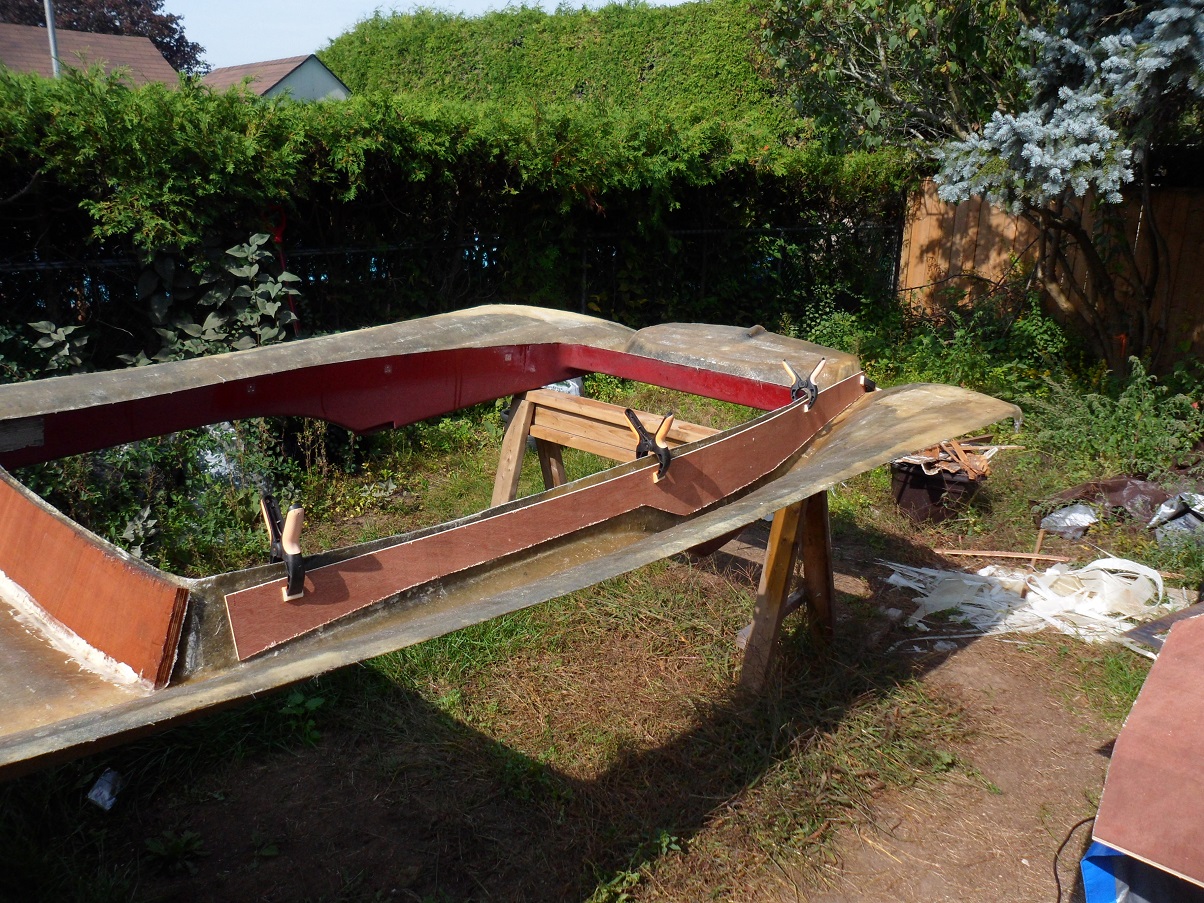
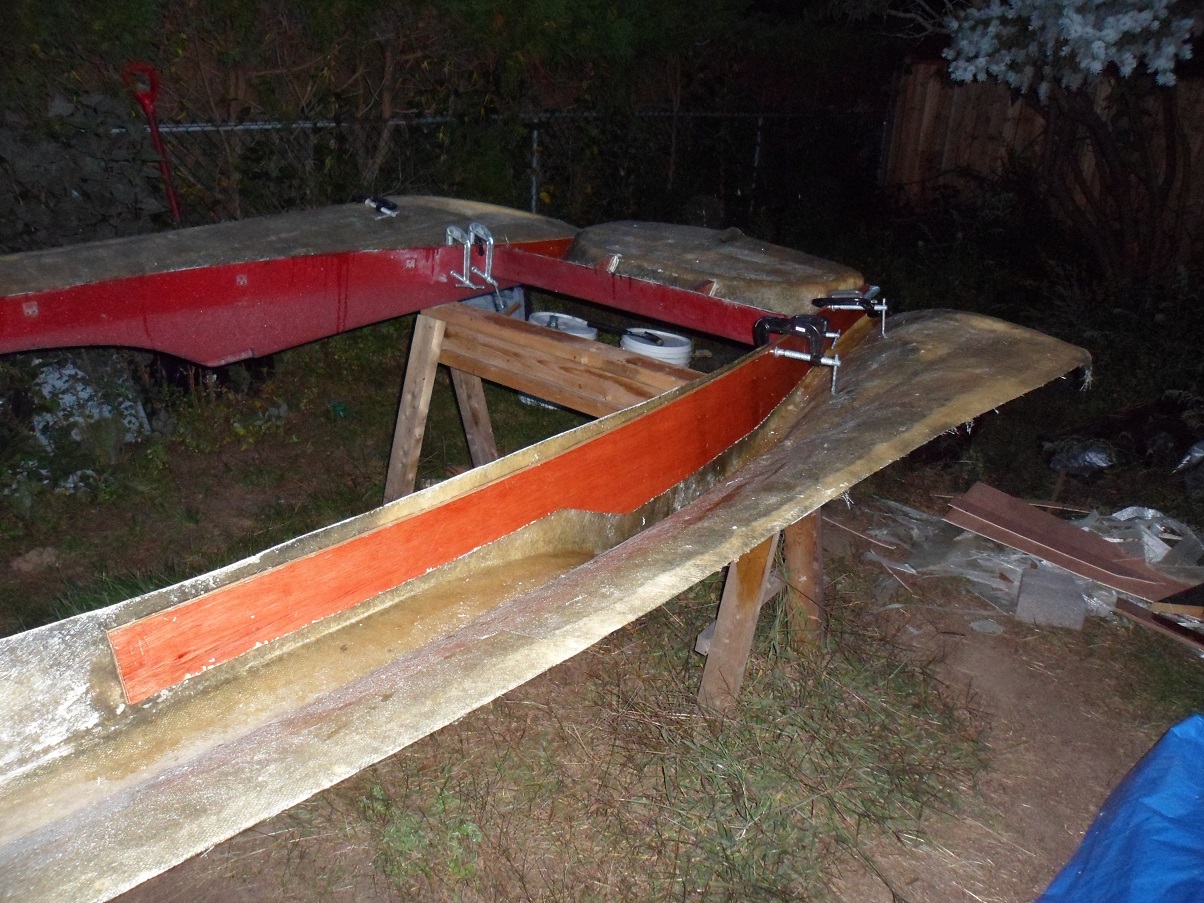
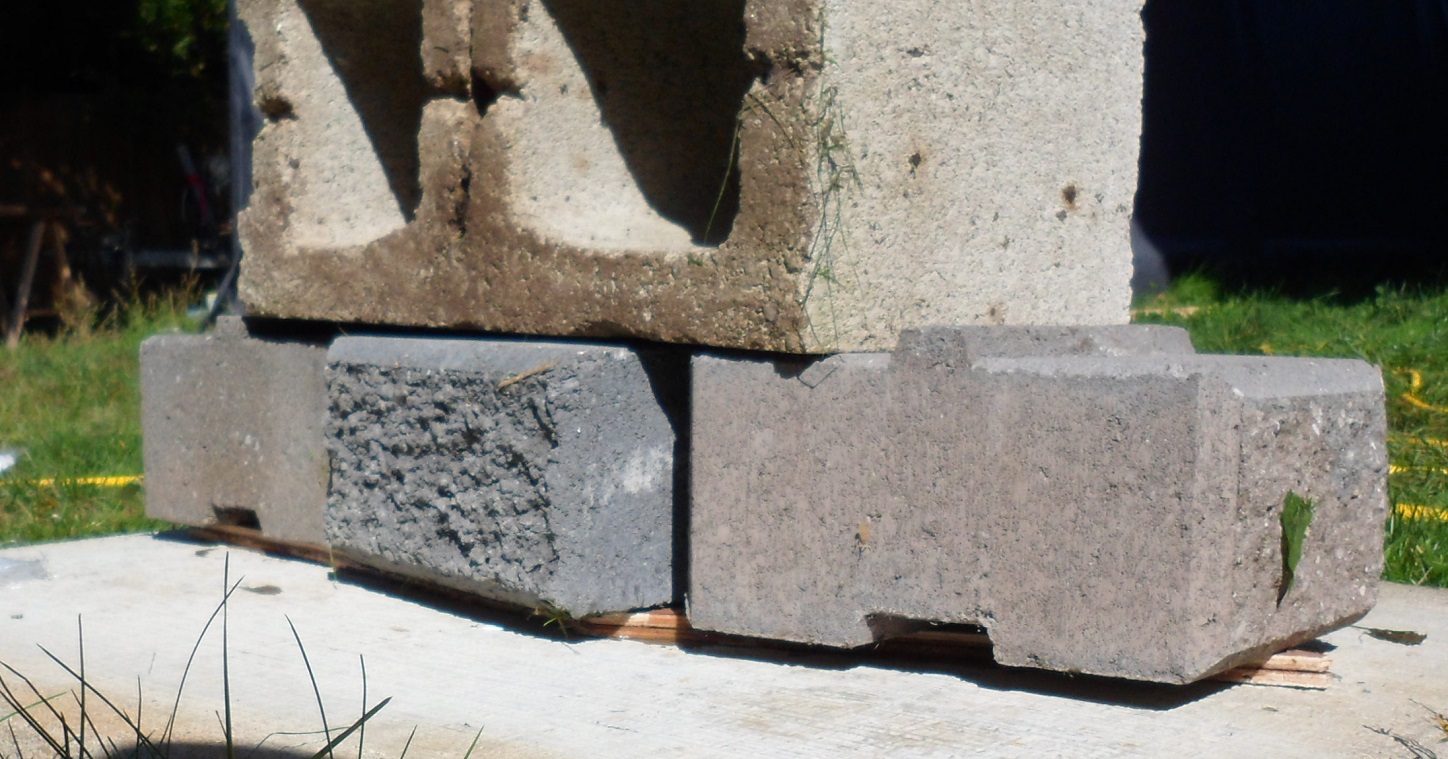
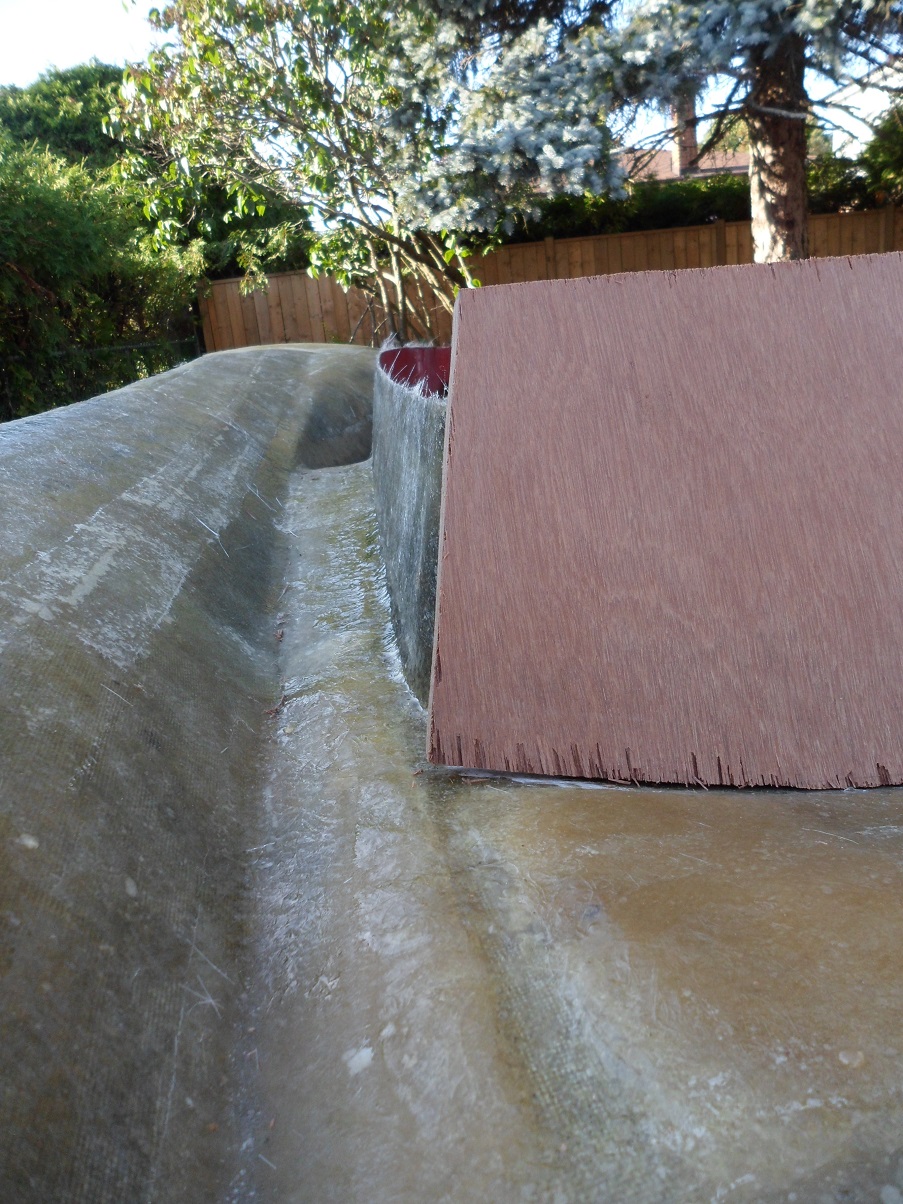
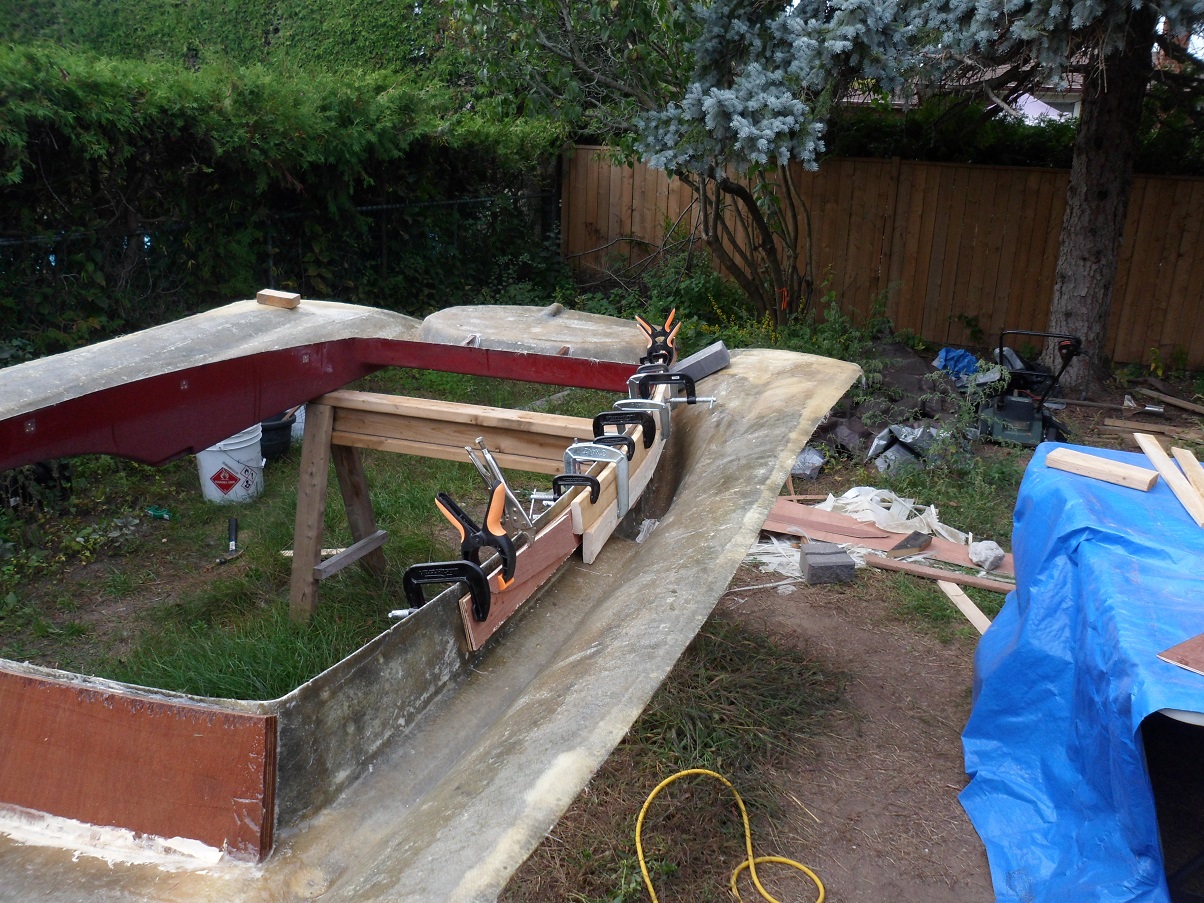
Soaked them in resin, and clamped into place.
Starboard side...
Image

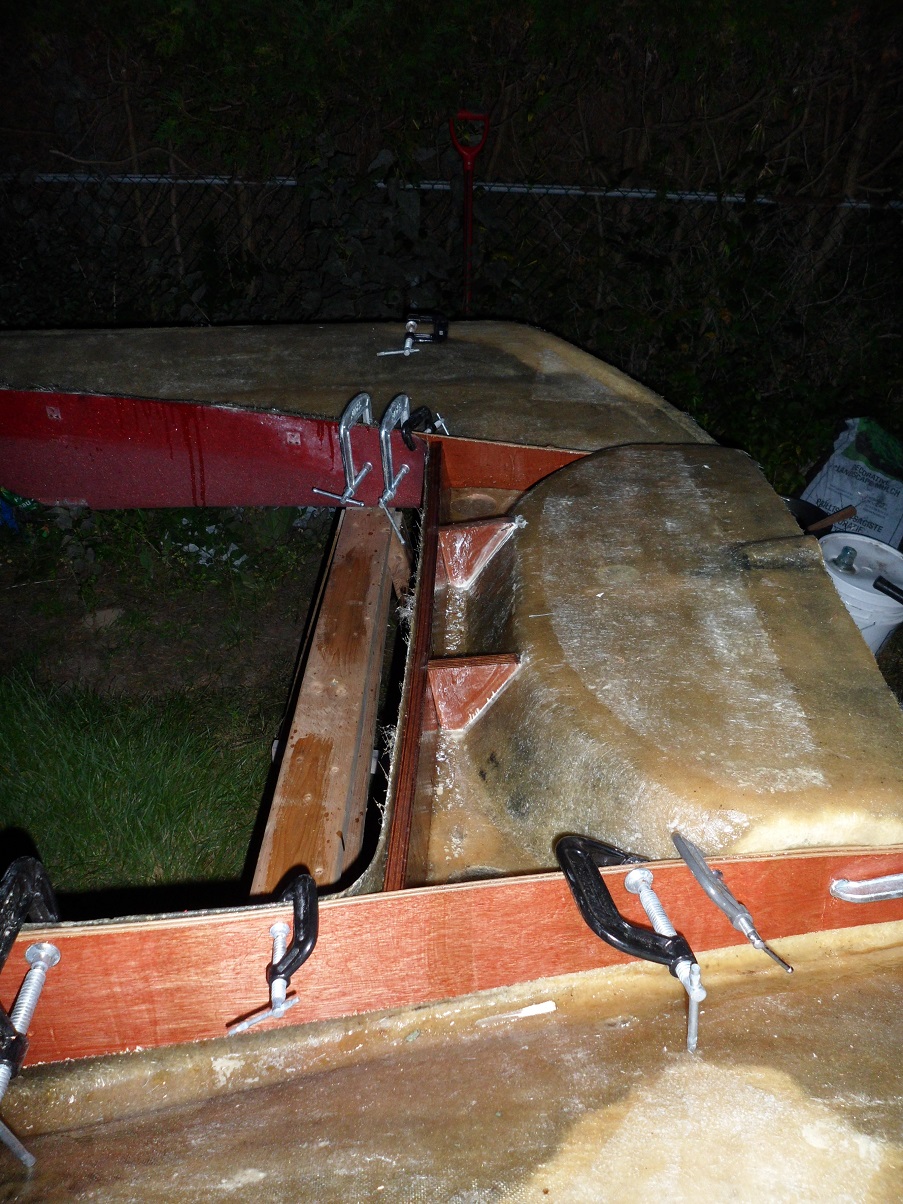
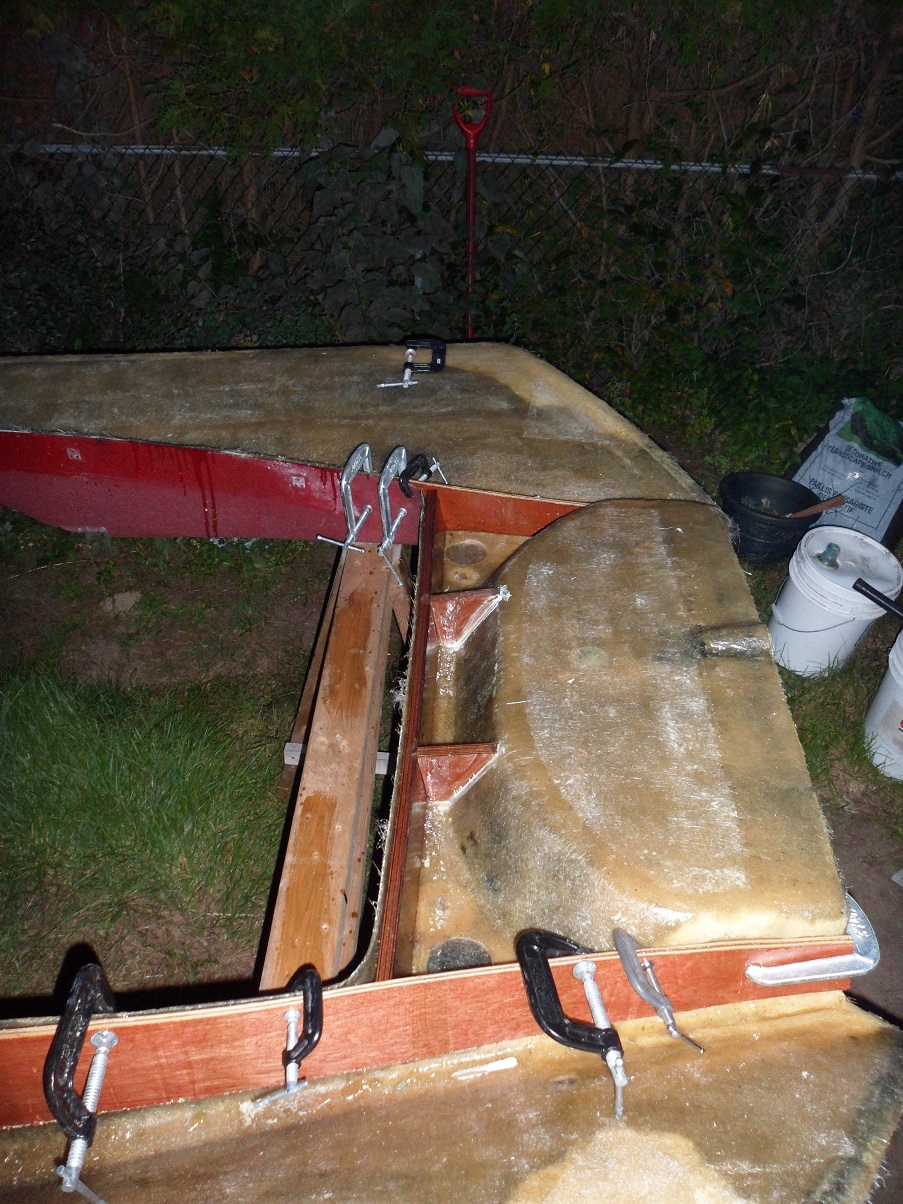
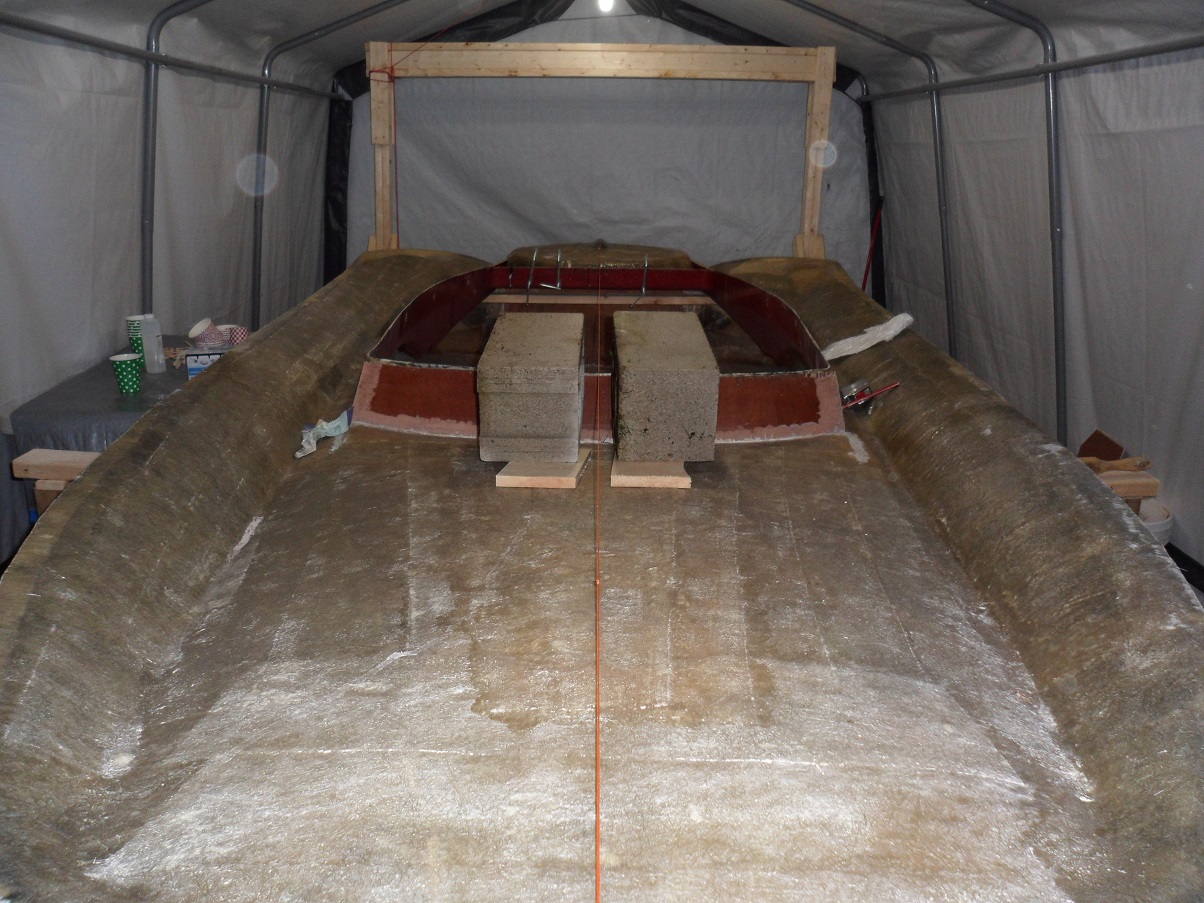
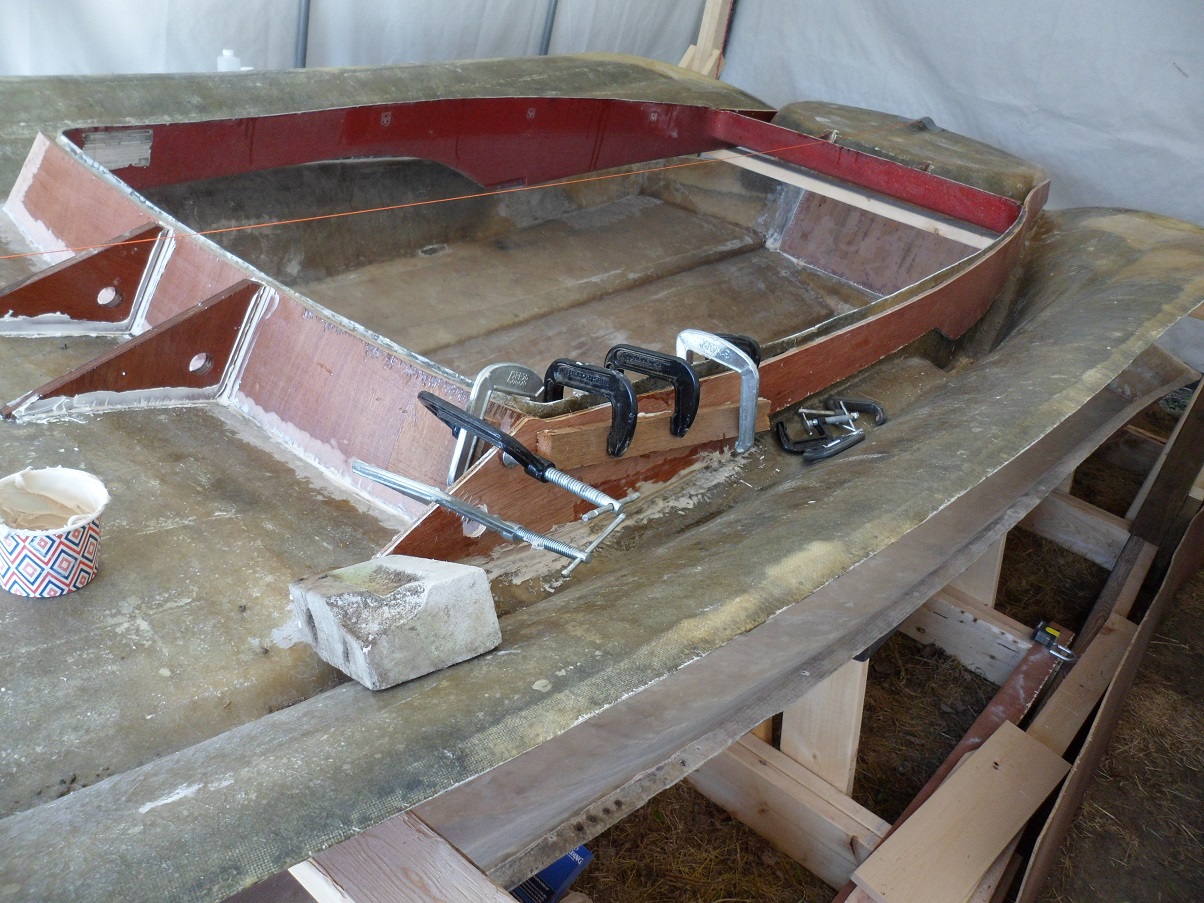
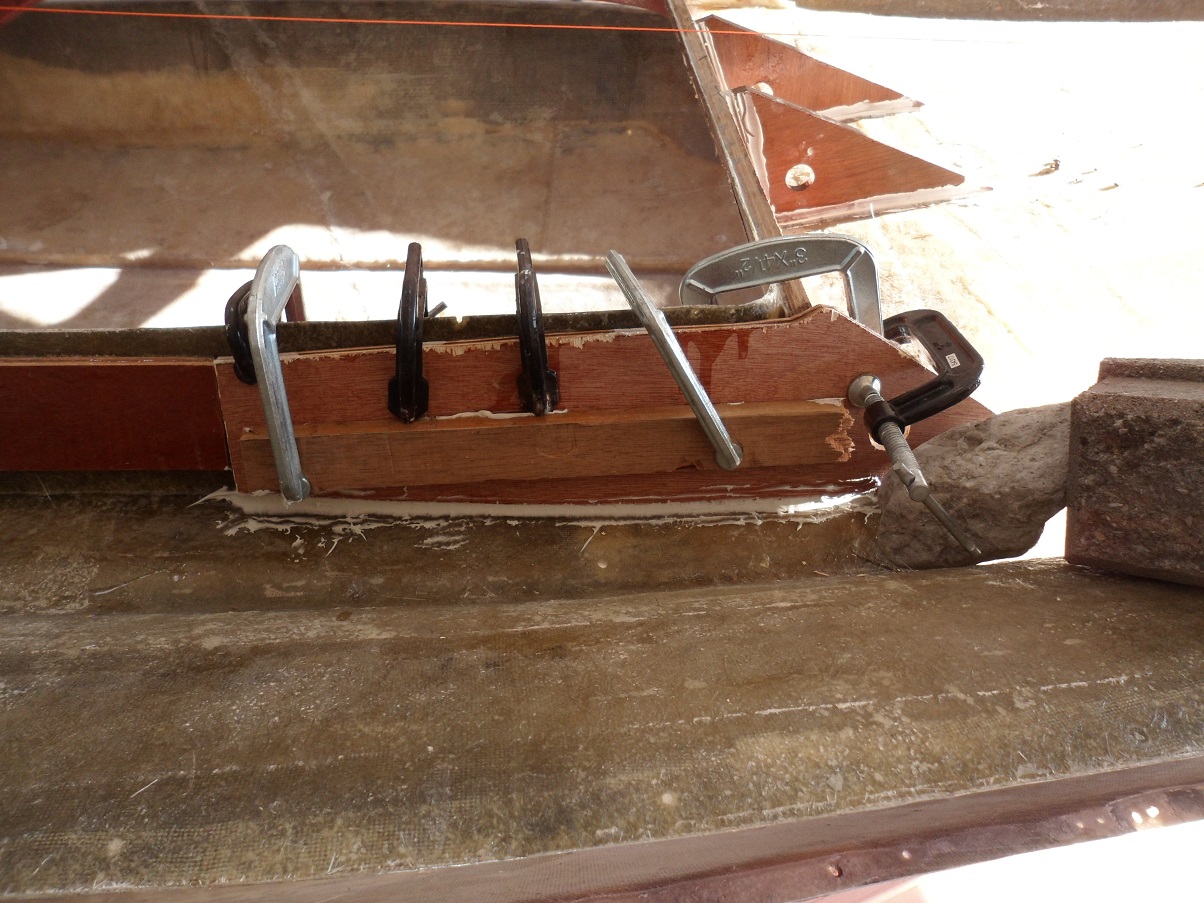
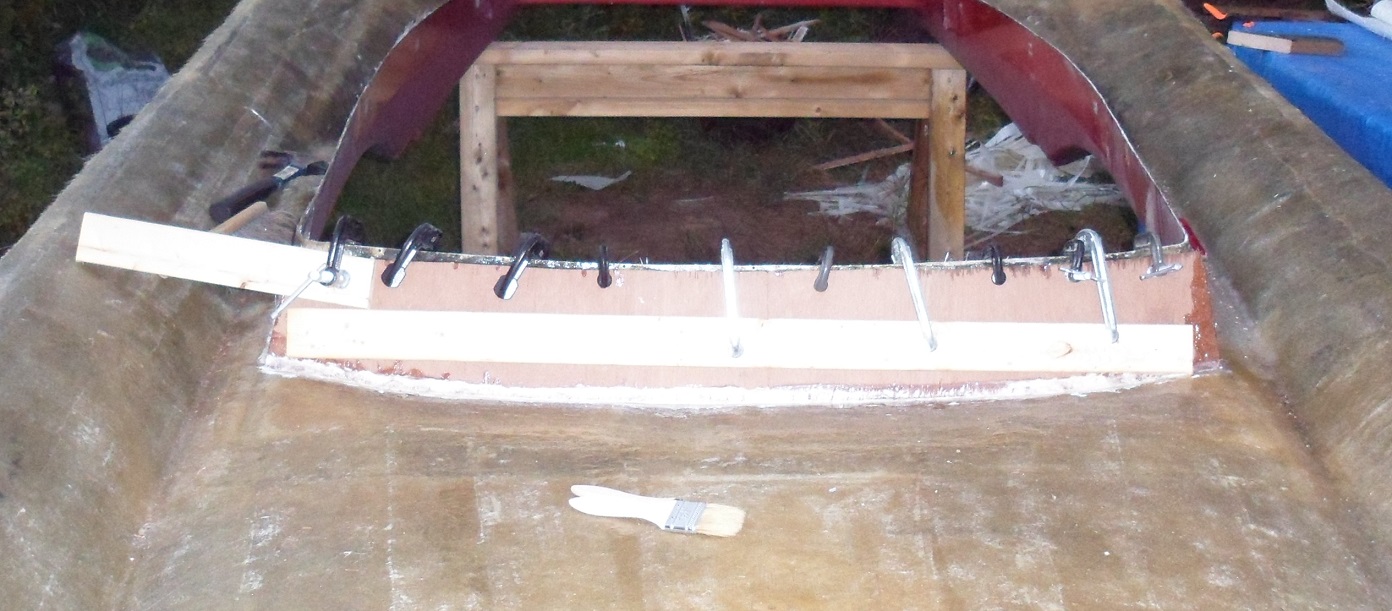
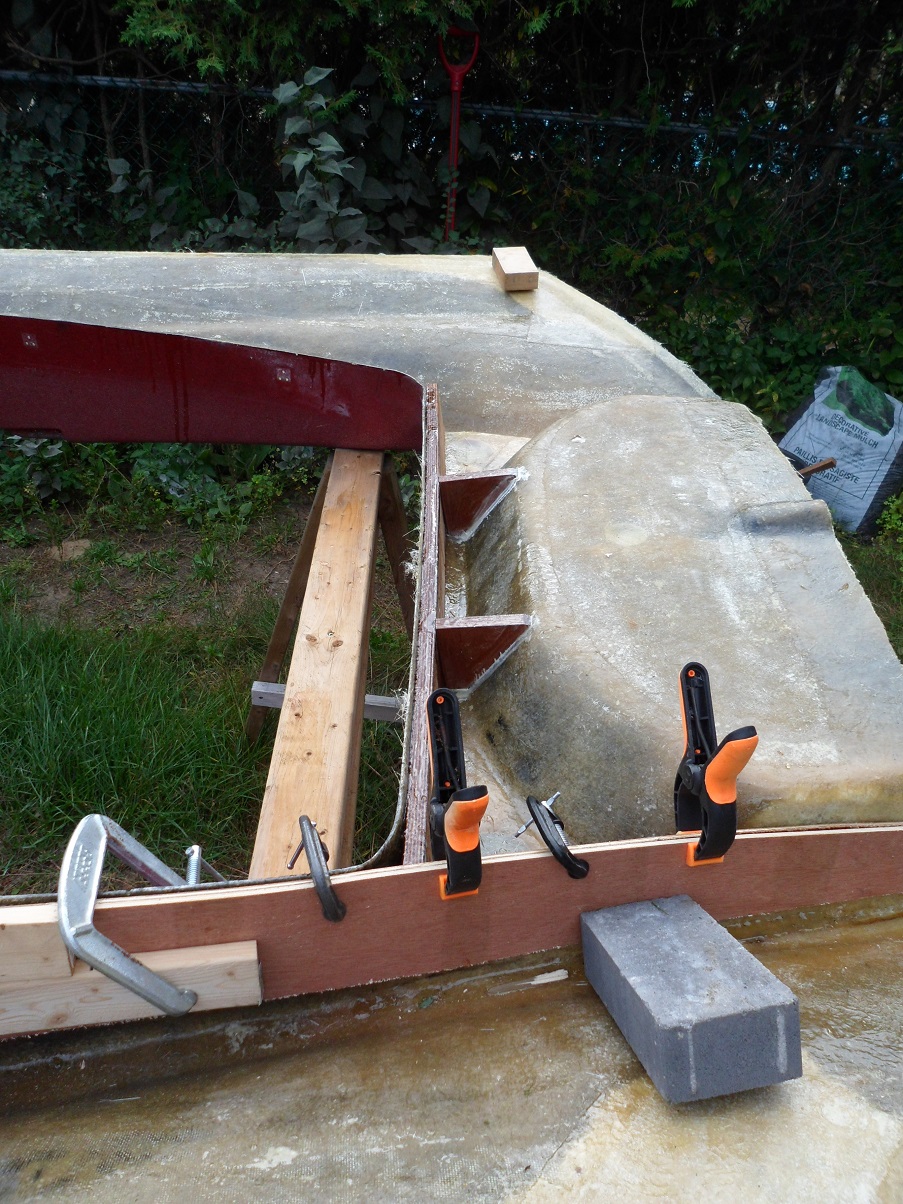
I didn't take pictures for this really, but I cut a strip of 3/4" marine ply for the splashwell "cross-brace" (as I call it...), and clamped that in.
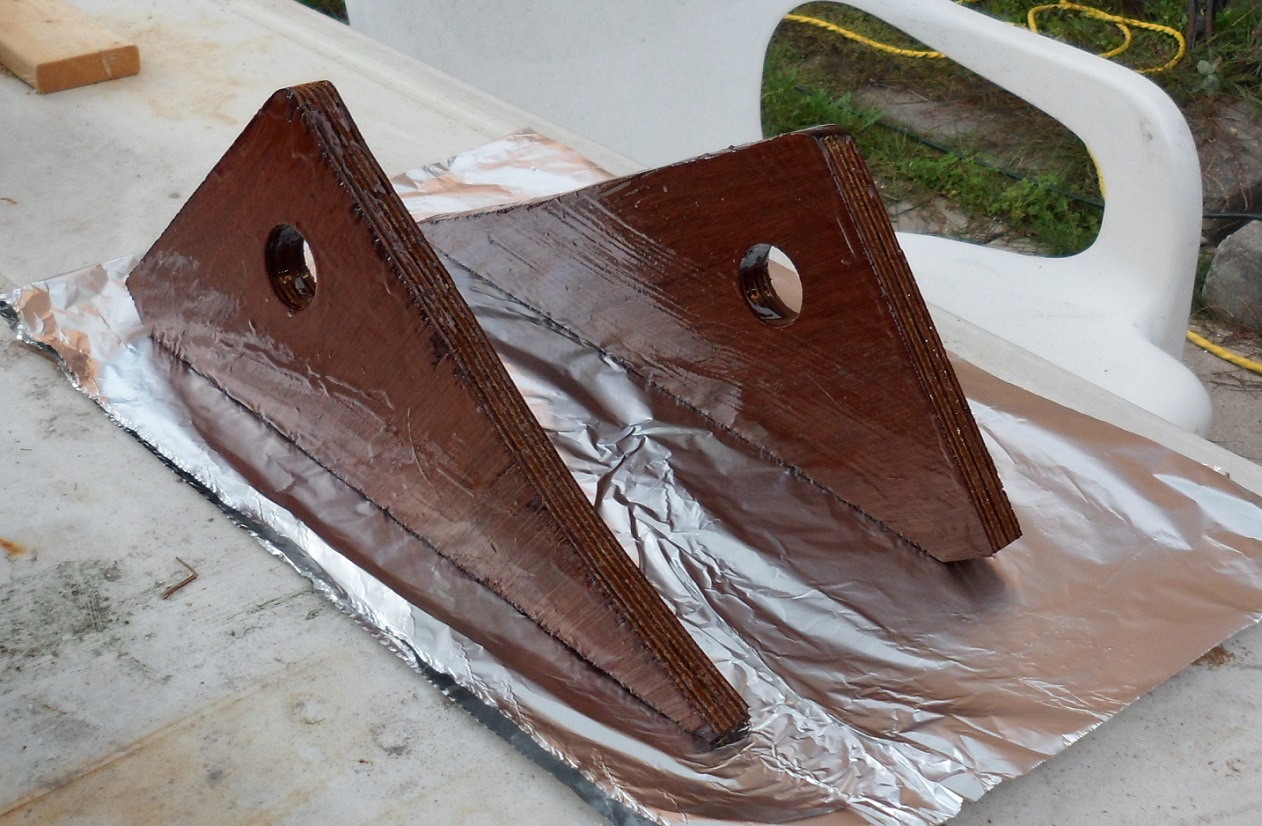
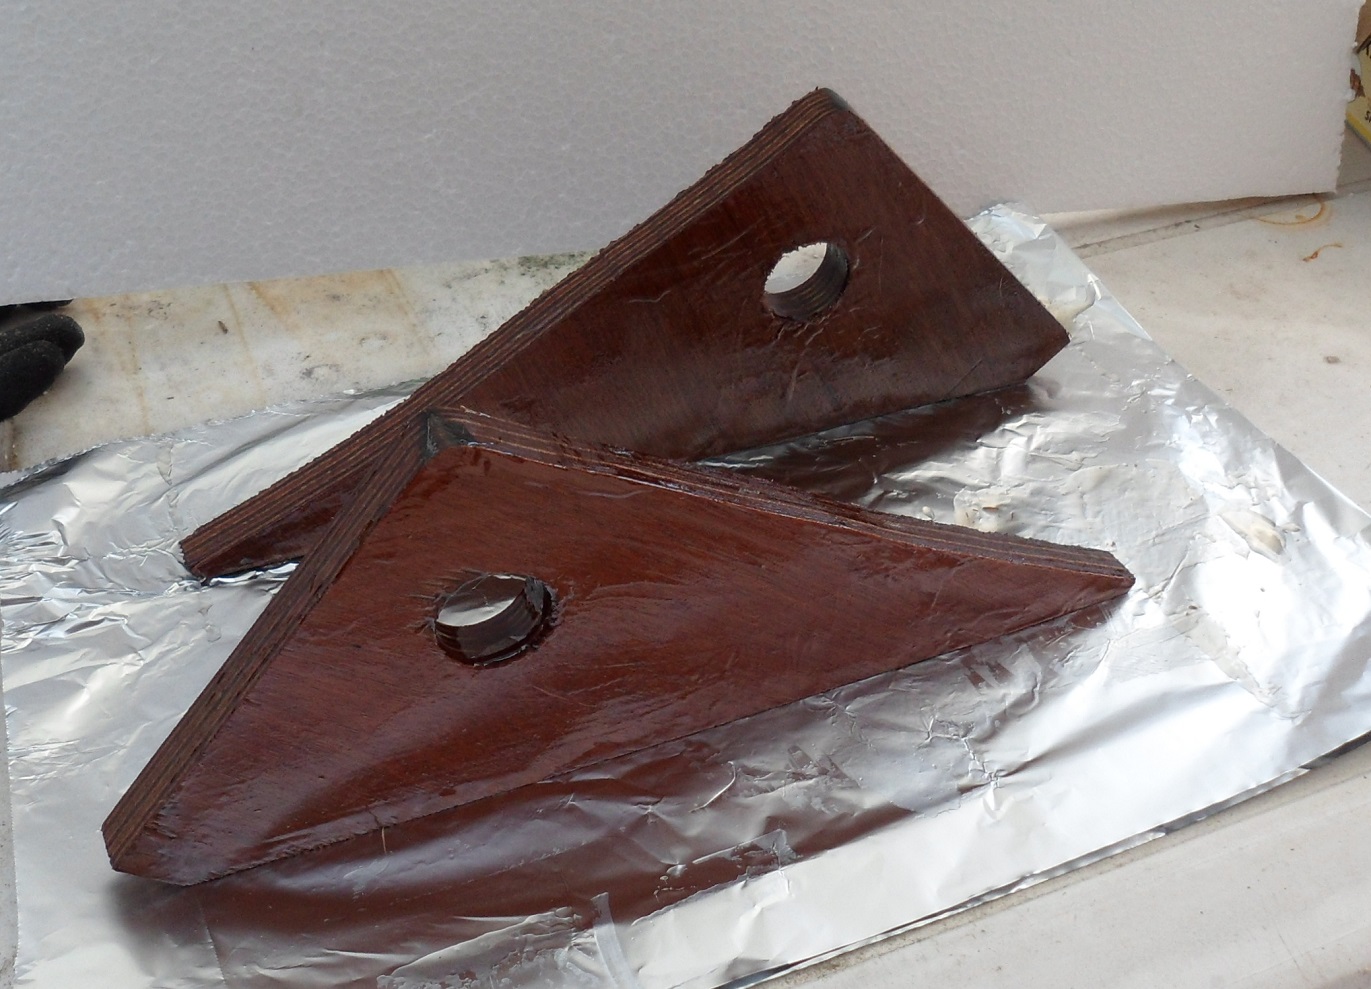
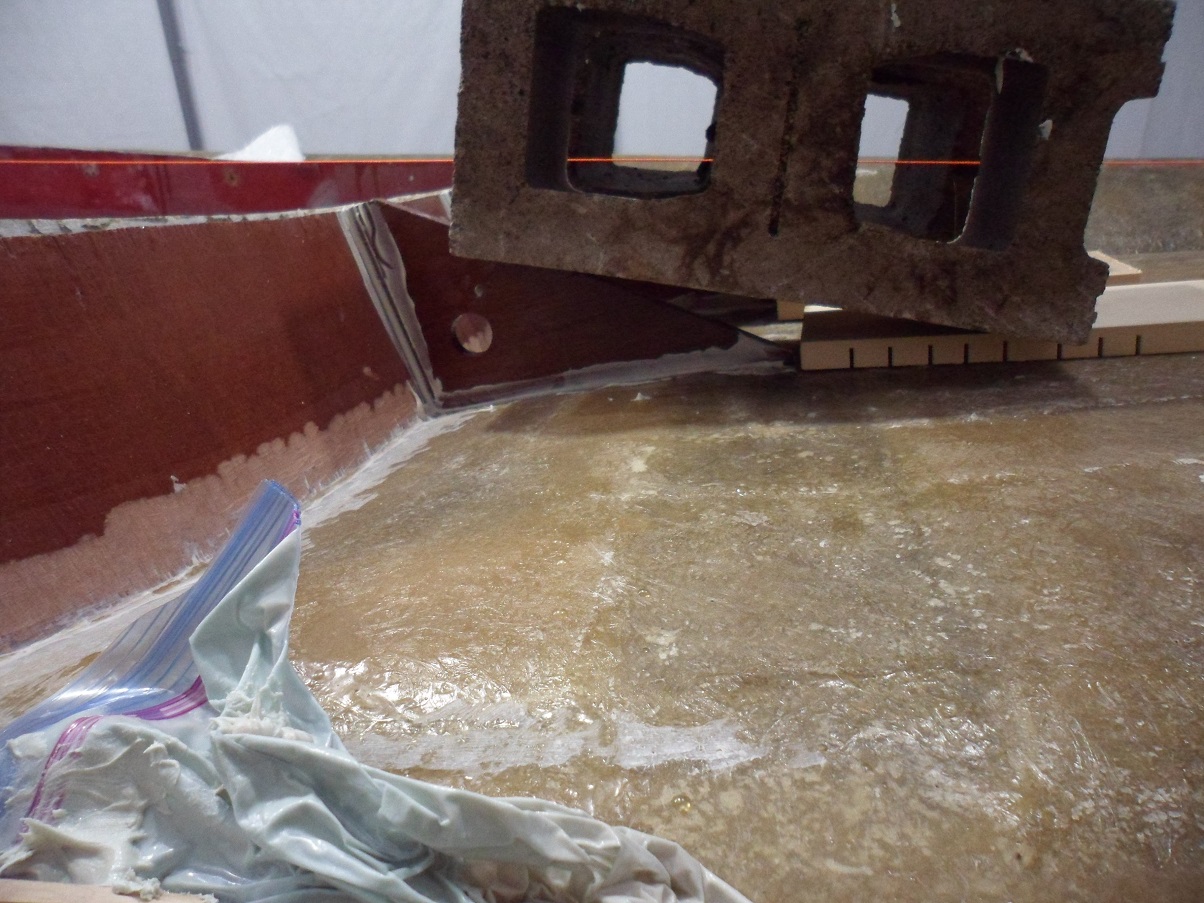
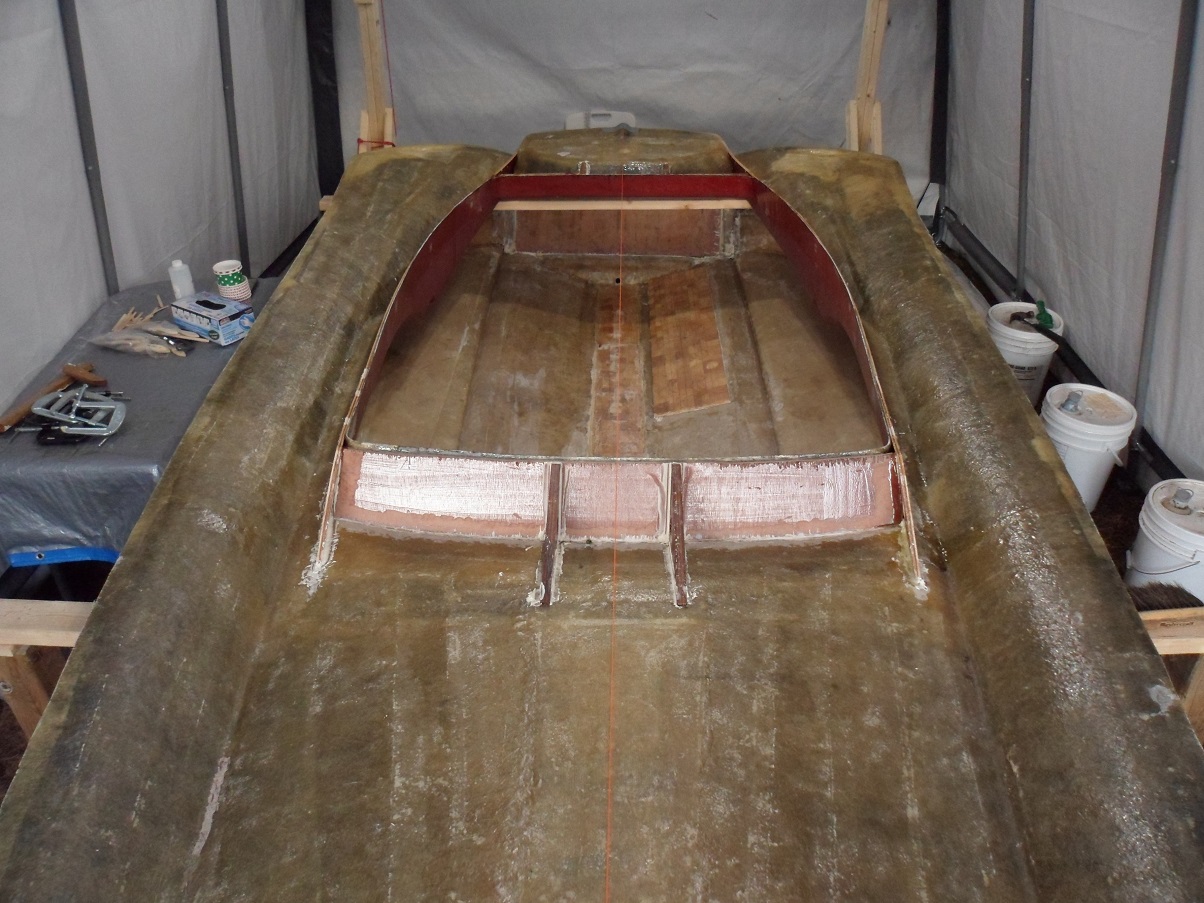
Added in 2 wedges, CoreBonded and resined into place.
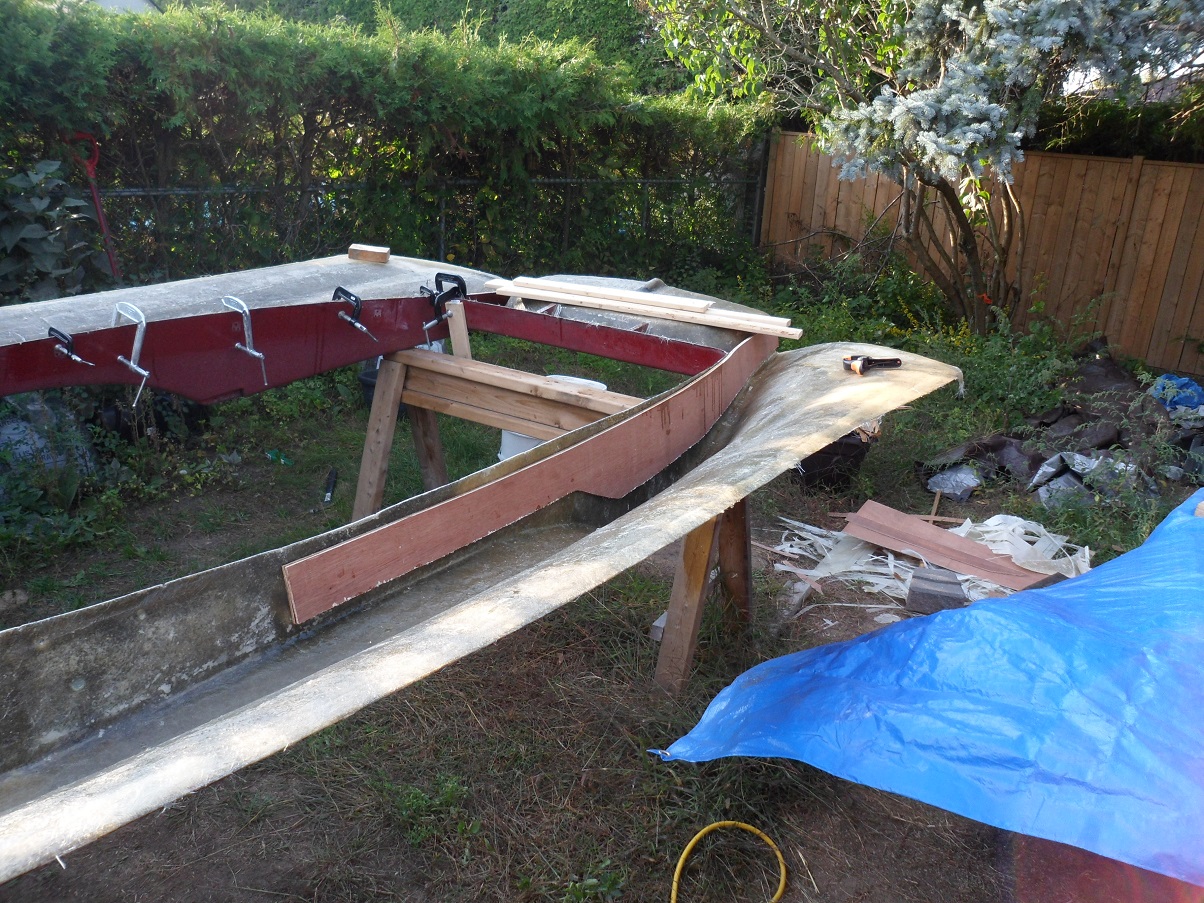
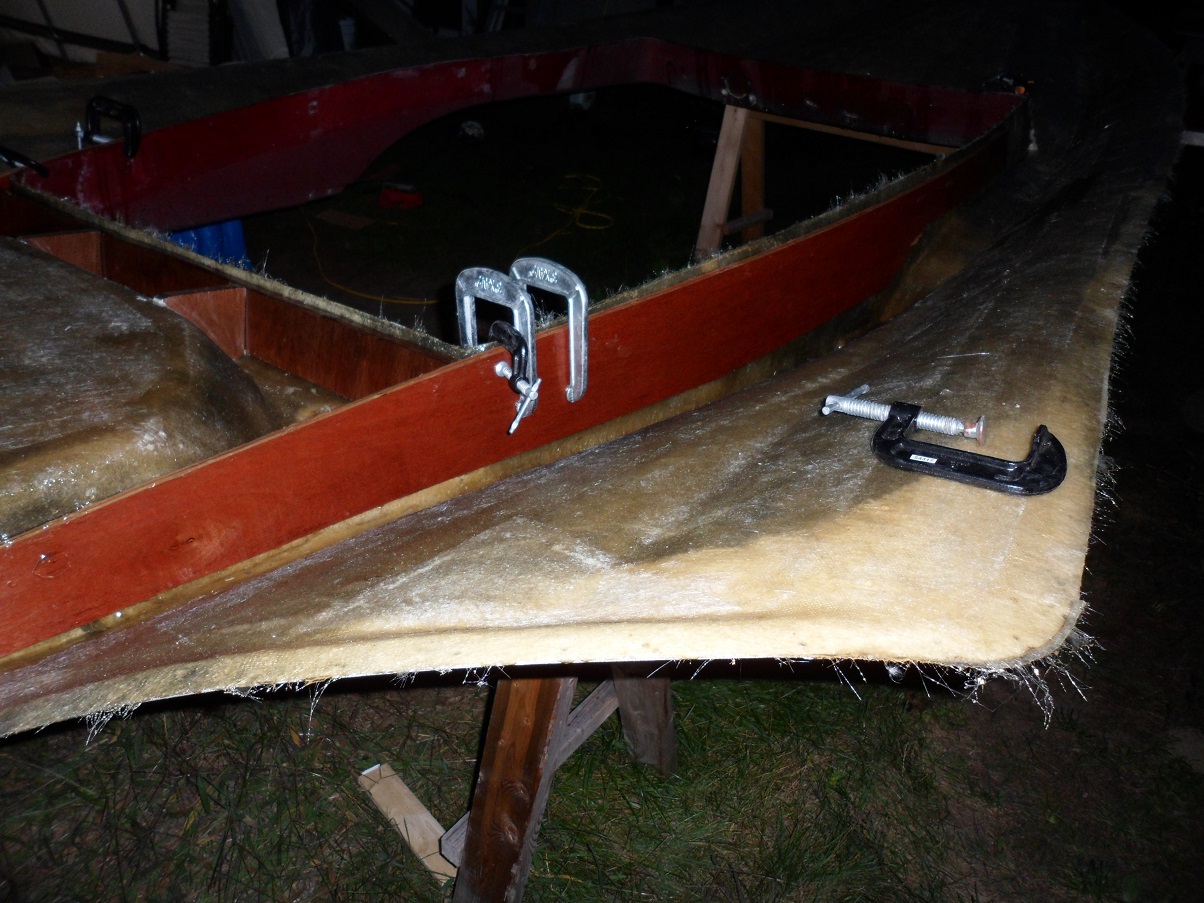
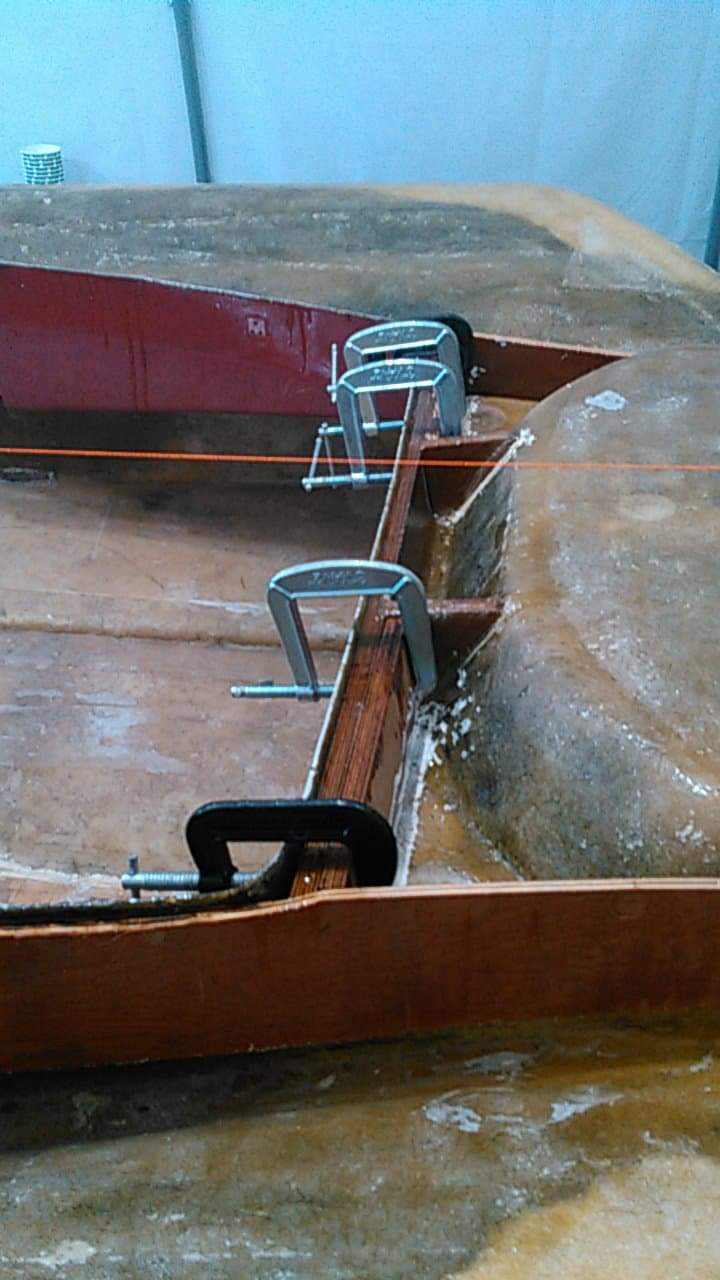
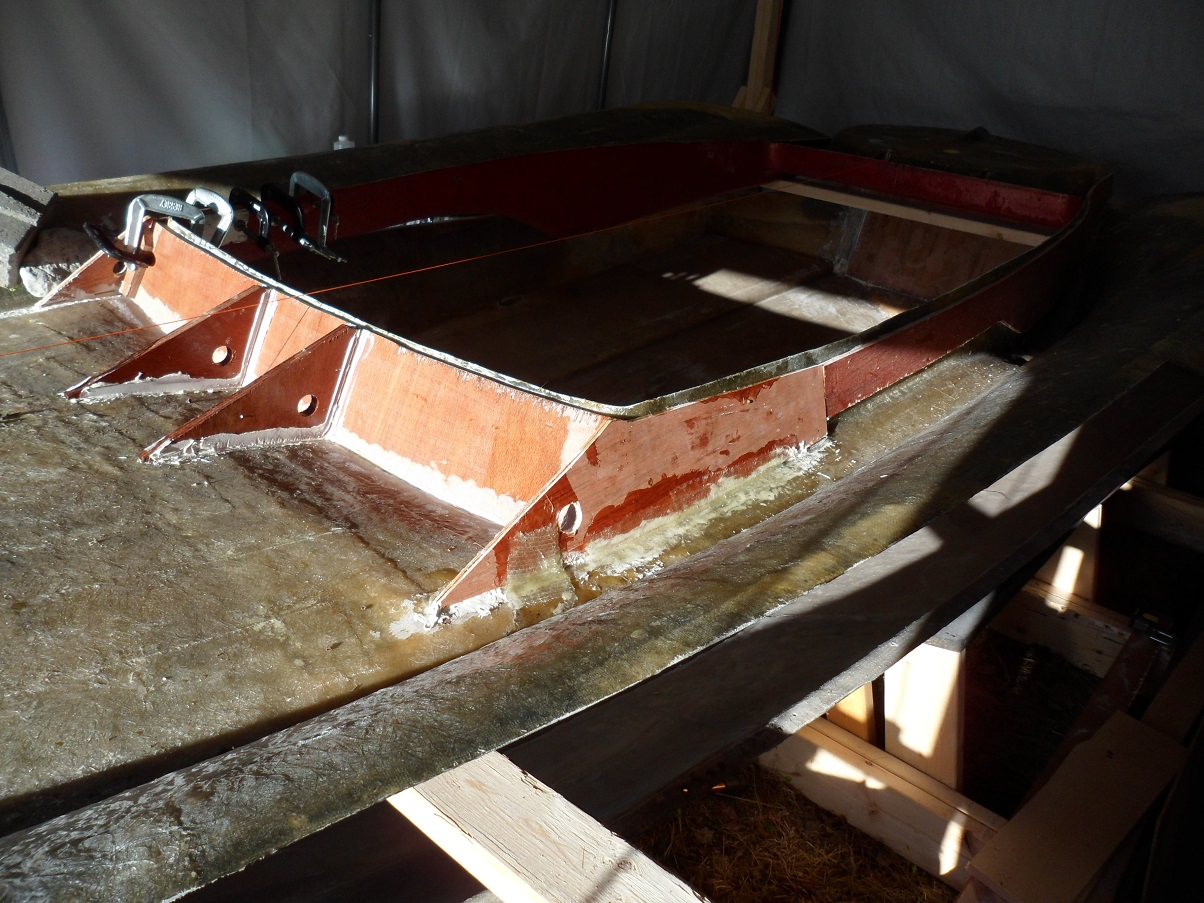
Image

Image

Port side:
Image

Image

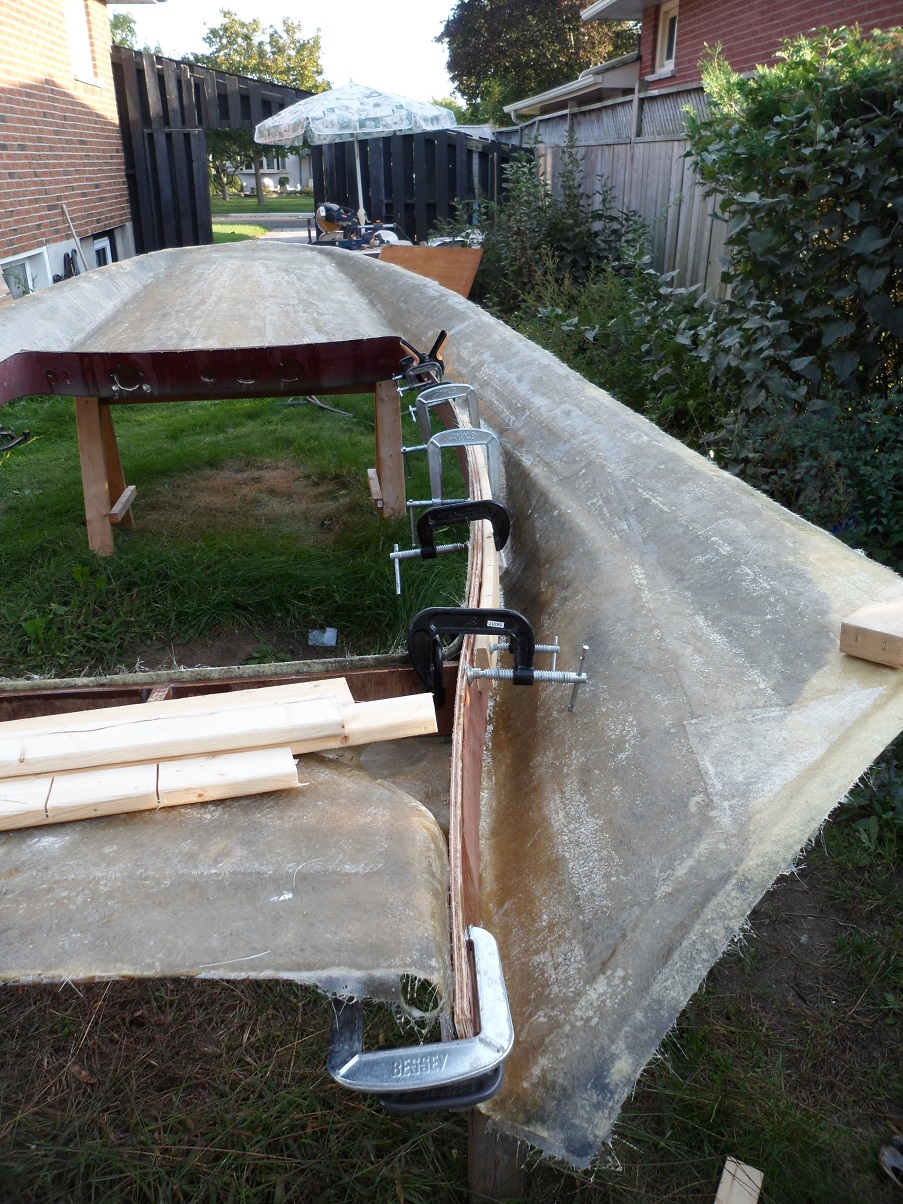
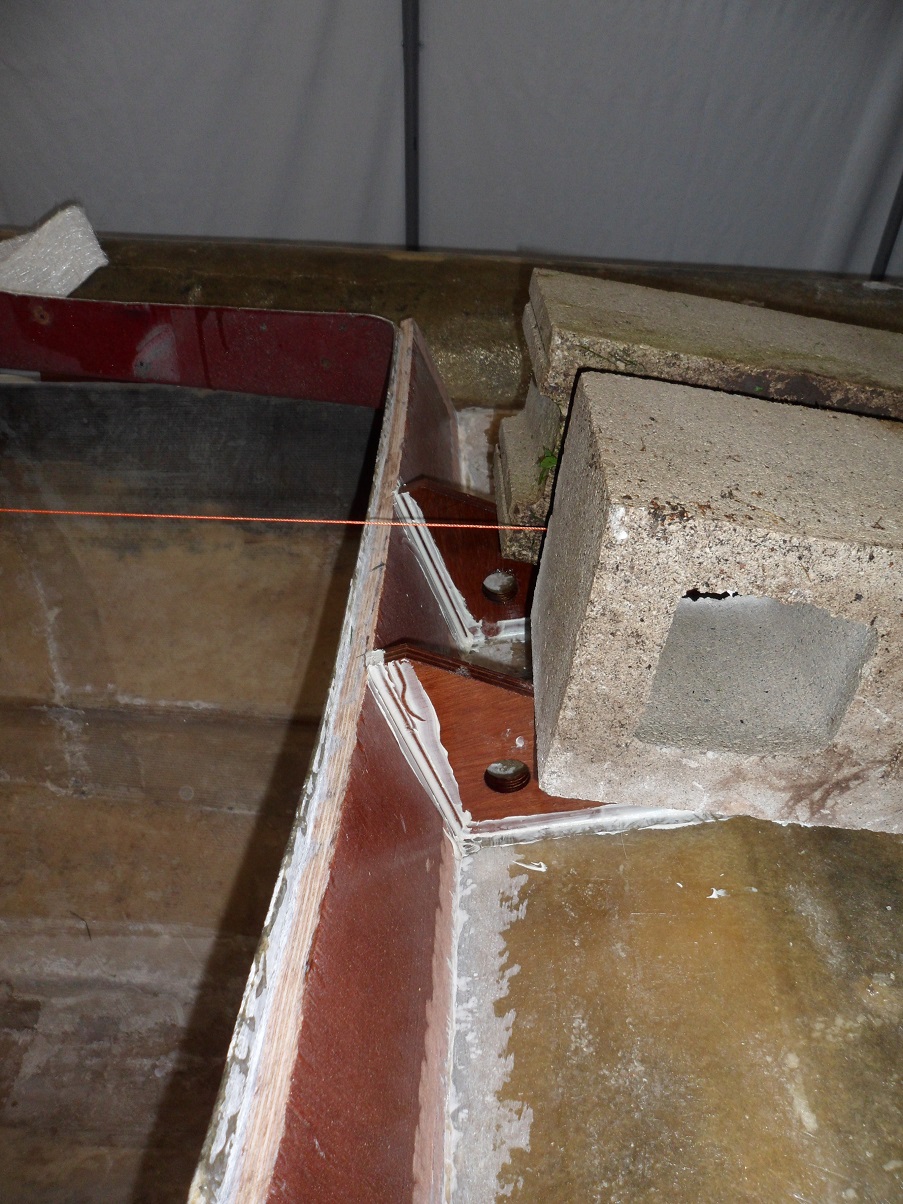
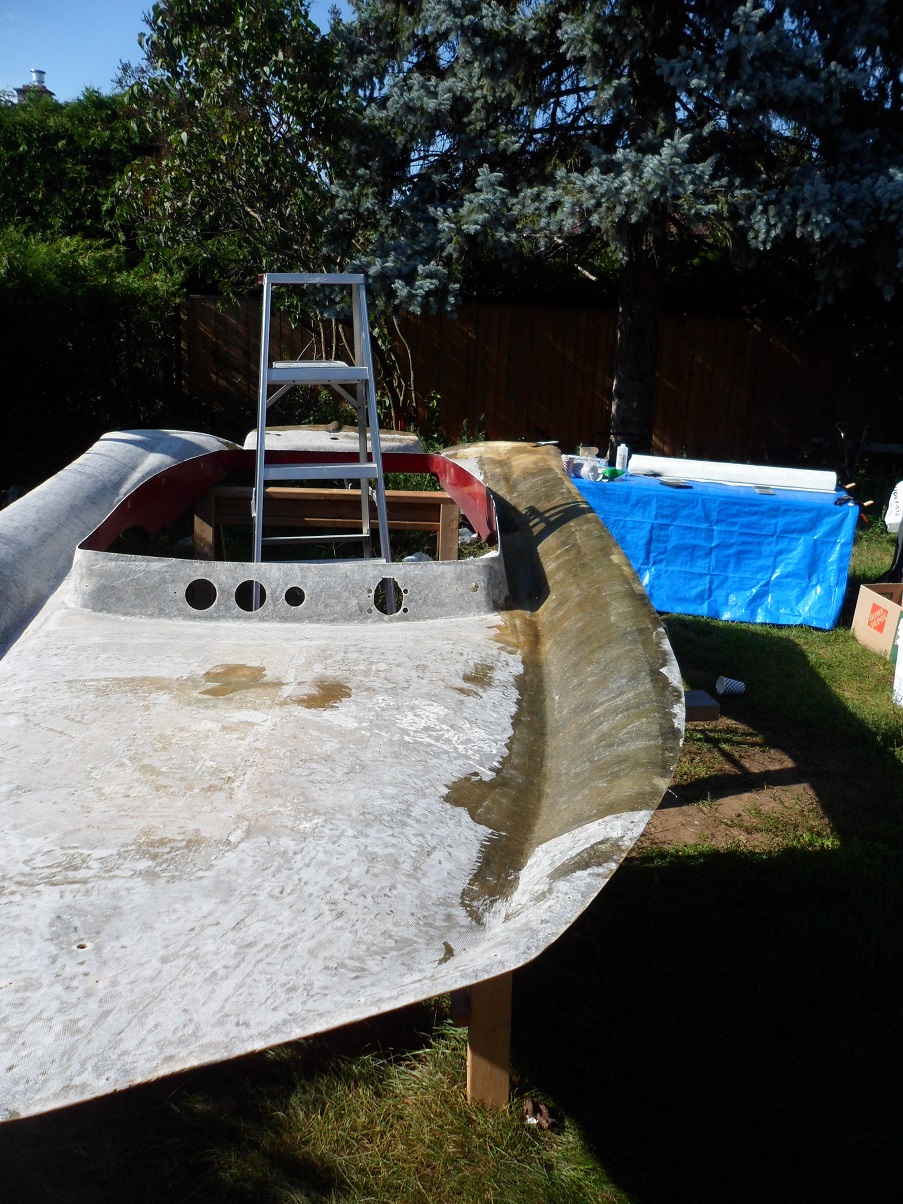
After a few hours, I removed most of the clamps, mixed up some more resin, and re-clamped the sections to get the proper "bend" near the splashwell.
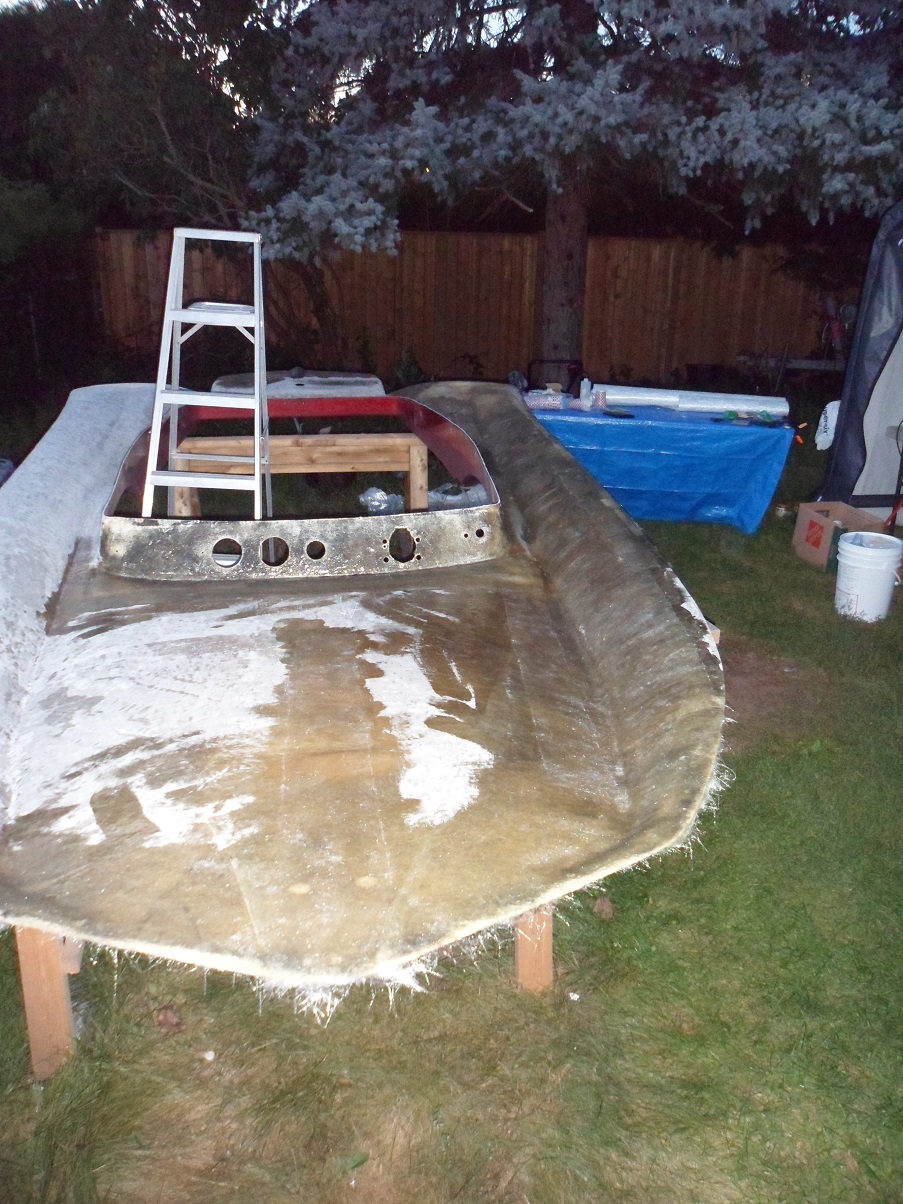
Also slathered resin on the outer side of the plywood panels. I plan on glassing these over tomorrow, so I'll still be able to maintain a chemical bond.

Image

Image

Image

Image

Image

Image

Re: 1980 Viper Rebirth

Posted: Sep 22, 2019 11:44 pm
by alaskastreamin
Looking good buddy!!

[ Post made via iPhone ] Image

Re: 1980 Viper Rebirth

Posted: Sep 26, 2019 2:30 pm
by tnelson77
Looks great! Keep up the good work!

Re: 1980 Viper Rebirth

Posted: Sep 28, 2019 8:34 pm
by AdamDK
Saturday Sept 28th, 2019:

Unfortunately, last week kicked my butt with work. Not getting home until 630-7pm every day didn't leave any time to work on the boat.
With the weather turning, I didn't want to leave the deck protected by just a crappy tarp.

Time to rebuild my hoisting frame and get her inside the shelter.

Image

Image

Image

Image

Hopefully I can knock off a few things this coming week. First, cleaning up all the crap and re-organizing my tools. Second, getting the side and centre braces installed on the dash and glassed in.
Once that's done, I can move the deck back outside onto its sawhorses and flip it right-side-up and leave it until I get the hull structure finished.

My 5-year wedding anniversary was Friday, and I worked, and wife worked today, but we're both off Sunday, so she wants a "date" day. Which means boat gets neglected.

Re: 1980 Viper Rebirth

Posted: Sep 29, 2019 6:40 am
by proprider
Amazing work Adam! Awesome documentation of the process.

[ Post made via iPhone ] Image

Re: 1980 Viper Rebirth

Posted: Oct 02, 2019 8:58 pm
by AdamDK
Wednesday Oct 2nd, 2019:

I added 2 more pieces of 3/4" marine plywood to the splashwell bulkhead. Simply forward thinking about how I'll have the rear bench seat secured in place. I'm leaning towards a set of draw latches at the top back of the seat, this way I can mount hinges at the front bottom of the bench, and the whole bench will fold forward allowing access under the splashwell.
(The orange string is just for marking the centre-line of the deck.)

Image

Image

Next I worked on a set of gussets for the dash. I used styrofoam to create a template, then cut 3/4" plywood pieces to match.

I primed the gussets with resin, letting them sit for about 45 minutes.

Image

Image

Then mixed up some CoreBond, catalyzed, and put it in a Ziploc bag. (thanks Ron! @alaskastreamin )
Squeezed it out like icing, set the gussets in place, and then weighted down.

Image

Image

Image

They are 9 inches apart, which leaves plenty of room for a hydraulic steering helm (a SeaStar Pro helm is 4.5" diameter.)

Weather up here is starting to cool off....I'm trying to get as much done as I can before temperatures start dropping below 65 on a regular basis.

Re: 1980 Viper Rebirth

Posted: Oct 08, 2019 5:54 pm
by AdamDK
Tuesday October 8th, 2019:

Had the day off today. Sunny and almost 70 degrees. Time to work on the dash edge gussets.

For the starboard side, I templated out a piece of 1/4" exterior mahogany plywood, then cut a second piece to match.

Image

Image

Laid the inner piece down, brushed on some resin, put on a layer of CSM, then the outer piece. Weighted down with some interlocking bricks and a 40 pound cinder block.

Image

Let it cure up for about an hour and half, then templated out pieces for the port side.
I sandwiched those 2 pieces, then went to work setting the starboard gusset in place.
CoreBonded the deck-side edge, then clamped into place.

Image

After another hour and half, removed the starboard clamps, then set the port gusset into place.

Image

Image

This is all for today.

Image

Image

Image

Image

Next is to sand all the excess CoreBond off, then start glassing over it all.